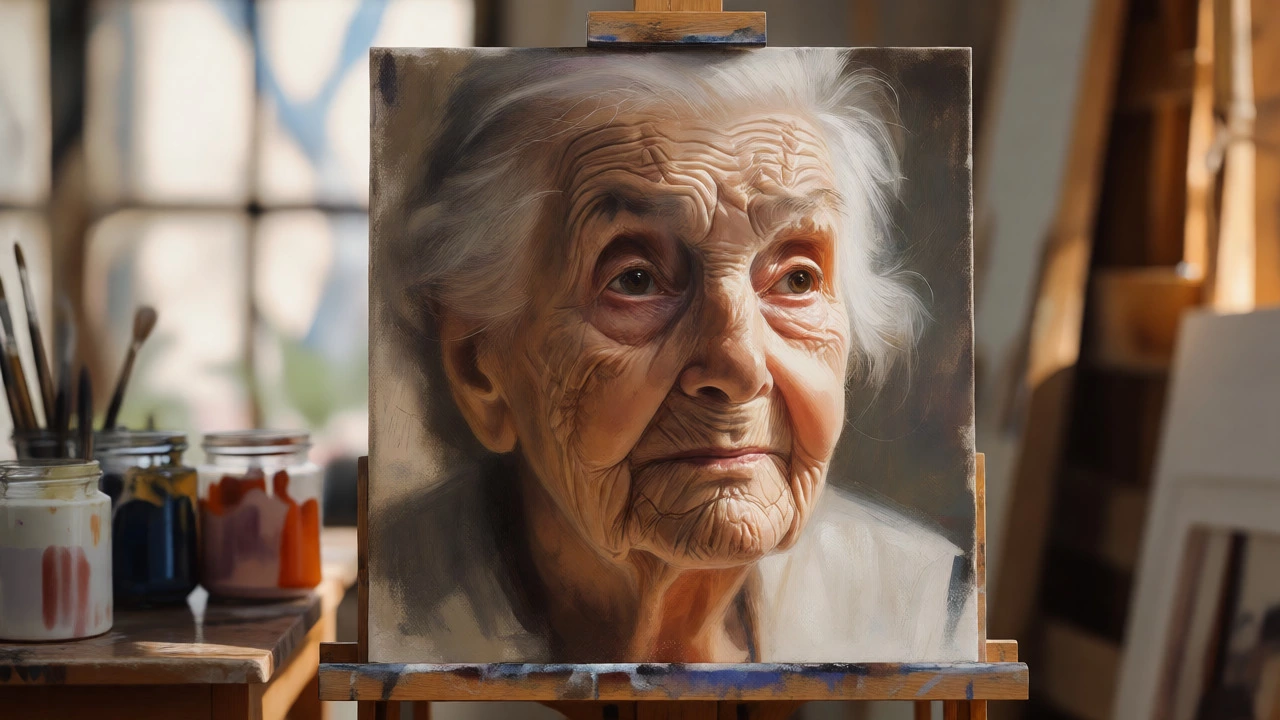
What Are the Three Types of Portraits? A Practical Guide
Discover the three main types of portraits: head, bust, and full-length. Learn when to use each format, their technical challenges, and how framing affects storytelling.
Ever stared at a blank canvas and wondered how to turn a face into a portrait that feels alive? You’re not alone. Portrait painting looks hard, but with the right basics you can start making faces that capture personality in no time. Below are the most useful steps and tricks you can try right away.
First thing’s first – pick tools that work for you. If you’re just starting, a medium‑grade oil or acrylic set is fine; you don’t need museum‑grade paint. A flat‑to‑slightly‑rounded brush (size 2‑4) helps with facial outlines, while a soft sable brush works for smooth skin tones. For the surface, a primed canvas or a smooth panel gives a steady base. Don’t forget a palette knife for mixing colors and a good sketch pad to work out proportions before you paint.
Many artists skip the underpainting step, but a thin grayscale layer (called a “grisaille”) can save you a lot of time. It lets you see where the lights and darks sit without worrying about colors yet. Use burnt umber for shadows and a light tan for highlights – keep it thin and let it dry before you add color.
1. Map the basic shape. Lightly draw an oval for the head, then add guiding lines for the eyes, nose, and mouth. The classic “rule of thirds” works: eyes sit about one‑third down from the top, and the bottom of the nose is halfway between the eyes and chin.
2. Place the features. Start with the eyes – they’re the focal point. Measure the distance between them; it’s usually about one eye‑width. Sketch the eyebrows, then the nose and mouth, checking alignment each time. If anything feels off, erase and adjust.
3. Block in the main tones. Use a large brush to lay down the darkest shadows and the brightest lights. This creates a quick contrast that guides later details. Remember: skin isn’t just one color. Blend reds, yellows, and a touch of blue to get realistic undertones.
4. Refine the details. Switch to smaller brushes for eyelids, lips, and the subtle shifts in the cheek. Look at reference photos and notice how light catches the edges of the ears or creates a tiny highlight on the pupil. Tiny details make the portrait pop.
5. Blend, blend, blend. For oil paints, let the wet‑on‑wet technique do the work – just smooth with a soft brush or a clean fingertip. With acrylics, work fast or use a retarder to keep the paint workable longer. Avoid over‑blending; you want the skin to have a bit of texture.
6. Final touches. Add a faint glaze of warm color over the whole face to unify the tones. A quick highlight on the tip of the nose or the cheekbones can bring the portrait to life. Step back, look from a distance, and tweak anything that still feels flat.
That’s it – a straightforward workflow you can repeat and improve each time. The more you practice, the quicker you’ll spot where a portrait is off and how to fix it. Keep a small sketchbook of face studies; they’ll become your visual library for future paintings.
Portrait painting isn’t a secret skill reserved for masters. With simple tools, a clear step‑by‑step plan, and a habit of sketching faces daily, you’ll see noticeable progress within a few sessions. Grab your brushes, pick a reference you like, and start painting the first portrait today – you’ll be surprised how fast you get comfortable with the process.
Discover the three main types of portraits: head, bust, and full-length. Learn when to use each format, their technical challenges, and how framing affects storytelling.
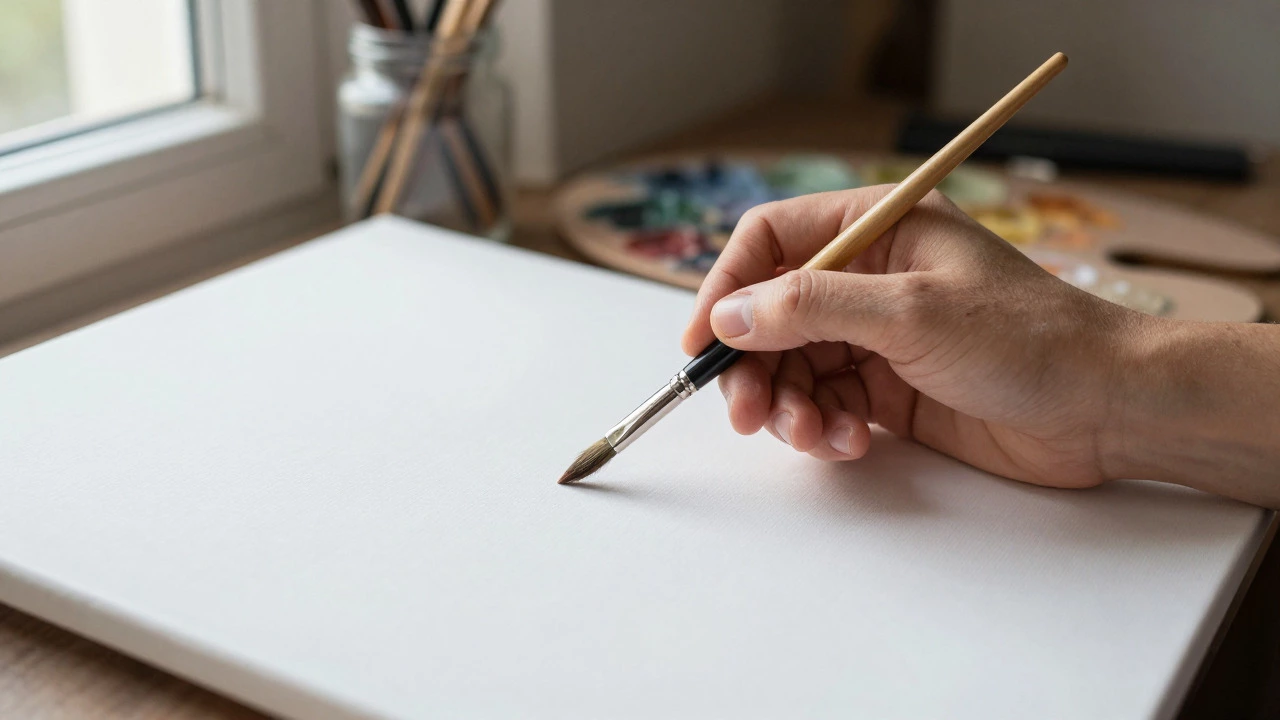
Discover the optimal order for painting portraits: background first or last? Learn techniques for oils, acrylics, and gouache to enhance focus and depth.
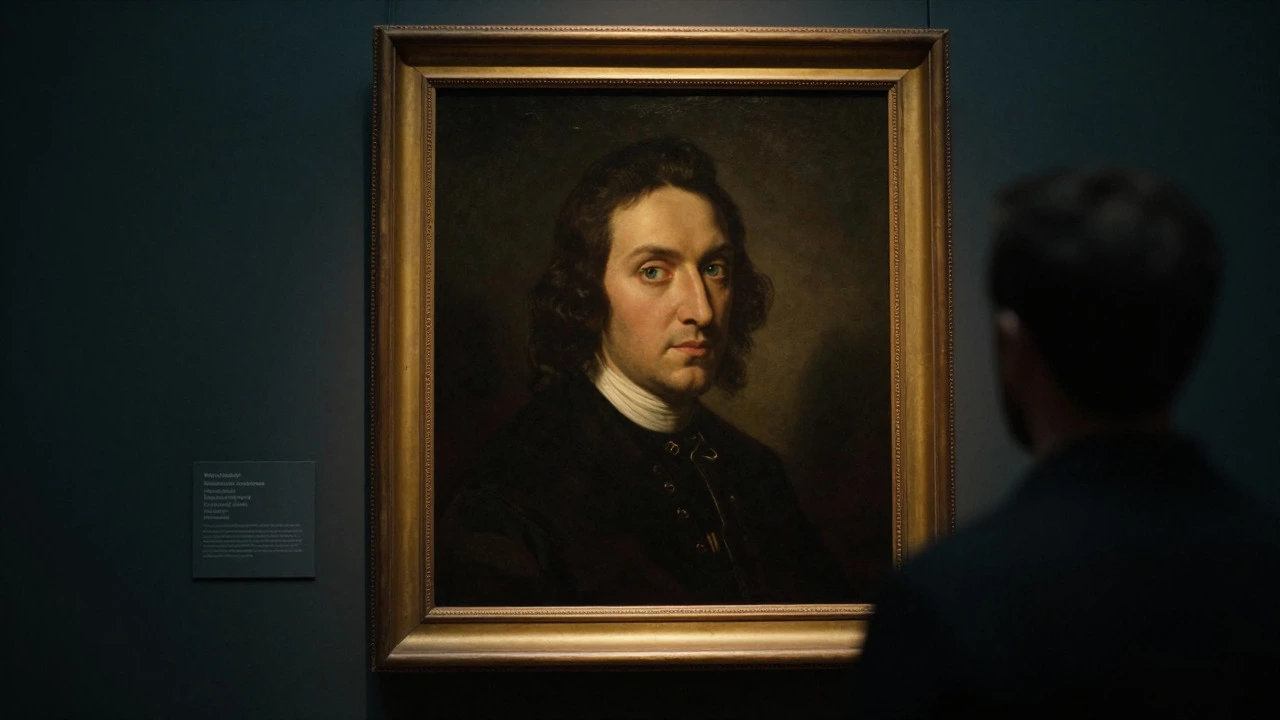
Learn how to describe a portrait painting by analyzing light, color, composition, and emotion. This guide helps you articulate the visual and psychological depth of portraiture.
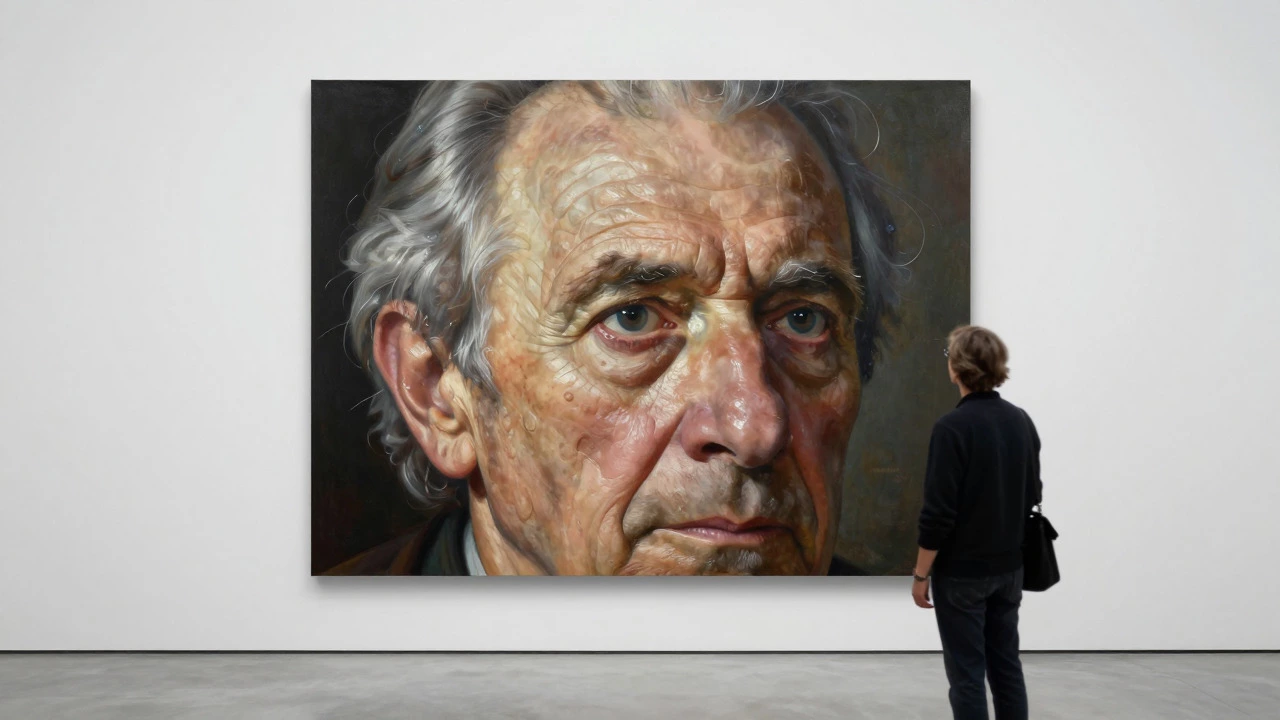
Discover the exact terms for realistic portraits: photorealism, hyperrealism, and verism. Learn the key differences, techniques, and history behind these lifelike art styles.
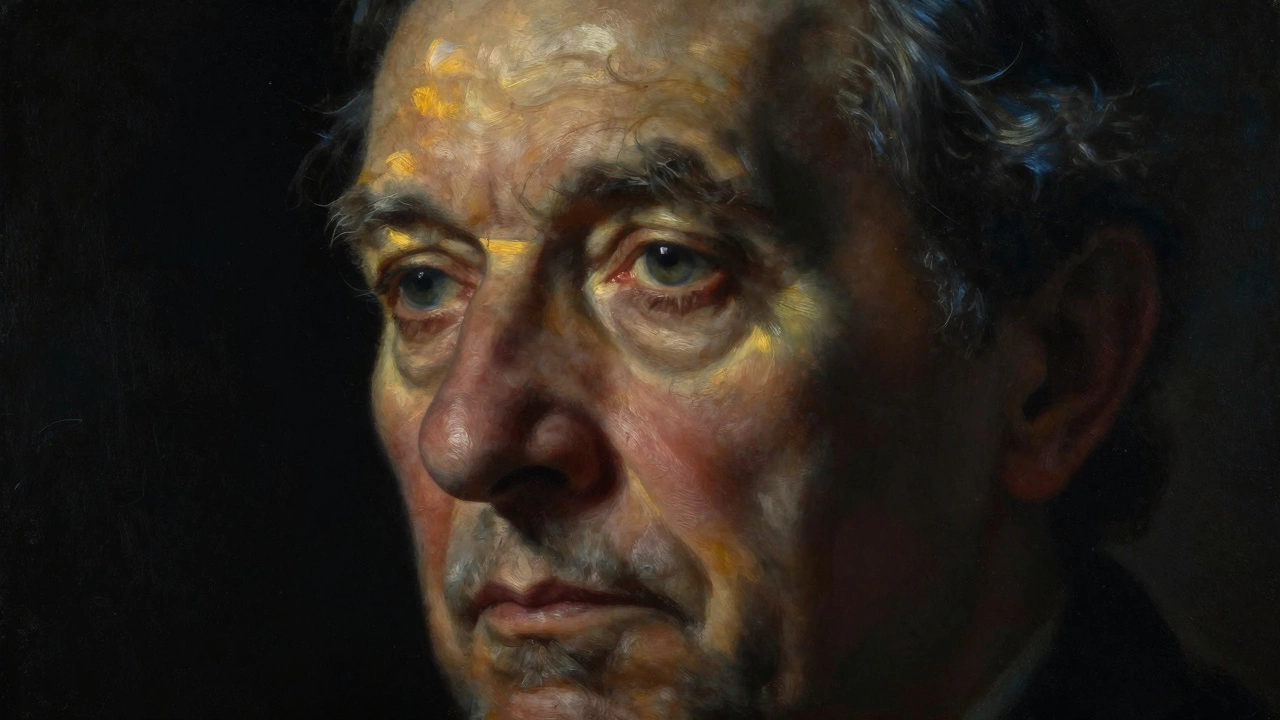
Discover the three essential elements that transform a simple drawing into a captivating portrait: mastering light, capturing authentic expression, and designing effective composition.
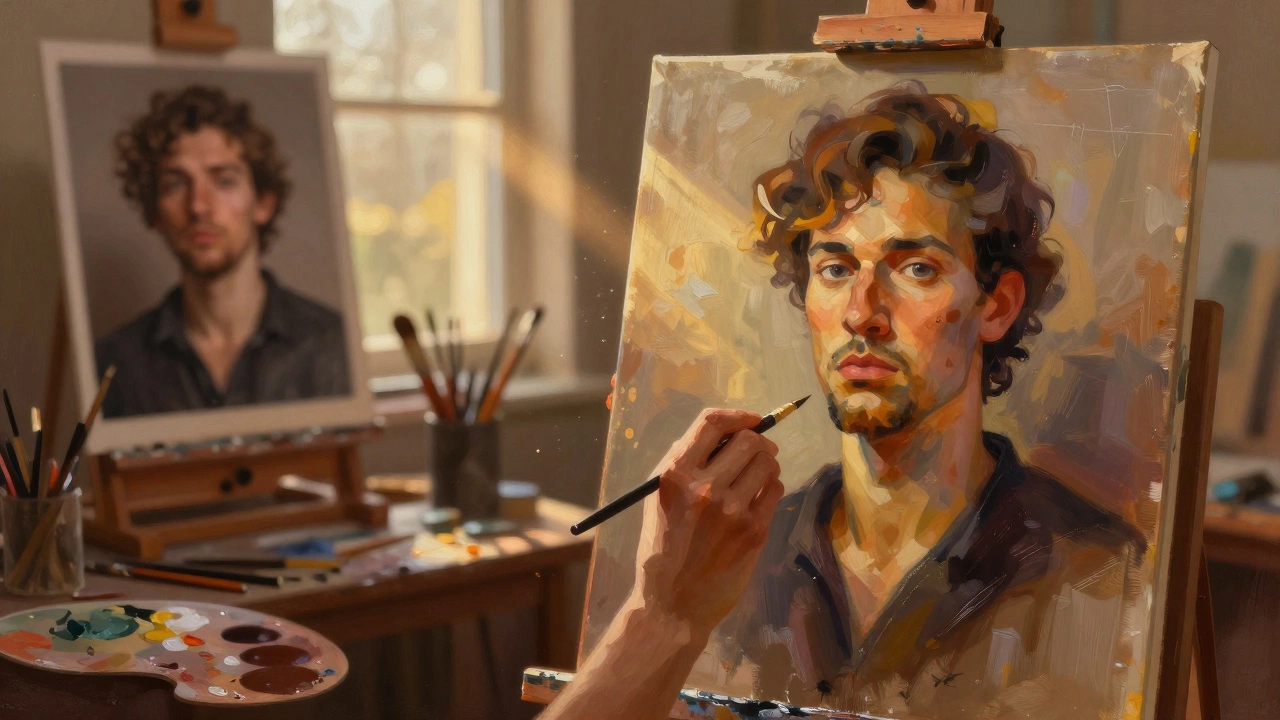
Discover the 5 essential elements that make a painted portrait truly great, from mastering facial anatomy and likeness to capturing deep emotional connections through light and composition.
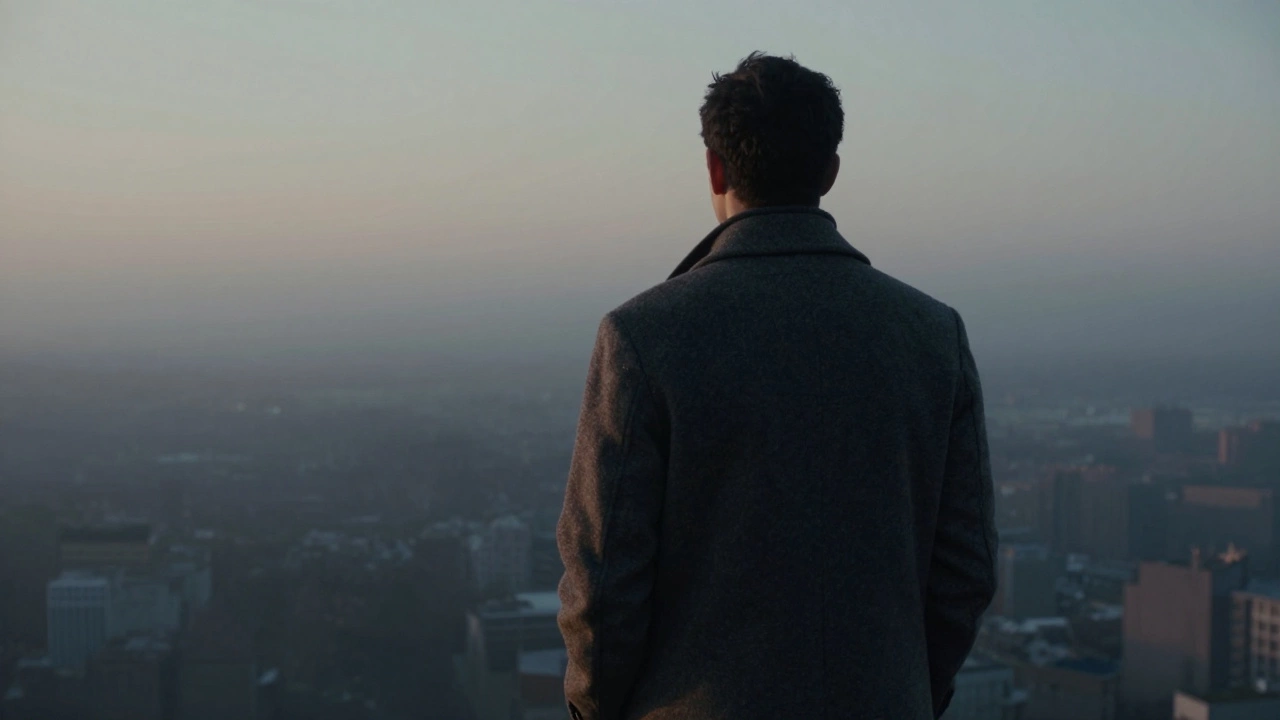
Explore whether a portrait requires a face. Discover how body language, clothing, and absence create powerful identities in art and photography.
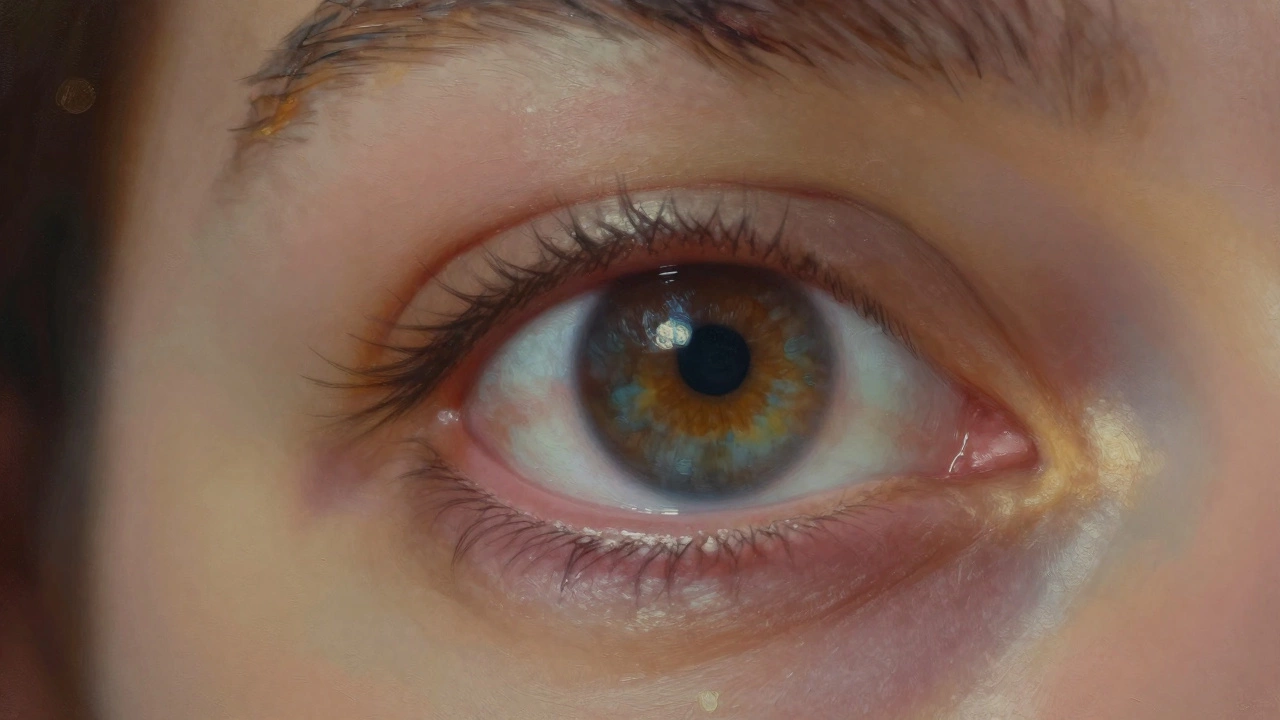
Discover the 7 key elements that make a portrait painting truly great, from captivating eyes and dramatic lighting to honest character depiction and effective composition.
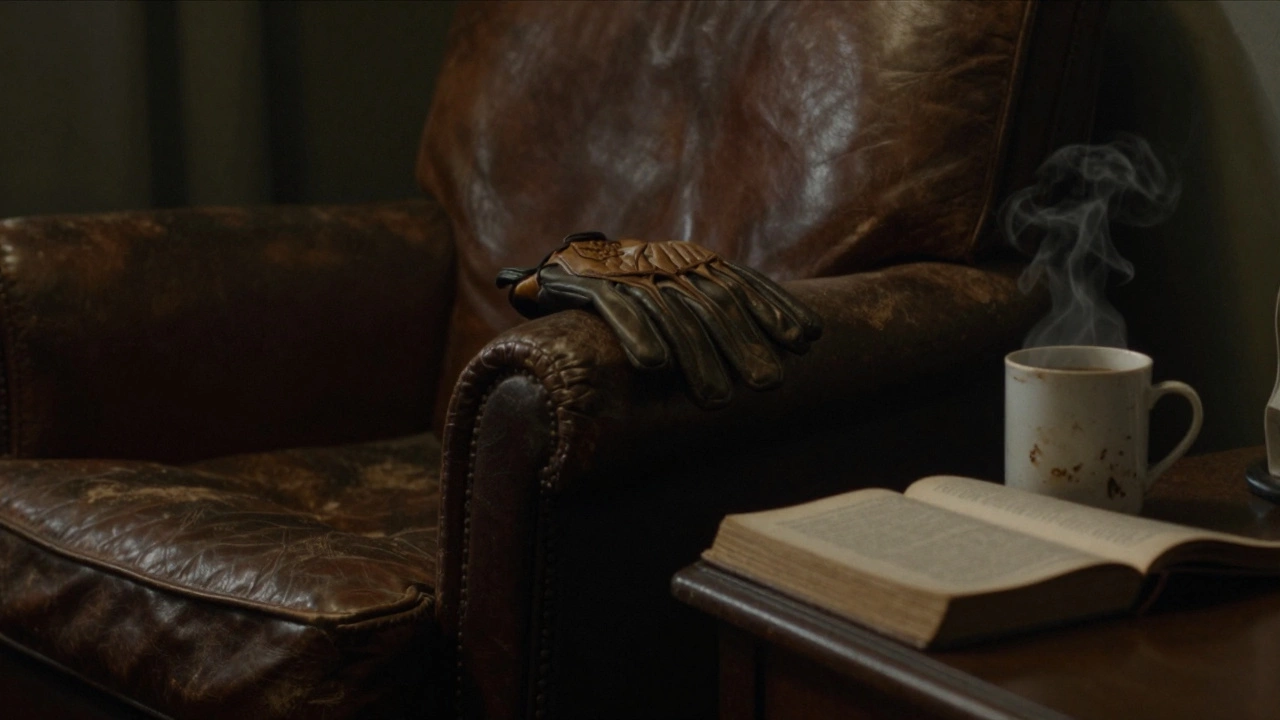
Portraits don't need to show a face to capture a person's identity. From historical paintings to modern art, artists use gesture, objects, and environment to reveal who someone is-without ever showing their face.
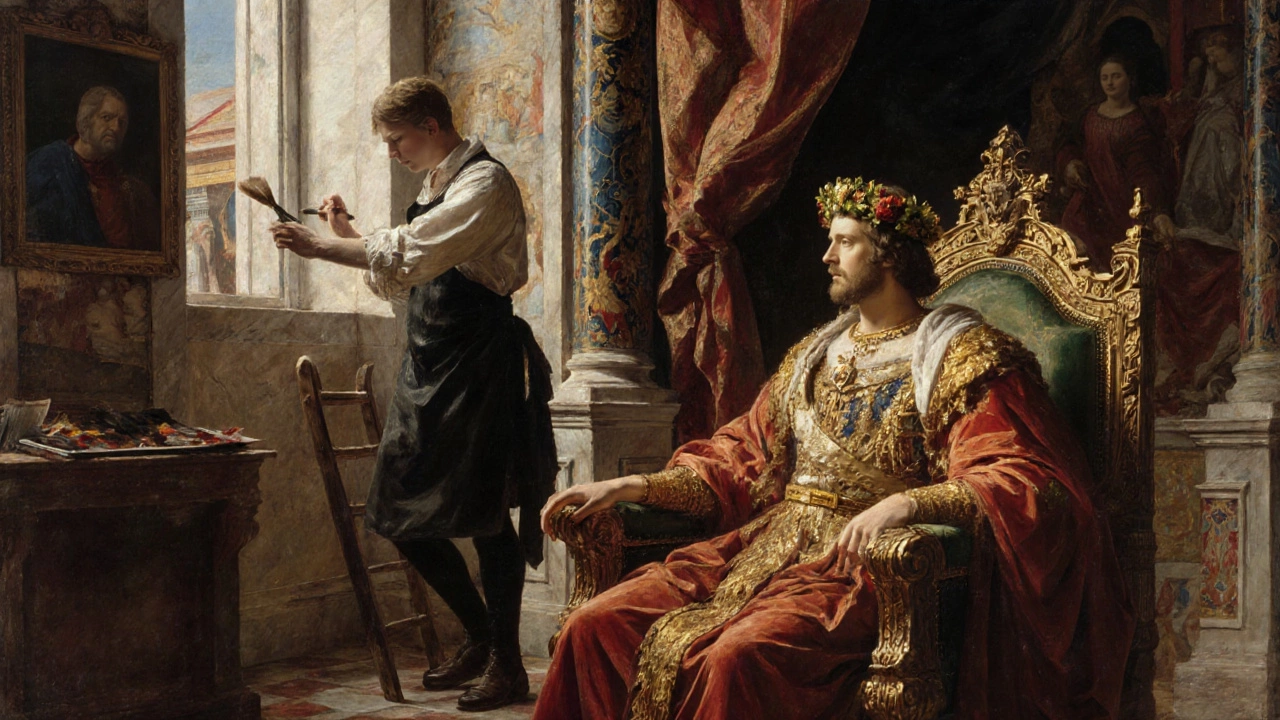
Explore why people paint portraits, from status and memory to self‑expression and modern branding, with history, motivations, tips, and FAQs.
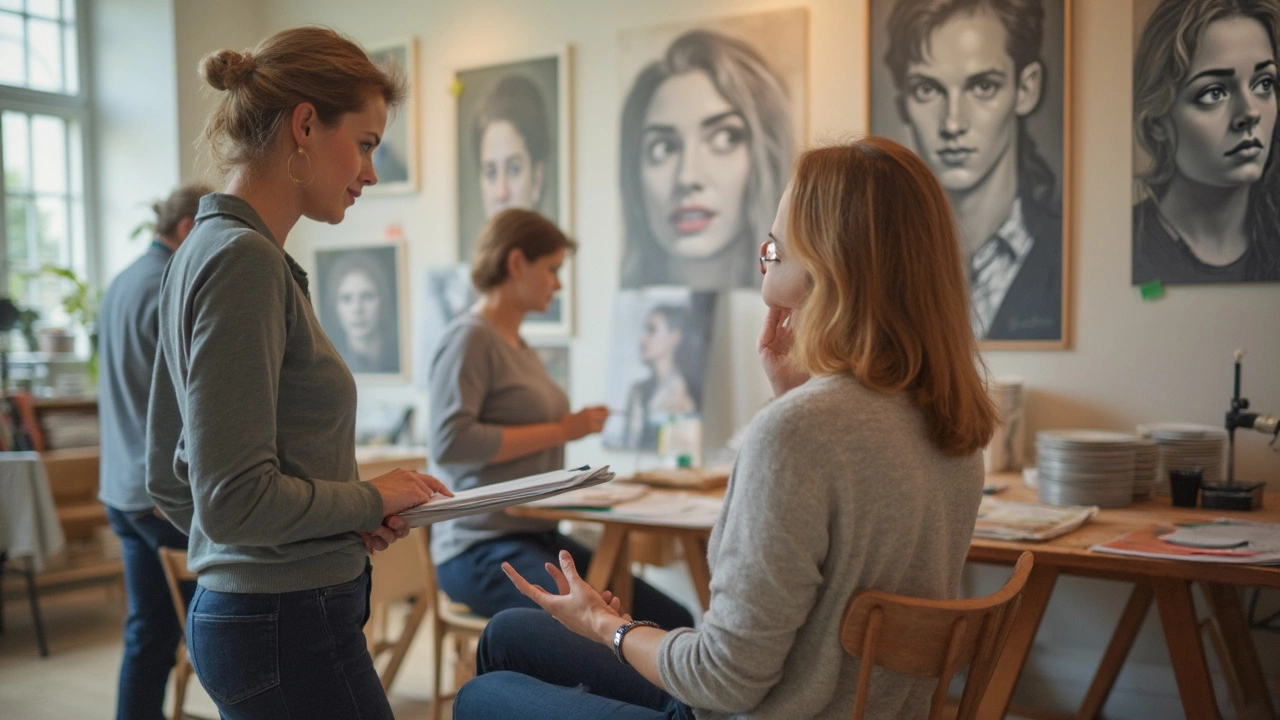
Discover what affects a realistic portrait's cost. Uncover pricing for different mediums, sizes, and artists with practical tips to get the portrait you want within budget.
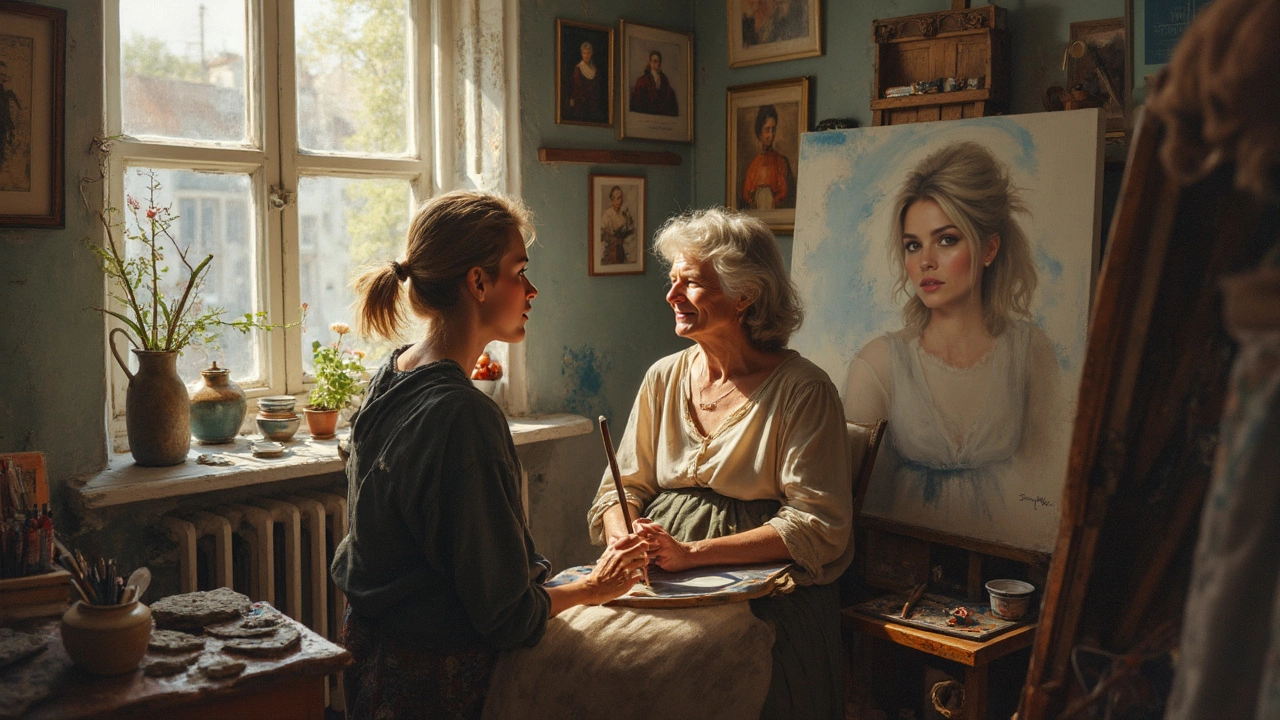
Portrait painting can look tough, especially when you want a face to resemble a real person. This article breaks down just how tricky it really is, why some struggle, and what makes it easier. You'll get real advice, beginner-friendly tips, and fun facts about how even famous artists have wrestled with faces. We've got the low-down on skills, practice hacks, and what matters most for better portraits. If you're curious whether anyone can get good at portrait painting, this will give you the real scoop.