Portrait Expression Simulator
Adjust Your Portrait
You’ve spent hours mixing the perfect skin tone. You’ve captured the exact curve of your subject’s jawline. The likeness is spot on. So why does the finished canvas feel... flat? It’s a frustrating moment every artist knows well. You nailed the technical execution, but the soul of the piece is missing. The problem usually isn’t your brushwork; it’s your approach to portrait painting. Most beginners treat a portrait as a copy of a photograph. But great portraiture is an interpretation, not a replication.
Making a portrait interesting means breaking the rules of literal representation. It requires you to inject narrative, emotion, and intentional design into the image. Whether you work in oils, acrylics, or watercolors, the principles remain the same. Here is how you can transform a standard headshot into a compelling piece of art.
Break the Symmetry with Asymmetrical Composition
Human faces are roughly symmetrical, which makes them inherently static if centered perfectly. When you place the eyes dead center on the canvas, the viewer’s gaze locks in and stops moving. To create visual interest, disrupt this balance. Use the rule of thirds to position the face off-center. This creates negative space that invites the eye to wander across the canvas rather than staring directly at the subject.
Consider cropping aggressively. A tight crop on the eyes or mouth can create intimacy and tension. Conversely, pulling back to show more of the environment gives context. If you’re painting a friend who loves gardening, don’t just paint their face. Paint the dirt under their fingernails or the blurred greenery behind them. Context turns a face into a story.
- Off-Center Placement: Shift the focal point to the left or right third of the canvas.
- Cropping Choices: Cut off parts of the head or body to suggest movement or intimacy.
- Negative Space: Use empty areas to balance the weight of the subject and guide the viewer’s eye.
Use Color Theory to Evoke Emotion
Realistic skin tones are often muddy and unexciting if copied literally from a photo. Photographs flatten light and color, stripping away the subtle shifts that happen in real life. To make your portrait painting pop, you need to exaggerate color relationships. Think about the temperature of the light. Is it warm and nostalgic? Or cool and detached?
Complementary colors create vibration and energy. If your background is a cool blue, push the shadows in the face toward orange or violet. This contrast makes the figure advance visually. Don’t be afraid of non-local colors. Vincent van Gogh used green for skin tones to convey sickness or exhaustion. Francis Bacon used harsh yellows and pinks to evoke anxiety. Ask yourself what the subject feels like, then choose colors that match that feeling, not just their physical appearance.
Play with Light and Shadow (Chiaroscuro)
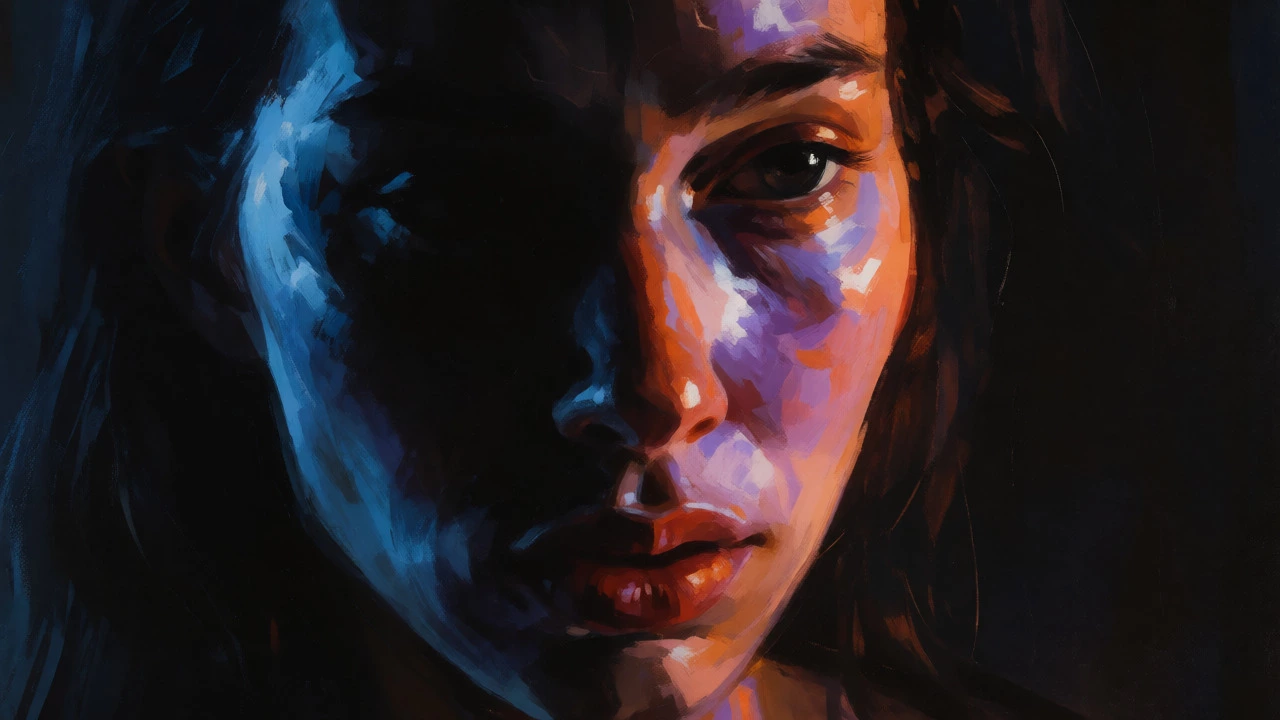
Light defines form, but it also defines mood. Flat lighting is boring because it eliminates mystery. To add drama, use strong directional light. This technique, known as chiaroscuro, was mastered by Caravaggio and Rembrandt. By hiding half the face in shadow, you force the viewer to imagine what’s there. This engagement keeps them looking longer.
Try these lighting setups:
- Rembrandt Lighting: A triangle of light appears on the cheek opposite the light source. It’s classic, dramatic, and universally flattering.
- Rim Lighting: Light comes from behind the subject, outlining their silhouette. This separates them from the background and adds a cinematic quality.
- Underlighting: Light coming from below casts unnatural shadows upward. It creates unease or surrealism, perfect for psychological portraits.
Remember, shadows aren’t black. They are rich with reflected color. Look closely at your subject’s shadow side. You’ll likely find blues, purples, or greens reflecting from the environment. Capturing these hues adds depth and realism that pure black cannot achieve.
Add Narrative Elements and Props
A face alone tells you who someone is. Their surroundings tell you where they’ve been. Adding props or environmental details transforms a portrait into a character study. However, avoid clichés. Instead of generic flowers or books, choose objects specific to the subject’s identity.
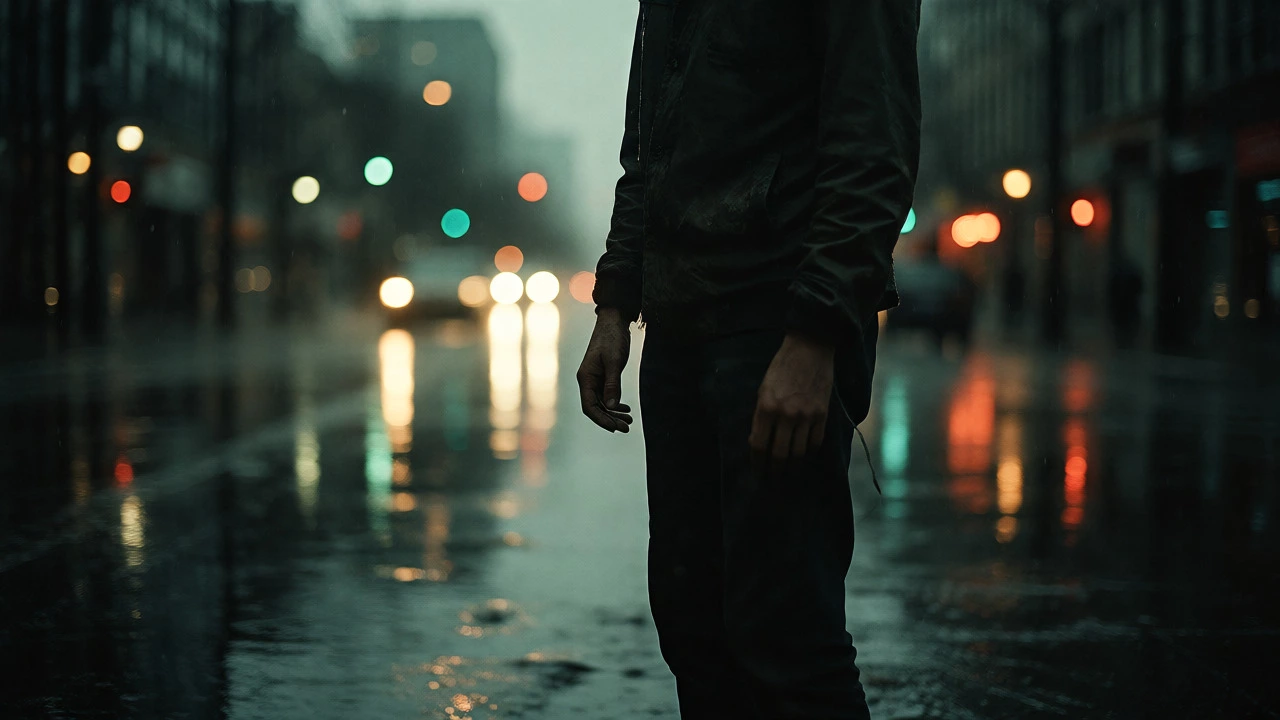
If you’re painting a musician, don’t just put a guitar in their hands. Show the calluses on their fingertips. Show the wear on the instrument’s neck. These details prove you observed reality, not just a pose. In Vancouver, where I live, many artists incorporate elements of the Pacific Northwest-rain-slicked streets, evergreen forests, or urban decay-to ground their subjects in a specific place. This local texture adds authenticity.
| Approach | Focus | Visual Impact | Best For |
|---|---|---|---|
| Literal Replication | Accuracy of features | Static, documentary | Identification, realism practice |
| Psychological Interpretation | Emotional state | Dynamic, engaging | Expressive art, gallery pieces |
| Environmental Storytelling | Context and setting | Narrative, immersive | Biographical portraits, commissions |
Experiment with Brushwork and Texture
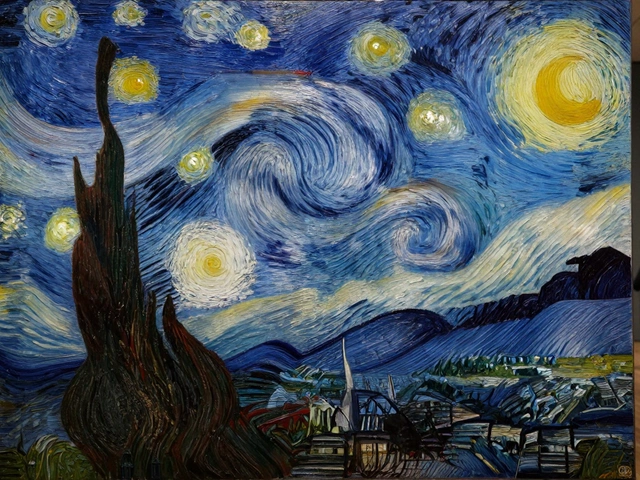
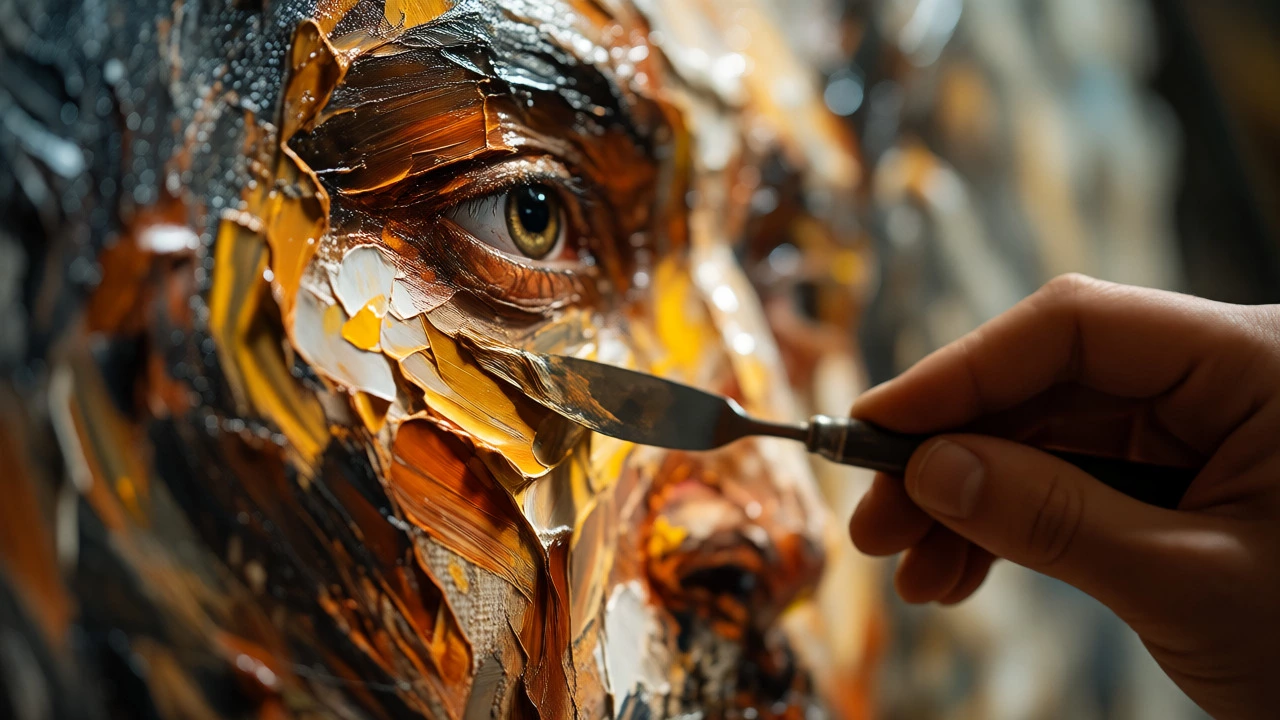
Smooth, blended surfaces can look sterile. Visible brushstrokes show the energy of the artist. They remind the viewer that a human hand made this object. Impasto techniques, where paint is laid on thickly, catch actual light in the room, creating physical depth. This works particularly well in oil painting.
Vary your stroke direction to follow the form of the face. Curved strokes around the cheeks enhance volume. Straight, rigid strokes in the hair can suggest texture without detailing every strand. Loose, broken strokes in the background keep the focus sharp on the face while adding movement. Don’t over-render every detail. Leave some areas rough or unfinished. This contrast between tight rendering and loose handling guides the viewer’s attention exactly where you want it.
Capture the Micro-Expression
The most interesting portraits capture a fleeting moment. Not a posed smile, but a genuine reaction. Watch your subject when they think, laugh, or listen. Notice how their eyebrows twitch or how their lips part slightly. These micro-expressions reveal personality.
Spend time observing before you paint. Sketch quickly to capture the essence of the expression. Then, refine it. A slight asymmetry in the eyes can convey skepticism. A relaxed jaw might suggest confidence. Avoid the "deer in headlights" stare. Have your subject talk or move during sitting sessions. Catch them mid-thought. That candidness translates into a living image rather than a frozen mask.
Frequently Asked Questions
Why do my portraits look like photographs?
This happens when you try to replicate every detail exactly as seen in a reference photo. Photos flatten depth and distort color due to lens characteristics. To fix this, interpret the light and color rather than copying them. Exaggerate contrasts and simplify complex textures to create a painterly effect that emphasizes form and mood over literal accuracy.
How do I choose a background for a portrait?
Choose a background that complements the subject’s emotional tone. Dark, moody backgrounds suit introspective subjects, while bright, abstract shapes can energize a lively portrait. Ensure the background values contrast with the subject’s clothing and skin tone so they stand out. You can also use blurred environmental elements to provide context without distracting from the face.
What is the best way to handle skin tones?
Avoid using pre-mixed flesh tones. Build skin colors from primary colors plus white, adjusting hue based on the light source. Warm light brings out yellows and reds; cool light introduces blues and violets. Remember that skin is translucent, especially around the ears and nose, so allow underlying bone structure or background colors to subtly influence the surface color.
Should I always paint the eyes first?
Not necessarily. While eyes are crucial for likeness, starting with large masses of color and value helps establish the overall composition. Many professional painters block in the entire head shape and major shadows first. This ensures proportions are correct before adding detail. However, refining the eyes early can help lock in the expression, so experiment to see which workflow suits your style.
How can I make my portrait more expressive?
Focus on distortion and exaggeration. Slightly elongate features to convey elegance or tension. Use bold, unexpected colors to signal emotion. Incorporate visible brushstrokes that reflect the energy of the subject. Expression comes from how you interpret the subject’s inner state, not just their outer appearance. Think about what the person feels, then translate that feeling into visual choices.