3 P's of Painting Planner & Checklist
Plan, Paint, and Polish — build your roadmap, track your progress, and stay on course from first sketch to final signature.
- Plan--
- Paint--
- Polish--
Choose Your Palette
Test Your Value Structure
Drag across the scale to check whether your lightest lights and darkest darks have enough contrast. A strong image works in black and white.
Planning Checklist
- Draw 3-5 thumbnails
Test composition and value - Select limited palette
Ensure color harmony - Sketch lightly on canvas
Transfer key lines and proportions - Block in major values
Establish light/dark structure
Thumbnail Preview
A quick 2x3 inch study that locks in your focal point and value map before you commit to the full canvas.
Ever stared at a blank canvas, felt the brush in your hand, and wondered why your last masterpiece looked more like a muddy mess than a stunning landscape? You aren't alone. Many artists, even those with years of experience, struggle with the transition from idea to execution. The secret often lies not in buying better supplies or learning exotic tricks, but in mastering a simple framework known as the 3 P's of painting. This method breaks down the creative process into three manageable phases: Plan, Paint, and Polish. It’s a practical approach that keeps you focused, reduces frustration, and ensures your final piece has the depth and clarity you intended.
This guide walks you through each phase with specific techniques tailored for oil painting, though the principles apply to acrylics and watercolors too. By the end, you’ll have a clear roadmap to follow next time you sit down to create.
Key Takeaways
- Plan involves creating a thumbnail sketch and deciding on value structure before touching paint.
- Paint is about executing the design with confident strokes, managing wet-on-wet techniques, and building layers.
- Polish focuses on refining details, adjusting contrast, and adding the final touches that make the image sing.
- The 3 P's prevent common mistakes like losing focus mid-painting or overworking areas.
- Each phase requires a different mindset: strategic, expressive, and critical.
Phase One: Plan Your Vision
Most painters skip this step because they’re eager to get paint on the canvas. But rushing here leads to rework later. Planning isn’t about drawing a photorealistic underpainting; it’s about solving composition problems on paper where mistakes are cheap.
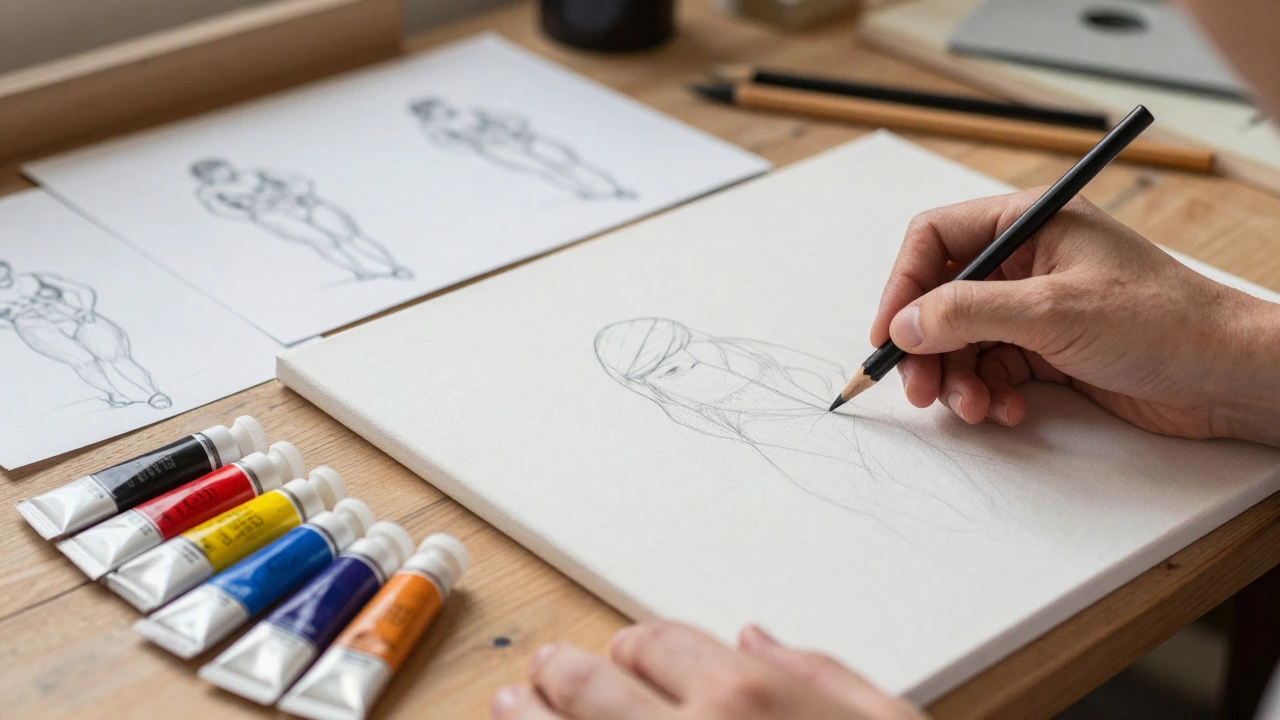
A thumbnail sketch is a small, quick drawing used to test composition, value, and focal points before starting the actual painting. Create three to five thumbnails, no larger than 2x3 inches. Focus on large shapes, light direction, and where the viewer’s eye should land first. Use only two values-black and white-to ensure your composition works without relying on color. If the image is strong in black and white, it will be strong in color.Next, define your palette. Don’t bring out all your tubes. Limit yourself to six to eight colors. For oil painting, a classic split-complementary palette might include titanium white, ivory black, cadmium yellow, alizarin crimson, cerulean blue, and ochre. Fewer colors mean easier mixing and a more cohesive look. Write down your plan: what is the focal point? What is the mood? What is the background doing?
| Task | Purpose | Time Estimate |
|---|---|---|
| Draw 3-5 thumbnails | Test composition and value | 10-15 minutes |
| Select limited palette | Ensure color harmony | 5 minutes |
| Sketch lightly on canvas | Transfer key lines and proportions | 10 minutes |
| Block in major values | Establish light/dark structure | 20 minutes |
Once your plan is solid, transfer it to the canvas using a light pencil or charcoal sketch. Keep lines minimal. Then, block in the darkest darks and lightest lights. This creates a “value map” that guides your subsequent brushstrokes. If you can’t see the difference between your shadows and midtones, fix it now. It’s much harder to adjust values once the paint starts drying.
Phase Two: Paint with Confidence
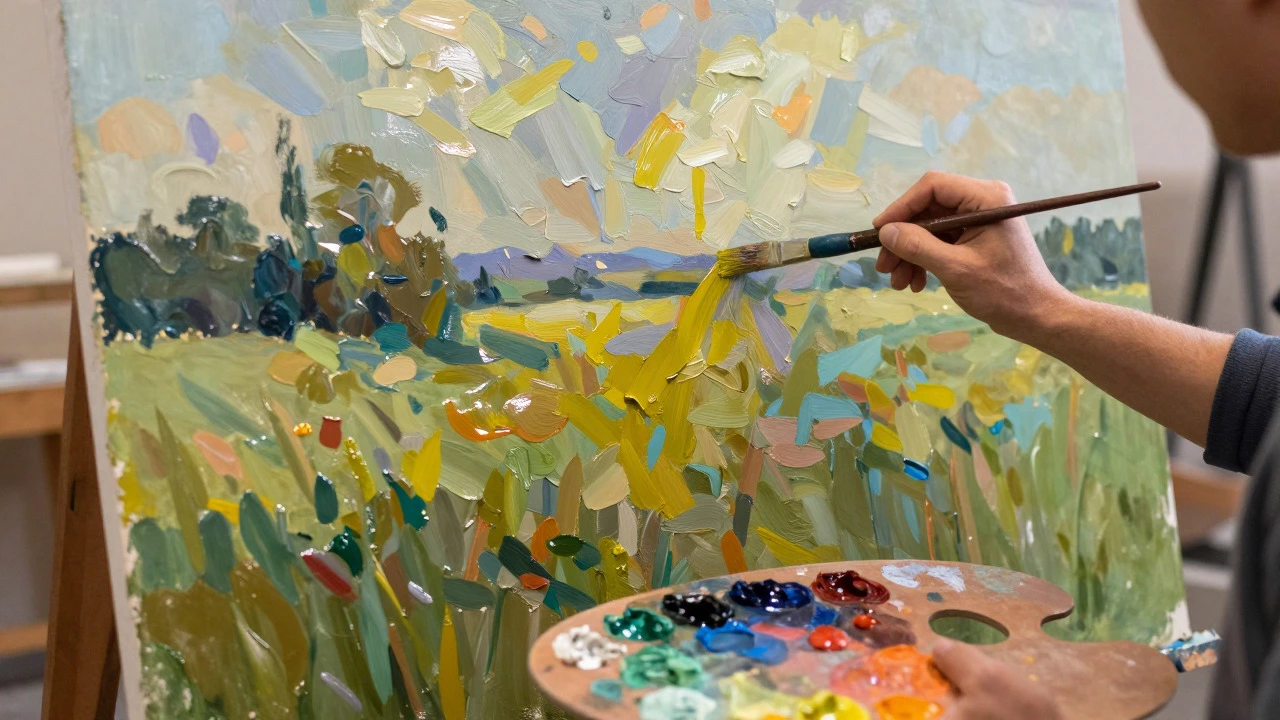
Now comes the fun part. But “fun” doesn’t mean chaotic. During the Paint phase, your goal is to translate your plan into reality with energy and intention. Avoid staring at one spot for too long. Work broadly, then narrow down.
In oil painting, the fat-over-lean rule is crucial. Start with thinner paints (more solvent) for underlayers, and gradually add more oil as you build up texture. This prevents cracking later. Use a flat brush for broad areas and a round brush for finer details. Keep your brushes clean by switching solvents frequently, but don’t wash them after every stroke-oil paint dries slowly, so you can reuse wet paint from your palette.
Mix colors on your palette, not on the canvas, whenever possible. This keeps your surface cleaner and allows you to control consistency. If you find yourself struggling with a color mix, step back. Often, the issue isn’t the hue but the value or temperature. Is your shadow too warm? Cool it down with a touch of blue. Is your highlight too dull? Add a bit of white or yellow.
Work in passes. First pass: establish all major forms. Second pass: refine edges and transitions. Third pass: add secondary details. Between passes, step away from the easel. Look at your painting from across the room or flip it upside down. This helps you spot errors in proportion or balance that your brain ignores when you’re close up.
Phase Three: Polish for Impact
The Polish phase is where good paintings become great. This is the most delicate stage. Too little polish leaves the work feeling unfinished; too much makes it look stiff and overworked. The goal is to enhance what’s already there, not to add new elements.
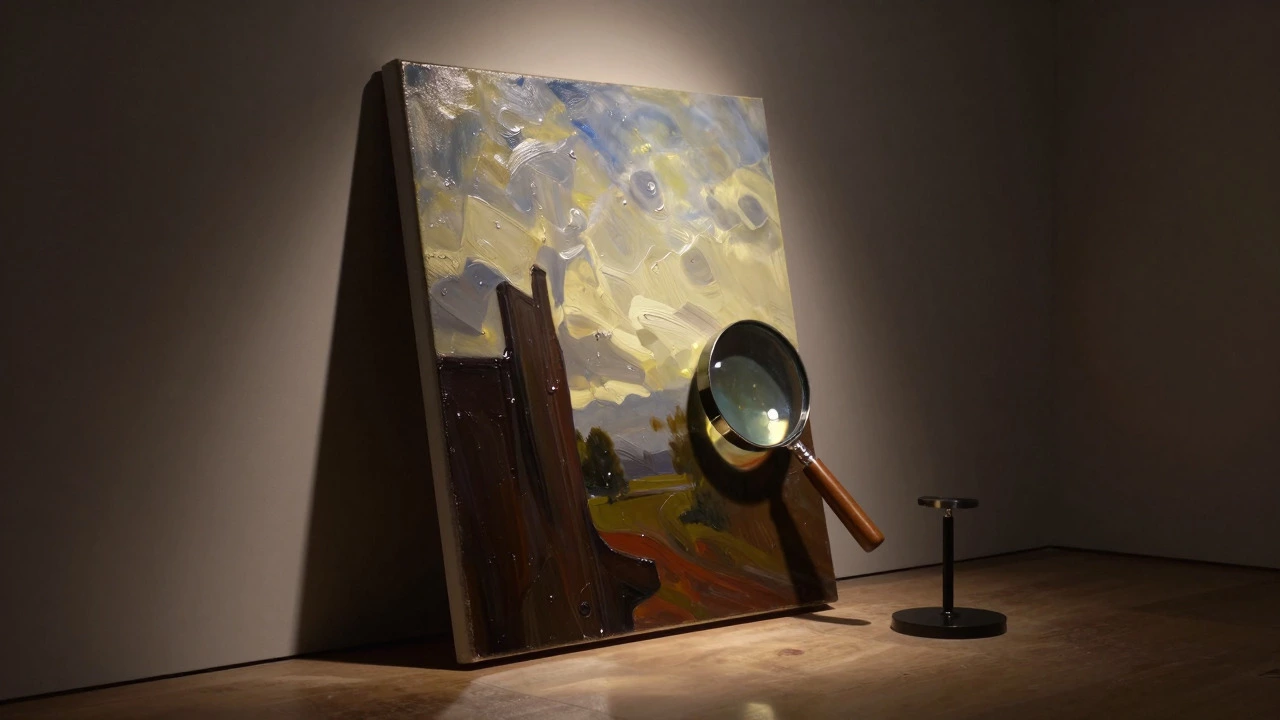
Start by checking contrast. Are your lightest lights bright enough? Are your darkest darks deep enough? Adjust these extremes to make the image pop. Next, examine your edges. Hard edges draw attention; soft edges recede. Decide which objects should stand out and which should blend into the background. Soften the edges of background elements and sharpen the edges of your focal point.
Add glazes for depth. A thin layer of transparent paint over dried areas can unify colors and add richness. For example, a slight green glaze over a blue sky can make it feel atmospheric. Be patient. Let each glaze dry completely before applying another. Finally, sign your work. Place your signature in a less prominent area, like a corner or within a dark shadow, so it doesn’t distract from the art.
Take a photo of your finished painting. Compare it to your original thumbnail. Does it match your intent? If not, ask why. Did you lose the focal point? Did the colors clash? This reflection helps you improve your planning skills for the next piece.
Common Pitfalls to Avoid
Even with a solid framework, mistakes happen. Here are the most frequent traps painters fall into:
- Skipping the plan: Leads to indecision and constant changes mid-painting.
- Over-mixing colors: Creates muddy tones. Mix just enough for the area you need.
- Working too fast: Oil paint needs time to dry. Rushing causes smudging and loss of detail.
- Ignoring value: Focusing only on hue can result in a flat, lifeless image.
- Perfectionism during Polish: Trying to fix everything ruins the flow. Pick the top two issues and address only those.
How to Practice the 3 P's Effectively
You don’t need to master this framework overnight. Start with small studies. Spend 30 minutes on a thumbnail, 45 minutes painting, and 15 minutes polishing. Repeat this cycle weekly. Over time, the phases will become second nature. Join online communities or local art groups to share your progress. Feedback from others can reveal blind spots in your planning or polishing stages.
Keep a journal of your paintings. Note which plans worked well and which didn’t. Track your color mixes that produced successful results. This data becomes invaluable as you build your personal style. Remember, the 3 P's aren’t rigid rules-they’re guidelines. Adapt them to your medium, subject, and goals. Whether you’re painting a portrait, a landscape, or an abstract piece, this structure provides a reliable foundation for consistent improvement.
Frequently Asked Questions
Do the 3 P's of painting apply to digital art?
Yes, absolutely. In digital painting, the Plan phase involves layering and masking, Paint involves brush dynamics and blending modes, and Polish involves adjusting curves, adding noise, and sharpening. The core logic remains identical: structure, execution, refinement.
How long should each phase take?
It depends on the size and complexity of the work. For a standard 16x20 inch oil painting, expect 30-45 minutes for planning, 2-4 hours for painting, and 30-60 minutes for polishing. Smaller studies can be done in under an hour total.
What if I run out of time during the Paint phase?
Is glazing necessary for oil paintings?
Not always, but it’s highly recommended for achieving depth and luminosity. Glazes allow light to pass through the transparent layer and reflect off the underlying white ground, creating a glowing effect that opaque paint cannot achieve.
How do I know when my painting is finished?
When further changes would detract from the whole rather than improve it. If you’ve addressed your top three issues and the image reads clearly from a distance, it’s likely done. Trust your initial reaction after stepping away for a day.