Pigment Lightfastness Checker
Check Your Pigment's Longevity
Find out if your pigment will fade over time. The industry standard uses AA (very high) and AAA (highest) ratings for reliable color stability.
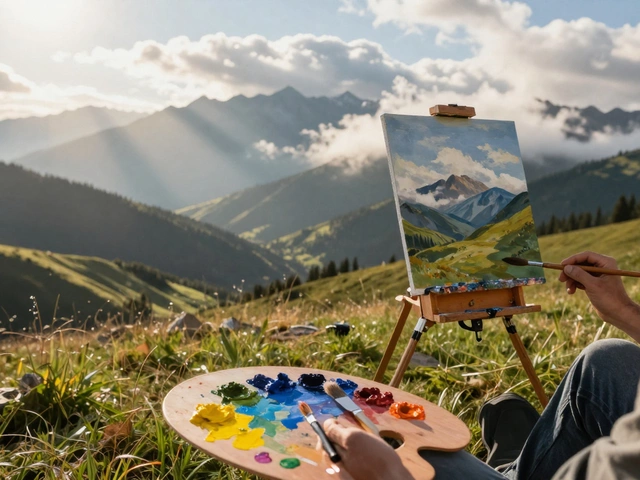
When you hear the phrase vibrant oil painting, you probably picture colors that jump off the canvas, deep shadows that hold their hue, and a surface that still feels alive years later. Oil painting is a medium that uses pigments suspended in drying oils to create rich, lasting images. The secret to that lasting punch isn’t magic; it’s a mix of good materials, smart techniques, and a solid grasp of color fundamentals.
Quick Takeaways
- Pick high‑quality, lightfast pigments and a proper canvas ground.
- Use glazing to build luminous depth and impasto for surface energy.
- Mix colors on the palette using the three‑color triangle (primary, secondary, complementary).
- Seal the finished work with a UV‑resistant varnish to lock in color.
- Check each step with the checklist at the end to avoid common pitfalls.
1. Color Foundations: Why Pigment Choice Matters
Before you even dip a brush, think about the pigment is a finely ground mineral or organic compound that gives paint its hue. Not all pigments are created equal. Lightfast pigments resist fading when exposed to sunlight, while cheaper alternatives can turn dull in months. Look for a rating of “AA” or “AAA” on the label - that’s the industry’s way of saying “you can count on this color staying vivid.”
Mixing colors with a strong foundation is easier. Use the classic color‑mixing triangle: primary colors (red, blue, yellow), their secondaries (orange, green, violet), and complementary pairs (blue‑orange, red‑green, yellow‑purple). When you need a vibrant hue, pull from opposite sides of the triangle to boost saturation without muddying.
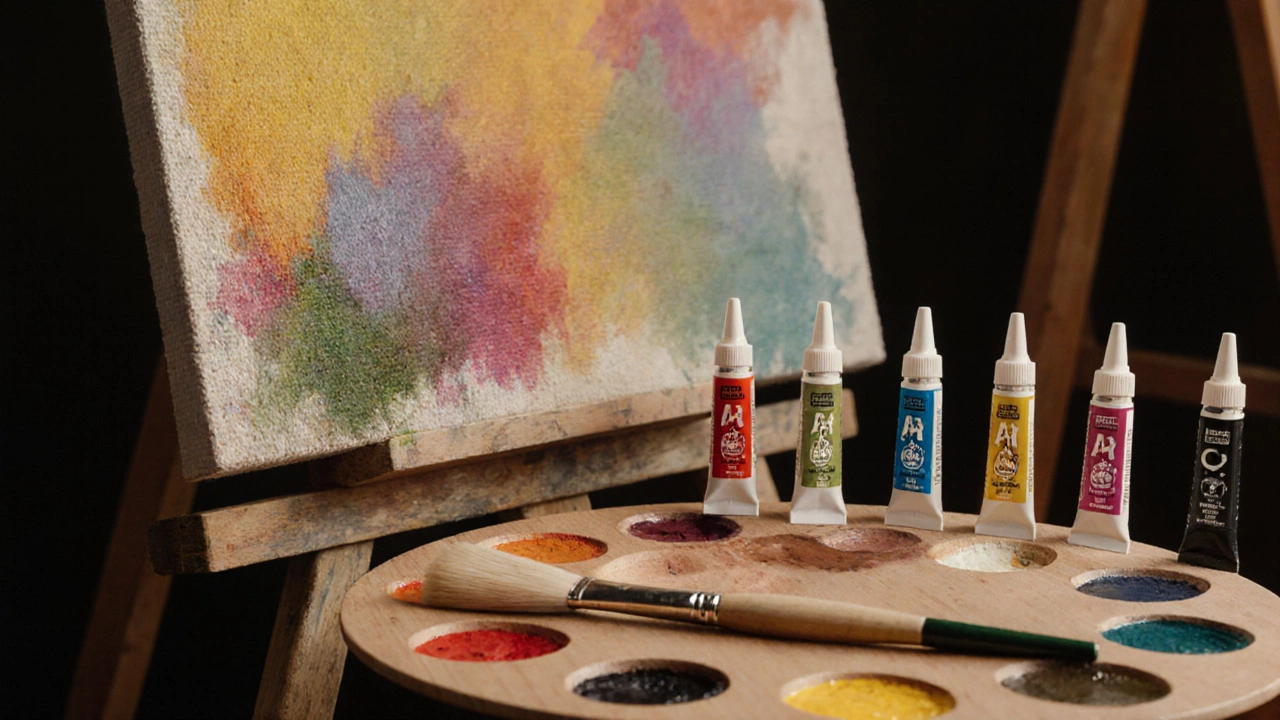
2. The Right Canvas, Ground, and Medium
Even the best pigments can look flat on the wrong surface. A well‑stretched canvas is a fabric support, usually linen or cotton, stretched over a wooden frame provides a breathable base that lets oil dry evenly. Avoid pre‑primed canvases that are overly glossy - they can trap oil and cause yellowing.
Apply a traditional gesso ground (a mixture of chalk, rabbit skin glue, and pigment) in two thin coats. This creates a slight tooth that grabs the paint while keeping the colors bright. If you prefer a faster route, a acrylic gesso works, but add a thin layer of oil‑based primer on top for true oil compatibility.
The medium is a liquid added to oil paint to alter its flow, drying time, and translucency. A classic medium like linseed oil boosts gloss and saturation, while a blend of stand‑oil and walnut oil slows drying for smoother glazes. Skip the cheap “fast‑dry” additives - they often mute color intensity.
3. Techniques That Add Real Spark
Now that you’ve set the stage, let’s talk technique. Below is a quick reference that shows how each method boosts vibrancy.
| Technique | How It Boosts Vibrancy | Typical Use |
|---|---|---|
| Glazing | Layered translucent washes let light penetrate and reflect, creating depth. | Skies, shadows, luminous skin tones. |
| Impasto | Thick paint catches light, making colors appear brighter. | Highlights, texture, focal points. |
| Scumbling | Dry, opaque brushstrokes over a wet layer add a hazy, colorful veil. | Atmospheric effects, mist, distant light. |
| Wet‑on‑wet (AllaPrima) | Immediate mixing on canvas preserves pigment purity. | Fast work, expressive scenes. |
Let’s break down the two heavy‑hitters - glazing and impasto.
Glazing for Luminous Depth
Start with a thin, opaque underpainting in a neutral tone (often burnt umber). Once that layer is dry, mix a small amount of glazing is a transparent or semi‑transparent layer of paint, usually thinned with solvent or medium medium (e.g., linseed oil mixed with a touch of mineral spirits). Apply the glaze in smooth strokes, letting the underlying color shine through. Each glaze adds a new hue band, similar to how stained glass filters light.
Key tip: keep each glaze thin - about the consistency of warm honey. Too thick and you lose transparency; too thin and the color looks washed out.
Impasto for Surface Energy
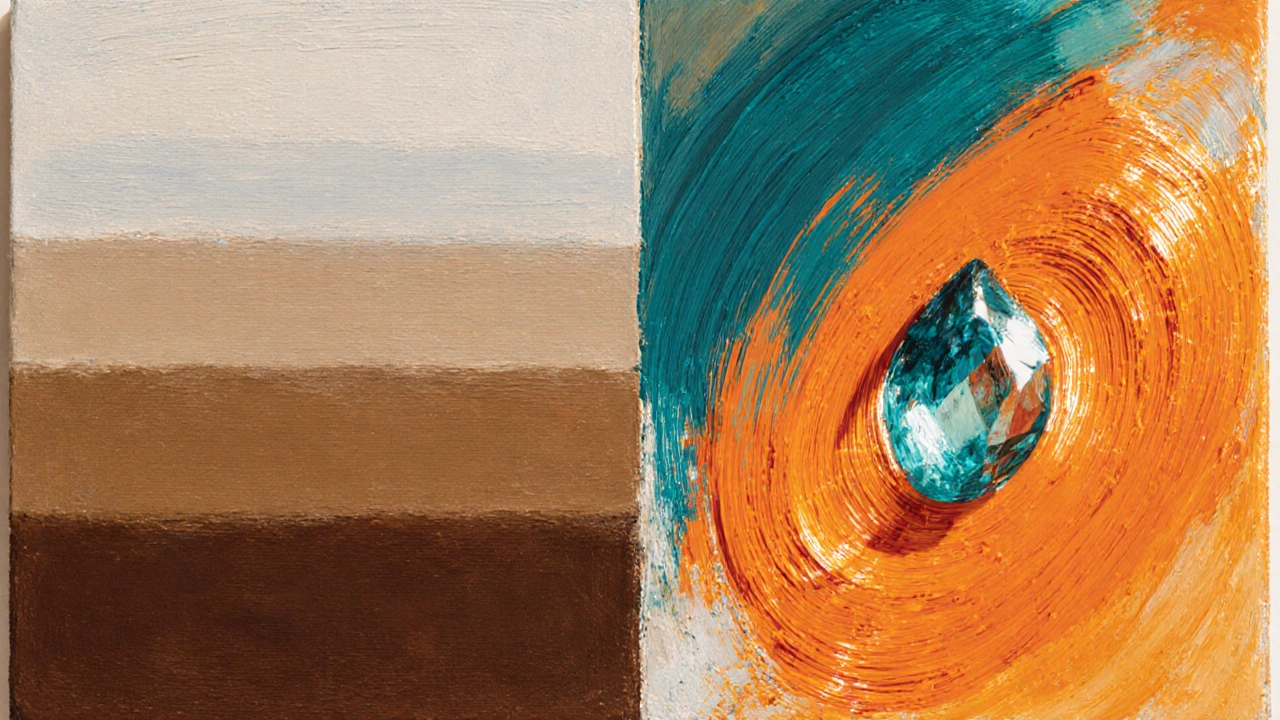
When you want a color to pop, load your brush or palette knife with straight paint (no thinning). Apply it in confident, directional strokes. The raised peaks catch light, creating a miniature three‑dimensional effect. Use impasto on bright spots - the sun on water, a gleaming jewel, or a crisp white highlight.
Remember, impasto dries slower than thin layers. Plan your work so that the thick sections have enough breathing room; otherwise they might tack to the canvas and crack over time.
4. Light, Contrast, and Color Temperature
Vibrancy isn’t just about pigment purity; it’s also about how you handle value and temperature. A saturated hue looks dead if it’s buried in an overexposed background. Use a value scale (from black to white) to map where your colors sit. Keep the focal area a few values brighter than the surrounding fields.
Warm colors (reds, oranges, yellows) advance, while cool colors (blues, greens) recede. Pair a warm accent with a cool shadow to make the warm part feel even hotter. Complementary contrasts (e.g., a dash of teal against orange) also boost saturation because they stimulate opposite cones in the eye.
5. Protecting Your Color: Varnish and Lightfastness
After the paint cures (usually 6‑12 months for thick works), seal the surface with a protective varnish. Choose a varnish is a clear coating that shields oil paint from dust, UV light, and environmental pollutants that is UV‑resistant and reversible (e.g., a museum‑grade damar or synthetic resin). Apply in thin, even layers with a soft brush, letting each coat dry fully before adding the next.
The varnish does more than protect; it adds a subtle depth of gloss that makes colors appear richer. If you prefer a matte finish, use a matte varnish, but know that gloss generally enhances perceived vibrancy.
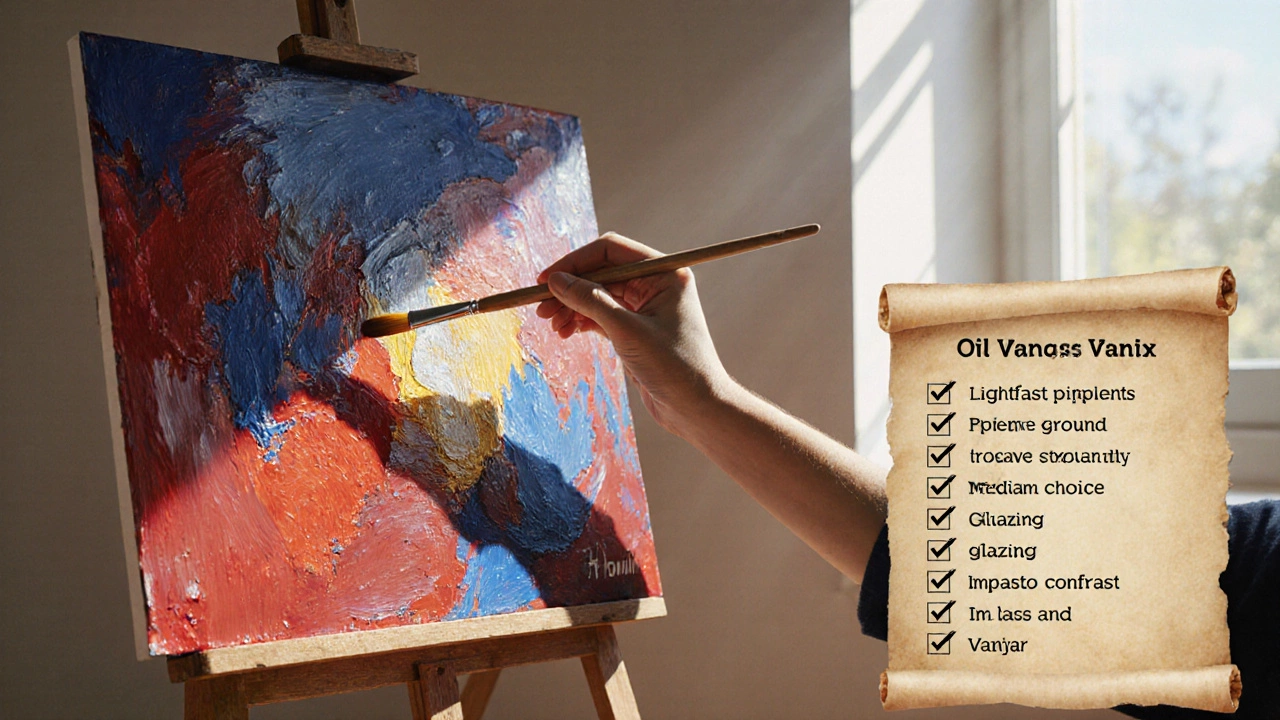
6. Quick Checklist & Common Pitfalls
- ✅ Use lightfast pigments with at least AA rating.
- ✅ Stretch canvas tight; prime with two thin gesso coats.
- ✅ Choose a medium that matches your desired drying time.
- ✅ Build color with transparent glazes over a solid underpainting.
- ✅ Add impasto for highlights that catch the eye.
- ✅ Keep value contrast strong; avoid flat tonal fields.
- ✅ Finish with UV‑resistant varnish after full dry.
Typical mistakes to avoid: mixing too many pigments in one bite (muddy colors), thinning with water (breaks oil binder), over‑glazing (loss of texture), and skipping the varnish (fades faster).
Frequently Asked Questions
How can I tell if a pigment is lightfast?
Check the manufacturer’s rating - AA or AAA means the color will stay vivid for decades under normal indoor lighting. If the label is missing, treat it as low‑lightfast and avoid using it for large areas.
Can I use acrylic gesso with oil paint?
Yes, but add a thin oil‑based primer on top. The oil primer creates a compatible surface that prevents the paint from cracking.
What medium should I use for a smooth glaze?
A mix of linseed oil and a small amount of mineral spirits (1:1) works well. It thins the paint without sacrificing saturation.
How long should I wait before varnishing?
Allow the painting to cure fully - typically 6‑12 months for thick impasto pieces. Thin washes may be ready in 3‑4 months.
Is it okay to mix oil paint with water?
No. Water breaks the oil binder and leads to cracking. Use oil‑based solvents or mediums instead.