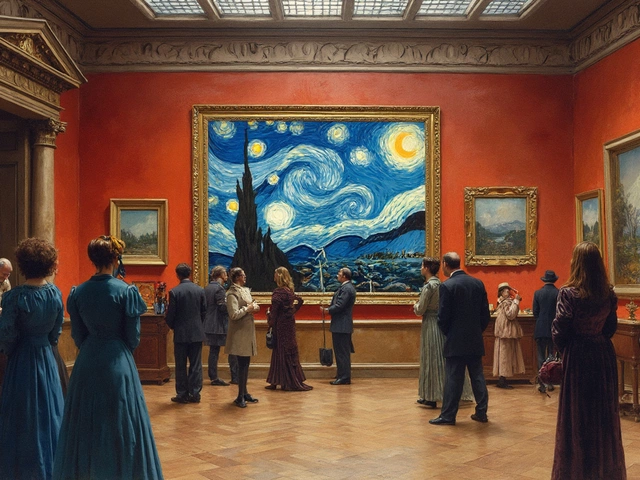
Ever wondered why we can’t keep our hands off that cool-looking statue in the museum, even if there’s a sign begging us not to touch? It’s because sculpture pulls us in. It lives in the real world with us—casting shadows, filling space, demanding to be felt and seen from every angle. Learning how to create sculpture means you’re stepping into an ancient tradition, but with tools and toys your ancestors could only dream about. Whether you want to carve, mold, or even 3D print, the world of sculpture isn’t as closed off or mysterious as it looks. It might get messy (ask Luna—my cat has strolled through more than a few clay mishaps, sporting a new gray paw print), but the results can be stunning, personal, and genuinely addictive once you feel that first shape come alive in your hands.
Getting Started with Sculpture: Materials, Tools, and a Mindset for Success
The very first step to learning sculpture isn’t buying expensive tools or booking workshops. It’s about rewiring how you see objects around you. Start by roaming through your living room or even your neighborhood—the mailboxes, the playground swing, your own tired sneakers, even Duke’s dog bowl. Get your eyes and fingers tuned into the shapes, shadows, and textures that fill your world. This is seriously underrated—some leading sculptors insist the best practice is simply sketching or touching interesting forms before ever touching clay or stone.
Once you’re itching to try, you’ll want to start with forgiving materials. Most beginners reach for clay. Why? It’s cheap, easy to find, and can be reworked a million times before you strike gold. Brands like Sculpey and Plastilina don’t even dry out, so you can return to your creation for days or weeks. If you want something earthier, air-dry clays like DAS are solid choices, though they harden for good once exposed to air. Looking to get fancier? There’s wax, soapstone, or even entry-level carving sets available—so you can chip away at wood or soft stone if clay feels too soft.
Toolkits are a rabbit hole—don’t get lost. For simple clay work, you really only need a handful of basics:
- Modeling tools: Wooden or plastic sticks with rounded or pointed tips for adding fine details.
- Wire loops and ribbon tools: For carving and scooping away clay.
- Sculpting wire: For making armatures (the skeletons inside larger figures).
- Fingers: Still the most sensitive and controllable tools ever invented!
For stone or wood, you do need chisels, mallets, and rasps. Don’t forget protective eyewear—you’d be amazed how fast chips can fly. In 2024, 57% of new sculpture students enrolled in beginner carving classes listed safety protocols as something they’d underestimated at first (and regretted after tiny chiseling accidents).
And mind your work zone. Keep pets away from chemicals like epoxy and sharp carving bits. I've chased Duke out of the workshop twice after he tried to gnaw on a chunk of leftover soapstone—he survived, my nerves didn’t.
Your mindset matters as much as your kit. Be patient with yourself. Mistakes happen constantly in sculpture. Unlike drawing, you’ve got height, width, and depth—three ways to fumble, but also three times the fun. Your first few pieces might look downright weird (my early “dog” sculpture looked more like a melted potato), but every strange form is a step closer to something cool. Don’t throw away failed attempts; use them as references, cut them open, see how they work, and build from there.
Here’s a cheat-sheet to compare the main sculpture starter materials:
| Material | Pros | Cons |
|---|---|---|
| Air-Dry Clay | Easy to shape, no kiln needed | Dries out if left exposed, can crack |
| Polymer Clay | Bakes in oven, wide colors, reusable | Limited size for home baking |
| Stone (Soapstone, Alabaster) | Traditional feel, beautiful results | Dusty, needs tools and safety gear |
| Wood | Light, nice texture, smells great | Challenging to carve for beginners |
| Wax | Perfect for lost-wax casting | Softens in heat, tricky for details |
Mastering Core Techniques: Sculpting Methods and Creative Exercises
The magic of learning sculpture is realizing how many ways you can shape, carve, twist, or build forms. Techniques vary wildly based on what you’re using and the effect you want. At the most basic, sculptors either add material (like clay modeling), remove it (stone carving), or assemble bits together (found-object sculptures, wire models, even LEGO if you’re feeling modern, believe it or not).
Here’s a quick rundown of the three main methods:
- Modeling: You add bits of clay or wax to form your shape. Think of ancient Greek busts, classic Disney maquettes, or the cool movie monster models from your favorite sci-fi flick. This lets you change your work on the fly, experiment with details, and fix mistakes easily.
- Carving: You start with a bigger block of material—wood, foam, or stone—and whittle away everything that isn’t your subject. This takes planning and maybe a dash of bravery. Just like whittling a stick into a dog, only with more dust. Carved pieces tend to have a different texture and look bold.
- Assembling: This is “building” rather than carving or molding—a bit like making things with LEGO, recycled junk, wire, or other objects. Modern artists love this method, turning old bicycle parts into animals or combining driftwood and glass into new creatures.
Want to build hand skills quickly? Set aside a box to collect “weird stuff”—bottle caps, broken toys, bits of wire, even leftover pasta. Use these to create abstract characters or shapes from your imagination. If you’re going for realism, you can set up a simple still life and try to sculpt it as accurately as possible—an apple, a cup, and, if you’re brave, Luna in her favorite napping pose. This sounds weirdly simple, but even top fine art schools use this sort of exercise. In a 2023 study at the NY Academy of Art, students who spent just 10 minutes a day free-sculpting everyday objects saw a 30% improvement in hand-eye coordination and speed over eight weeks.
Another great trick—“blind contour” sculpting. Close your eyes or focus entirely on your model, not your hands. This rewires your brain to “feel” shapes, not just see them, and helps you let go of perfectionism. Trust me, it’s hilarious and oddly freeing. Luna judged me hard when I tried making a mouse with my eyes closed, but I honestly learned more in one hour of that than I did in some classes.
Here are a few quick exercises that really pay off:
- Fast sketching: Take a lump of clay, set a timer for 3 minutes, and sculpt a recognizable object. Don’t overthink—just try.
- Copy a famous sculpture: Print a reference photo and try to match the main form in 20 minutes. Don’t worry about perfect detail, just shape and proportion.
- Build an armature: For bigger projects, use foil or wire to make a “skeleton” to support clay. This teaches you proportions, balance, and planning.
- Texture sampler: Press different objects (coins, cloth, leaves) into clay to make a “texture map.” This hones your sense of surface and realism.
Many beginners overlook the value of patience. Michelangelo allegedly once said, “Every block of stone has a statue inside it and it is the task of the sculptor to discover it.” Corny? Maybe. But the point stands—you’re uncovering as much as you’re building. Don't hesitate to take photos as you go. Look at your work from every angle, or flip it in a mirror. You’ll spot mistakes faster if you 'step back.'
Now, if you ever want to ramp things up, 3D printing is on fire right now. The number of sculptors selling digital models doubled between 2021 and 2024. Programs like ZBrush or Blender (which has a free version) let you “sculpt” on screen, then print your art. It’s not cheating—it’s just another tool. Purists used to turn up their noses at digital work, but now museums exhibit 3D-printed statues right alongside marble originals. If you have a printer at home, that’s a killer way to try new ideas risk-free and see your digital skills come alive in plastic (PLA or resin) right on your desk.
Whatever your method, keep showing up—even for 10 minutes a day. Most improvement comes from raw face time with your medium. If you miss a day? No big deal. But the most skilled sculptors aren’t necessarily the most “talented”—they’re just the folks who kept at it, learned from flops, and scooped or whittled their way to cool things day after day.

Deepening Your Art: Inspirations, Learning Resources, and Building Your Own Style
It’s easy to get stuck in comparison or self-doubt, especially with social media showing off flawless sculptures that took weeks or even months to finish. Here’s the thing: Every sculptor—no exceptions—starts out rough. If you scroll back far enough, you’ll find wobbly forms and cracked clay even from famous artists like Thomas Houseago or Niki de Saint Phalle. Sculptors are makers, fixers, and, honestly, tinkerers above all else. So, when you crave inspiration or want to evolve your art, study both the masters and the quirky newcomers posting works on places like Instagram, DeviantArt, or TikTok.
Museums and sculpture parks are treasure troves. Steer clear of just staring at polished, finished statues. Try to notice tool marks, repairs, surface imperfections, and how the work interacts with light. Why do some figures look alive and others stiff? Why does a big piece make you want to walk around it? Explore those questions every time you see a piece in person—or even in a book. In fact, according to a 2022 survey of 400 art students by the Royal Society of Arts, those who visited sculpture parks monthly reported 43% higher engagement and more creative techniques in their own practice.
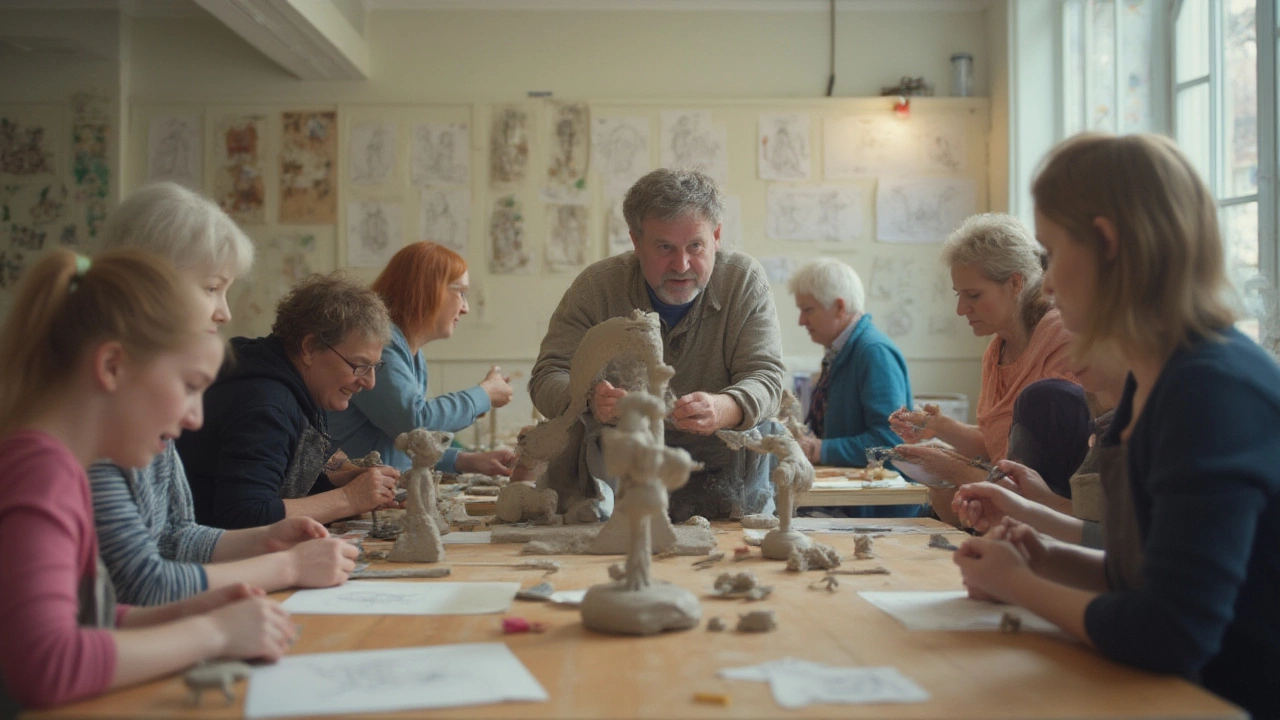
If you’re craving guidance, online learning is a goldmine. YouTube is packed with step-by-step lessons for every material. Channels like Proko, Sculpture_Geek, and Laurin McCracken offer tutorials ranging from beginner to pro. Skillshare and Domestika have in-depth classes—plenty focused on *sculpture for beginners* and progressing through to advanced work. Many art schools now stream live workshops. If you’re up for it, try a local class—community centers or maker spaces often run hands-on workshops. The best perk? Meeting fellow sculpting fanatics. Nothing boosts your motivation like a friend who “gets” what you’re trying to do (or laughs when your clay giraffe falls over for the third time).
Cultivate your own style. It’s tempting to chase realism, but quirky, stylized, or abstract works have just as much impact—and often sell better if you’re thinking about turning your hobby into a side hustle. Look at the wild variety in the annual Venice Biennale or the diversity on exhibit at the Museum of Modern Art. Some sculptors use rough, chunky gestures; others chase perfect smoothness. Test both. Break the rules—combine found objects with sculpted parts, try bright paints, add weird textures, or push scale in wild directions. Sculpture doesn’t care if you “color outside the lines.”
Document your progress—photos, journal notes, short videos. Not only will you track improvements, but you’ll discover strategies that work (and some that definitely don’t). This kind of self-feedback loop speeds up the learning curve more than any fancy textbook. And if you ever get stuck? Take a break, ask friends (or pets) for feedback, or try sculpting something totally outside your comfort zone. My dog Duke once inspired a series of goofy sitting poses that probably wouldn't have happened otherwise.
Here’s what a self-study plan might look like for the first three months:
| Week | Goal | Material/Tool | Exercise |
|---|---|---|---|
| 1-2 | Sculpting basic shapes (cubes, spheres) | Air-dry clay | Shape, combine, smooth |
| 3-5 | Simple still lifes | Polymer clay, armature wire | Copy fruit, simple objects |
| 6-8 | Texturing & detail | Sculpting tools | Texture samplers, adding and carving |
| 9-12 | Original character or abstract form | Any clay or 3D print | Plan, sculpt, finish and paint |
You don’t need endless money or endless time. You just need a willingness to play, mess up, and try again. Whether your artwork winds up on a shelf or lit up in a gallery, learning sculpture wakes up your senses and lets your imagination walk right off the page into your hands. Stay curious and keep at it—every world-famous sculptor was “just starting” once. Now, if you’ll excuse me, Luna’s tail has found its way into my clay again, and Duke is convinced my latest statue is a new chew toy. Art imitates life, right?

