Linseed Oil Mixing Calculator
Mixing Parameters
Mixture Analysis
Enter values and click Calculate
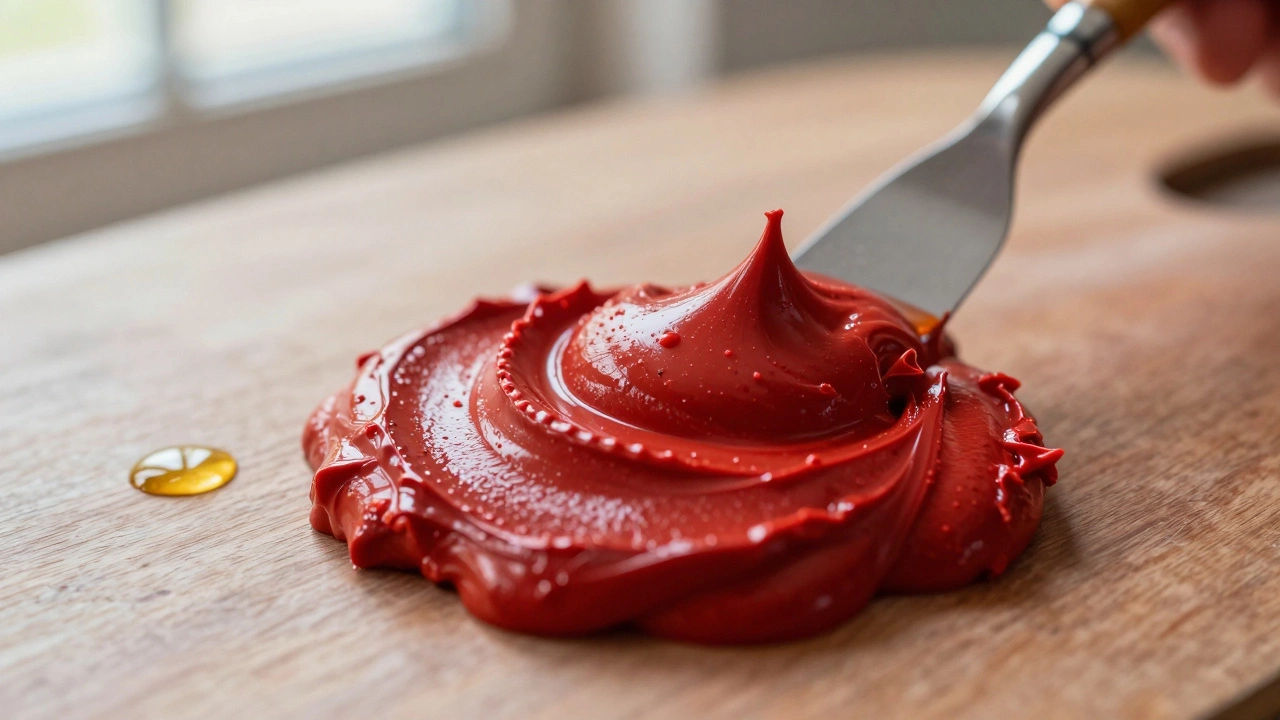
You squeeze a dollop of cadmium red from the tube. It sits there, thick and stubborn, resisting your brush like cold butter. You want it to flow, to blend into that shadow without muddying the color or leaving harsh edges. This is where linseed oil enters the conversation. It is the most common additive in the history of oil painting, yet many artists treat it with suspicion. Is it just a thinner? Will it yellow my whites? Does it actually make the paint last longer?
The short answer is yes, but with caveats. Adding linseed oil changes the physical behavior of your paint, alters how light interacts with the surface, and fundamentally shifts the drying timeline. Understanding these changes isn't about following rigid rules; it's about controlling the material so you can execute your vision without fighting the medium.
How Linseed Oil Changes Paint Consistency
Tube oils are formulated with a specific balance of pigment and binder-usually refined linseed oil-to provide body and opacity right out of the container. When you add more oil, you are breaking down this structure. The immediate effect is increased fluidity. Think of it like adding water to acrylics, but without the risk of the paint losing its adhesive strength. In fact, because oil is the binder itself, adding more strengthens the film formation.
This fluidity allows for two distinct techniques: glazing and blending. If you want to create deep, luminous layers where light penetrates the transparent paint and reflects off the white ground below, you need a thin consistency. Pure tube paint is often too opaque for this. By mixing in linseed oil, you reduce the pigment load per unit area while maintaining transparency. For wet-on-wet blending, such as softening the transition between a cheekbone and a shadow, the added slip allows the colors to merge smoothly on the canvas without dragging the underlying layer up.
However, there is a limit. If you add too much oil, the paint becomes greasy and loses its tooth. It will slide around uncontrollably, making precise detailing difficult. A good rule of thumb is to start small. Add a few drops to your palette, mix thoroughly, and test on a scrap piece of canvas. You should aim for a creamy, mayonnaise-like consistency, not a runny soup.
The Impact on Drying Time
One of the biggest misconceptions among beginners is that adding oil makes paint dry faster. It does the opposite. Solvents like turpentine or odorless mineral spirits evaporate quickly, which might give the illusion of drying, but they do not contribute to the chemical curing process. Linseed oil dries through oxidation, a slow chemical reaction where oxygen bonds with the fatty acids in the oil to form a solid polymer network.
When you dilute the pigment with extra oil, you increase the volume of material that needs to oxidize. Consequently, the paint remains workable for a longer period. This is beneficial if you are working slowly over several days, allowing you to pick up where you left off without the previous layer skinning over. However, it can be frustrating if you are trying to build up multiple layers quickly. A layer heavily loaded with linseed oil can take weeks to fully cure to the touch, whereas a thicker impasto application of straight tube paint might dry to the touch in a few days.
Environmental factors also play a role here. Humidity slows down oxidation significantly. If you live in a humid climate like Vancouver, adding linseed oil will extend the drying time even further compared to a dry, warm environment. Always account for these variables when planning your workflow.
Gloss, Depth, and Color Saturation
Have you ever noticed that fresh oil paintings look dull and matte immediately after finishing, only to regain their vibrancy months later? This is largely due to the refractive index of the binder. Pigments have a lower refractive index than oil. When paint dries, the solvent evaporates, and the remaining oil forms a continuous film. As this film cures and settles, it becomes smoother and more uniform, increasing its ability to reflect light.
Adding linseed oil enhances this effect from the start. The higher oil content creates a richer, glossier surface because there is more binder to fill the microscopic gaps between pigment particles. This reduces light scattering, resulting in deeper, more saturated colors. Dark values, in particular, benefit greatly from this. A dark blue mixed with a little linseed oil will appear more intense and jewel-like than the same blue applied thickly from the tube, which might look chalky or flat.
This glossiness is why varnishing is traditionally done at the end of a painting. Varnish restores the gloss that may have been lost during the drying process. However, if you use linseed oil strategically throughout your painting, you can achieve a consistent level of sheen across the entire surface, reducing the reliance on varnish for visual unity.
Yellowing and Long-Term Stability
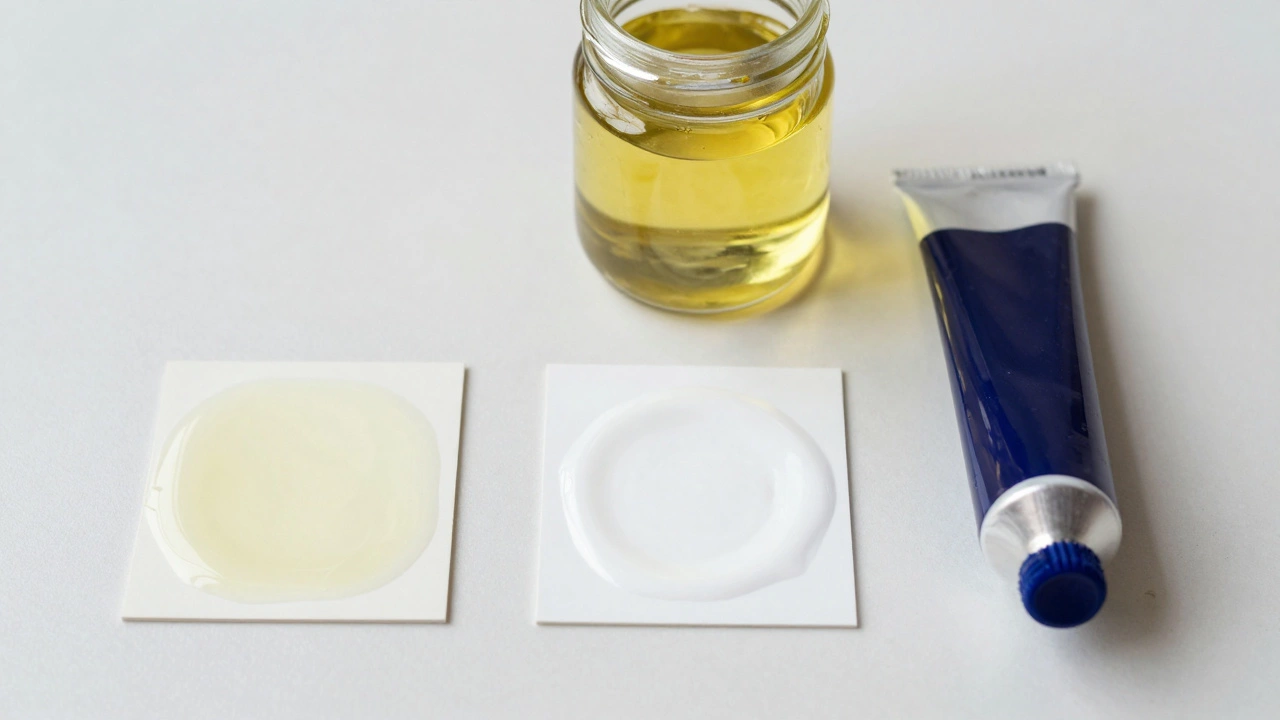
The elephant in the room for any artist using linseed oil is yellowing. All drying oils tend to yellow over time as they oxidize. This is a natural chemical change. However, the degree of yellowing depends on the type of oil used and how it is applied. Raw linseed oil yellows more than refined or stand (boiled) linseed oil. Refined linseed oil has undergone processing to remove impurities that accelerate discoloration.
Crucially, yellowing is most noticeable in light colors, particularly whites and pale pastels. If you mix a large amount of raw linseed oil into titanium white, that white will likely turn cream-colored within a year. To mitigate this, many professional painters use alternatives like walnut oil or safflower oil for light passages. These oils are lighter in color and resist yellowing better, though they dry slower and produce less gloss.
For darker colors, yellowing is rarely an issue because the dark pigments mask the slight tint of the aging oil. In fact, a slight warm cast can enhance the richness of earth tones and deep shadows. The key is moderation. Using excessive amounts of oil in any layer increases the risk of instability. Over time, overly oily layers can become brittle or crack if the underlying layers are not flexible enough to accommodate the movement.
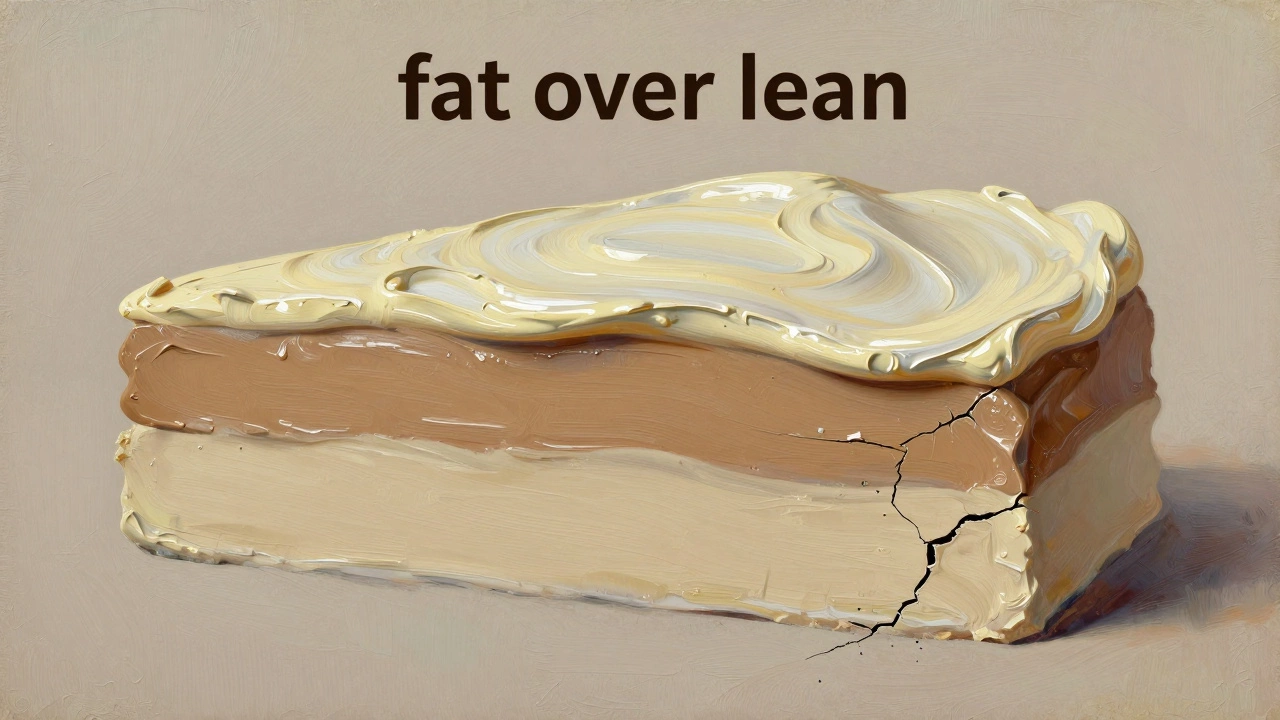
Fat Over Lean: The Golden Rule
If you take only one concept away from this discussion, let it be "fat over lean." This principle dictates that each successive layer of paint should contain more oil (be "fatter") than the layer beneath it (which is "leaner"). Why? Because layers with more oil remain flexible longer as they dry. Layers with less oil dry harder and faster. If you place a stiff, fast-drying layer over a flexible, slow-drying one, the top layer will crack as the bottom layer continues to shrink and move during its curing process.
In practice, this means starting your painting with thinner mixtures, perhaps diluted with a solvent or just a tiny drop of oil, and gradually increasing the oil content as you build up the mid-tones and highlights. Your final glazes or thick impasto highlights should have the highest oil content. Violating this rule is the leading cause of cracking in amateur oil paintings. It’s not a superstition; it’s physics.
| Additive | Primary Effect | Drying Speed | Best Use Case |
|---|---|---|---|
| Linseed Oil (Refined) | Increases gloss, fluidity, and saturation | Slow (days to weeks) | Glazes, blending, general mixing |
| Stand Oil | High gloss, non-yellowing, flexible film | Very Slow (weeks) | Final glazes, alkyd mediums |
| Solvent (Turpentine/OMS) | Thins paint, cleans brushes | Fast (evaporates quickly) | Initial underpainting, cleanup |
| Walnut Oil | Lighter color, less yellowing | Slower than linseed | White and light pastel mixes |
Practical Application Tips
Start by keeping a small jar of refined linseed oil on your palette. Before you begin painting, mix a small amount into your darker colors first. This ensures they stay workable and rich. As you move to mid-tones, you can use slightly less oil, relying more on the body of the tube paint. Save the heaviest oil additions for your final highlights and glazes.
Avoid adding linseed oil directly to your palette knife unless you are intentionally creating a very fluid mixture. Instead, pre-mix your colors on the palette with the desired amount of oil before applying them to the canvas. This gives you better control over the consistency and prevents accidental pooling of oil on the surface, which can lead to dull spots known as "oily bloom" if not wiped away promptly.
Remember that every brand of oil paint has a different formulation. Some brands use heavier bodies, while others are softer. Test your specific paints to see how they react to linseed oil. What works for Winsor & Newton may differ slightly from what works for Gamblin or Old Holland. Experimentation is key to mastering this versatile medium.
Does linseed oil make oil paint permanent?
Yes, linseed oil is a durable binder that forms a strong, flexible film when cured. Historically, it has been used for centuries in masterworks that remain intact today. However, permanence also depends on proper layering (fat over lean) and using high-quality pigments.
Can I use linseed oil with acrylic paint?
No, you should never mix oil-based mediums like linseed oil with acrylic paint. Acrylics are water-based and plastic polymers, while linseed oil is an organic binder. Mixing them can cause the acrylic to fail, peel, or become unstable over time. Use acrylic-specific mediums instead.
Why does my paint look dull after adding linseed oil?
If your paint looks dull immediately after application, it might be due to excess oil sitting on the surface rather than being absorbed into the pigment. Wipe the surface gently with a rag to remove surplus oil. Also, ensure you are using refined linseed oil, as raw oil can sometimes appear murkier until it cures.
Is boiled linseed oil safe for art?
Boiled linseed oil sold in hardware stores often contains metal dryers (like cobalt or manganese) to speed up drying. These chemicals can be toxic and may cause the paint to become brittle over time. For artistic purposes, always use artist-grade refined or stand oil specifically labeled for painting.
How long should I wait before varnishing a painting with linseed oil?
You should wait at least six months to a year before varnishing a painting that uses significant amounts of linseed oil. This allows the oil to fully oxidize and cure. Varnishing too early can trap solvents and moisture, leading to cloudiness or adhesion issues with the varnish layer.