Oil Painting Mistake Fixer
Select the condition of your mistake below to get the recommended repair strategy.
You just laid down a perfect stroke of cadmium yellow, and then your hand slips. Suddenly, there’s a muddy smear right where the highlight should be. Panic sets in. You think you’ve ruined hours of work. But here is the truth about oil painting: it is forgiving. Unlike watercolor, which dries instantly and leaves no room for error, oils stay workable for days or even weeks. This gives you time to correct course. Whether you are mixing colors wrong, applying too much paint, or struggling with composition, there is always a way back.
Key Takeaways
- Act fast on fresh mistakes using a rag and solvent.
- Use a palette knife to scrape off dried or thick layers without damaging the canvas.
- Wait for full drying (fat over lean) before repainting if the layer is sticky.
- Adjust value structure by glazing or scumbling to hide underlying errors.
- Prevent future errors by maintaining clean brushes and proper medium ratios.
The Golden Window: Fixing Wet Paint
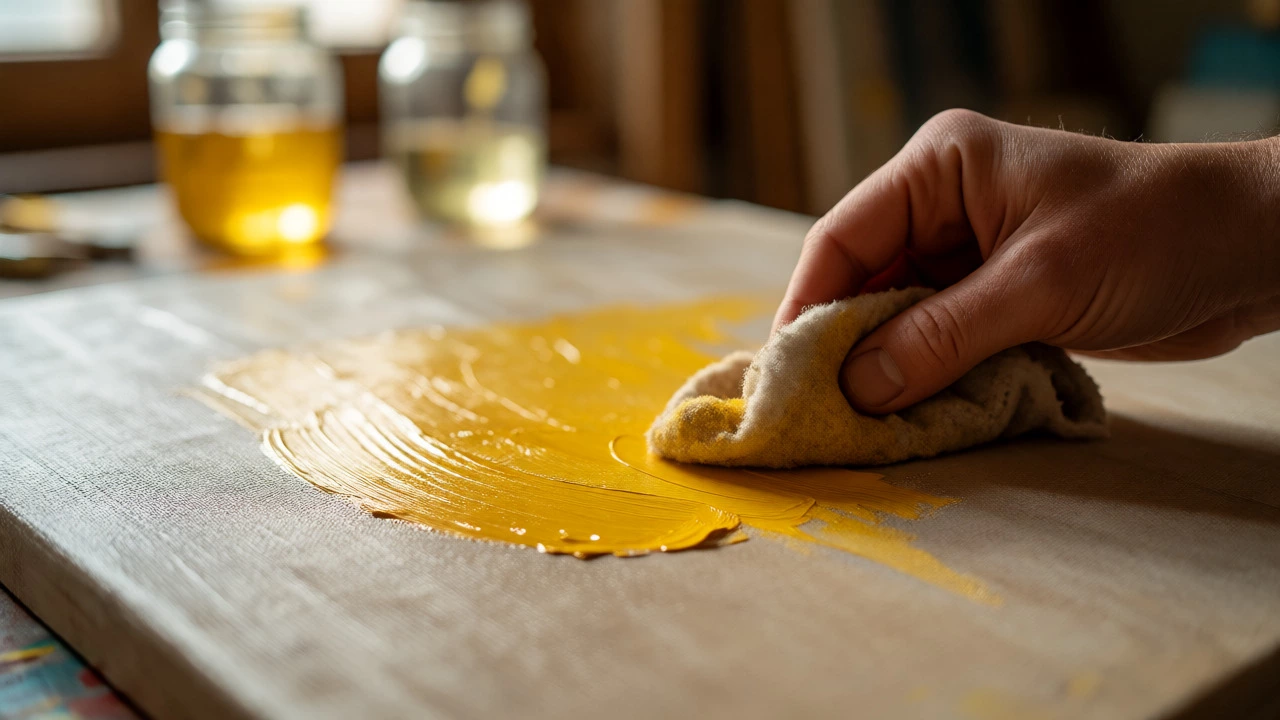
If the paint is still wet, you have the easiest job. The solvents in your studio-turpentine, mineral spirits, or odorless thinners-are your best friends here. Grab a clean rag or a paper towel. Dip it lightly in solvent. Do not soak it; you want damp, not dripping. Gently wipe away the mistake. You are essentially erasing the pigment while leaving the oil binder behind. This works because oil paint sits on top of previous layers rather than soaking into them like watercolor. Turpentine is a traditional solvent used to dissolve oil paints and clean brushes. While effective, it has strong fumes and requires ventilation. Many modern painters prefer mineral spirits, which are less toxic but still potent enough to lift fresh paint effectively. Be careful not to rub too hard. Aggressive wiping can push pigment into the weave of the canvas or disturb the underpainting. Instead, use light, circular motions. If the color won’t budge, let it sit for a minute. Sometimes the solvent needs time to break down the oil bonds. Once the area is clean, let it dry for ten minutes before reapplying new paint. If you paint over wet solvent, you might get "sinking in," where the new paint looks dull and matte because the solvent sucked the oil out of the pigment.
Scraping It Off: The Palette Knife Technique
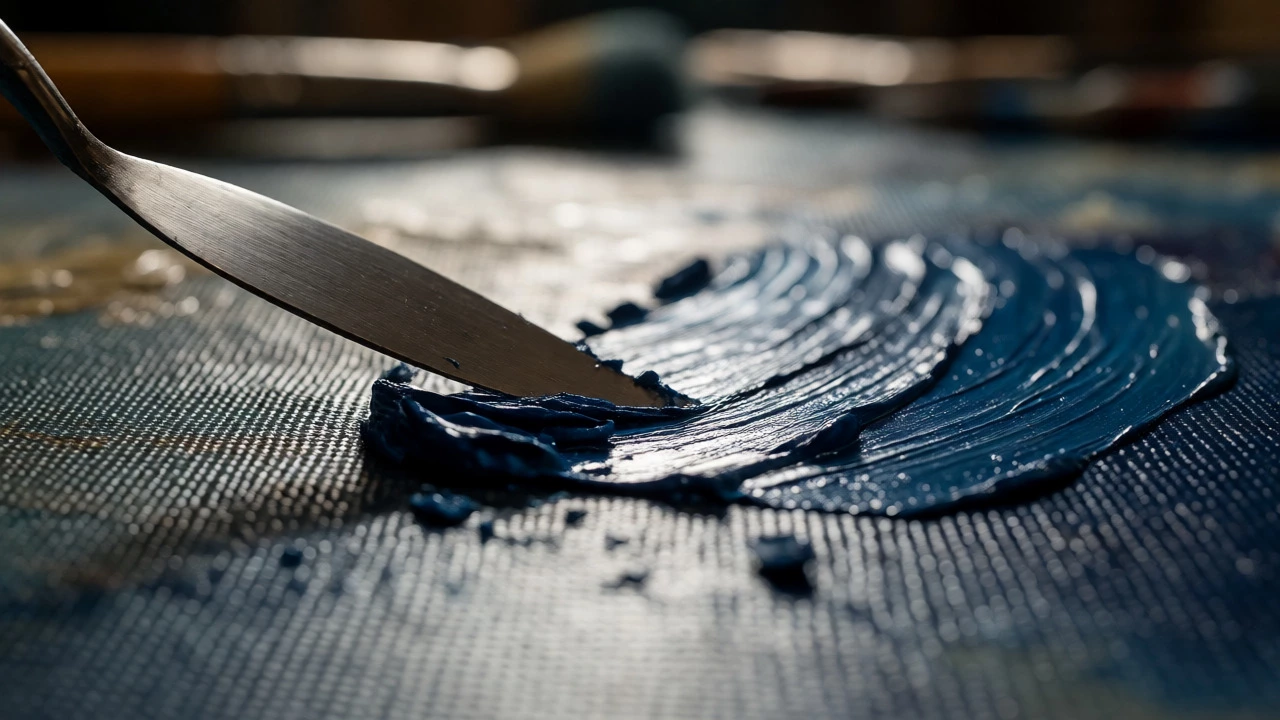
Sometimes wiping isn’t enough. Maybe the paint is thick, or maybe you applied a heavy impasto stroke that went astray. In these cases, reach for your palette knife. This tool is not just for mixing colors; it is an excellent correction instrument. Hold the knife at a low angle against the canvas surface. Use short, controlled strokes to shave off the offending paint. You will see curls of color fall onto your easel tray. This method preserves the texture of the canvas better than wiping. Wiping tends to flatten the surface and leave ghost images of the original shape. Scraping removes the bulk of the material cleanly. After scraping, you might notice a slight depression or a different texture compared to the surrounding area. That is okay. You can fill this gap with new paint. Just ensure you match the consistency. If you scraped down to the ground layer, apply a thin wash first to seal the area before adding body paint. Otherwise, the new layer might crack later as the old and new layers shrink at different rates.
When Drying Takes Too Long: Patience vs. Impatience
What if the mistake happened yesterday? The paint is tacky but not fully dry. Touching it now will smear everything. You have two choices: wait or force it. Waiting is safer. Depending on the thickness and the type of oil, it could take 24 to 72 hours for a layer to become touch-dry. If you are working in a cold Vancouver November, expect longer times. Cold air slows oxidation.
If you cannot wait, try gentle heat. A hairdryer on a low setting can speed up evaporation of the solvent, though it does little for the actual curing of the oil. Keep it moving. Do not concentrate heat on one spot, or you risk blistering the paint. Another trick is to use a fan to increase airflow. Moving air helps volatile compounds escape faster.
Once the layer is dry, you can sand it lightly. Use fine-grit sandpaper (400 grit or higher). Sand gently in circular motions. This levels the surface and removes small bumps. Wipe away all dust with a tack cloth before repainting. Dust particles trapped in new paint look like tiny white specks and ruin the finish.
Hiding Errors with Glazing and Scumbling
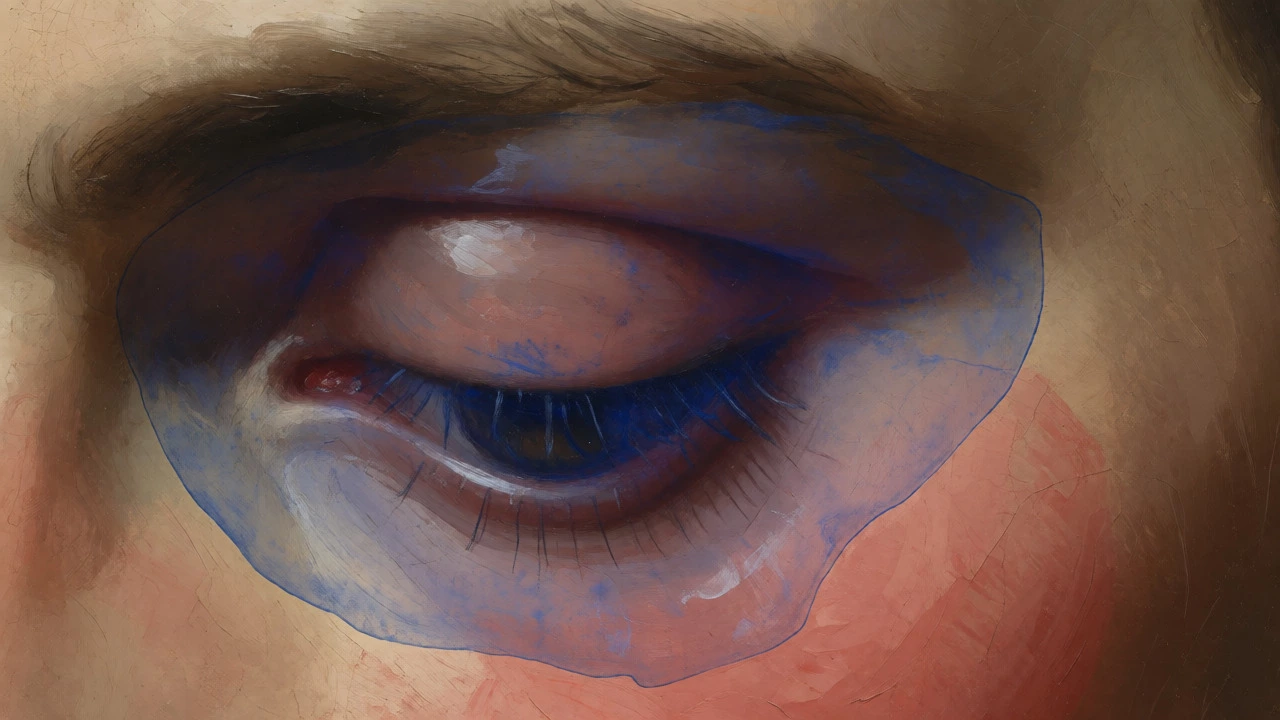
Not every mistake needs removal. Sometimes, you can cover it up. This is where advanced techniques save the day. If the underlying error is dark, you need an opaque layer to hide it. If the error is light, you can tint it with a transparent glaze. Glazing is a technique where you apply a thin, transparent layer of paint over a dry underlayer. This modifies the color underneath without changing its value significantly. It is ideal for correcting hue issues, such as making a sky bluer or skin tones warmer. For example, say you painted a face with too much red. Let it dry completely. Mix a glaze of ultramarine blue and a medium like Liquin. Apply it thinly over the reddish areas. The blue neutralizes the red optically, creating a more natural shadow tone. You do not scrub anything off; you simply adjust the perception of the color below. Conversely, if you have a dark mistake in a light area, use scumbling. Scumbling involves dragging a stiff brush loaded with opaque, light-colored paint across the surface. The paint catches on the texture of the dry layer below, leaving gaps that show the darker color through. This creates a broken color effect that softens harsh lines. It is particularly useful for fixing overly sharp edges or blending boundaries that look too graphic.
Structural Fixes: When Composition Fails
Mistakes aren't always about color or texture. Sometimes, the whole composition feels wrong. Maybe the tree is too big, or the horizon line is crooked. These are structural errors. Fixing them often means starting over in that specific section. Block in the new shape with a mid-tone gray. This kills the contrast of the old mistake. Then, rebuild the form from scratch. Do not try to tweak a bad shape into a good one repeatedly. This leads to "mud," where colors mix uncontrollably and lose their vibrancy. If you find yourself blending the same edge five times, stop. Scrape it off. Start again. Fresh paint mixes cleaner than tired, partially cured paint. Consider the "fat over lean" rule when making major changes. Your initial layers should have more solvent (lean), and subsequent layers should have more oil (fat). If you scrape down to a lean layer and immediately apply a very oily, thick paint, you might cause cracking later. Add a bit of linseed oil to your new mixture if you are building up volume, ensuring flexibility.
Common Pitfalls and How to Avoid Them
Most beginners make the same few mistakes. Recognizing them early saves frustration.
- Overworking: Trying to blend too much causes colors to turn brown. Know when to stop blending and let the brushstrokes stand.
- Dirty Brushes: Using a brush with leftover dark paint on a light color ruins the hue. Clean brushes frequently during a session.
- Wrong Medium Ratios: Adding too much solvent makes paint brittle. Adding too much oil makes it runny. Aim for a buttery consistency.
- Ignoring Drying Times: Painting wet-over-wet with incompatible layers causes separation. Test a small corner if unsure.
Tools of the Trade for Corrections
Having the right tools ready makes corrections less stressful. Here is what you should keep within arm's reach.
| Tool | Best Used For | Pro Tip |
|---|---|---|
| Palette Knife | Removing thick impasto or dried paint | Keep it flexible; stiff blades can gouge the canvas. |
| Rag & Solvent | Lifting fresh, wet paint | Use separate rags for cleaning brushes and lifting paint to avoid cross-contamination. |
| Fine Sandpaper | Smoothing dried, uneven surfaces | Wear a mask; oil paint dust contains pigments that can be harmful if inhaled. |
| Stiff Bristle Brush | Scumbling over dry layers | Load lightly; too much paint defeats the purpose of broken color. |
Final Thoughts on Embracing Imperfection
Remember, some "mistakes" become the best parts of a painting. A stray mark might add energy. A muddy patch might turn into a realistic shadow if you squint. Before you rush to fix everything, step back. Look at the canvas from across the room. Is the error really distracting, or are you just hyper-focused on it? Sometimes, doing nothing is the right fix. But when action is needed, you now have the toolkit to handle it confidently. Oil painting is a conversation between you and the medium. Listen to it, adjust your approach, and keep going.
Frequently Asked Questions
Can I use water to fix oil paint mistakes?
No, water does not mix with oil. It will bead up and do nothing to remove the paint. You must use a solvent like turpentine, mineral spirits, or a dedicated oil paint remover to break down the oil binder and lift the pigment.
How long does it take for oil paint to dry enough to scrape?
Thin layers may be touch-dry in 24 hours, but thick impasto can take several days. If it feels tacky, wait. Scraping semi-dry paint often smears it rather than removing it. Wait until it is hard enough to chip off cleanly.
Will scraping damage my canvas?
If done carefully, no. Use a flexible palette knife and keep the angle shallow. Avoid digging into the weave. If you see the white ground layer, it is fine; just prime that spot lightly before repainting to ensure adhesion.
What is "sinking in" and how do I fix it?
Sinking in occurs when the porous ground absorbs the oil from the paint, leaving a dull, matte patch. To fix it, apply a thin coat of retouch varnish or a medium like Liquin over the affected area. This restores the gloss and saturates the color.
Can I repaint over a mistake immediately?
Only if you have wiped the area clean and let the solvent evaporate. Painting over wet solvent dilutes the new paint and affects drying. For thick layers, wait for them to dry to prevent cracking and color mixing issues.