Art Print Cost Calculator
Calculate Your Print Costs
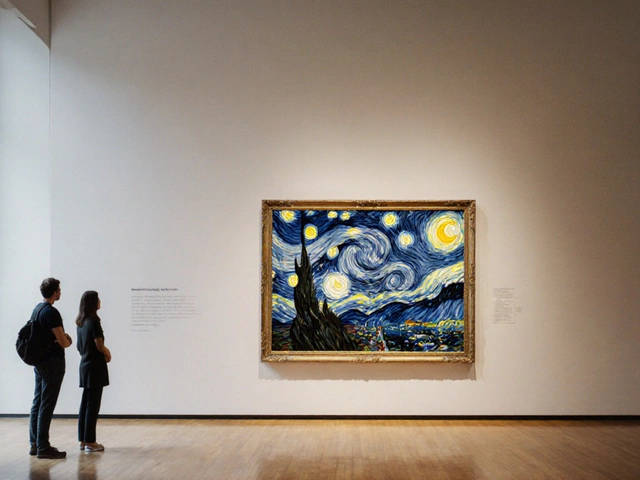
If you’ve spent months or even years creating original art-whether it’s a watercolor landscape, an ink drawing, or an acrylic abstract-you probably want more people to see it. But hanging one original piece on your wall isn’t enough. You want to share it. Sell it. Put it in homes, galleries, or online shops. That’s where art prints come in. Turning your original artwork into high-quality prints isn’t magic. It’s a process. And once you understand it, you can do it yourself-even if you’ve never printed anything before.
Step 1: Scan or Photograph Your Artwork Properly
The quality of your print starts with the quality of your digital file. A blurry photo or a poorly lit scan will ruin even the most beautiful original. You don’t need a professional studio, but you do need to get it right.
Use natural light. Place your artwork flat on a table near a large window. Avoid direct sunlight-it creates harsh shadows and color shifts. Use two soft lamps on either side if it’s overcast. Make sure your camera or phone is level with the artwork. Don’t shoot from an angle. Use a tripod if you can. Turn off flash. Always shoot in RAW or highest JPEG quality.
For scanning, use a flatbed scanner with at least 600 DPI resolution. Some artists go up to 1200 DPI for fine details, especially in ink or pencil work. Save the file as a TIFF or high-quality JPEG. Don’t compress it. This file is your master. Keep it safe.
Step 2: Color Match Your Digital File to the Original
Here’s where most people mess up. Their print looks nothing like the original. Why? Because screens and printers don’t see color the same way. Your monitor might show a bright cobalt blue. Your printer might spit out a dull navy.
Calibrate your monitor using a colorimeter like the X-Rite i1Display or Datacolor Spyder. If you don’t have one, at least use your device’s built-in color settings. On Windows, go to Display > Color Calibration. On Mac, go to System Settings > Displays > Color Profile. Pick sRGB if you’re unsure.
Print a test copy on regular paper. Hold it next to your original. Adjust brightness, contrast, and saturation in Photoshop, Affinity Photo, or even free tools like GIMP. Don’t overdo it. Small tweaks matter. If your red looks too orange, lower the yellow. If the greens look muddy, boost the cyan slightly. Save each version with a clear name: “Artwork_v2_printtest.”
Step 3: Choose the Right Printer and Paper
You have two options: print yourself or outsource it. If you’re printing fewer than 50 copies a year, buying a good printer makes sense. If you’re printing 100+ or want museum-quality results, go with a professional lab.
For DIY printing, get an inkjet printer that uses pigment-based inks-not dye. Pigment inks last decades without fading. Look for models like the Epson SureColor P-Series, Canon imagePROGRAF PRO-300, or HP DesignJet Z6. They cost $500-$1,500, but they’re built for artists.
Paper matters more than you think. For watercolors and pastels, use cold-pressed cotton rag paper like Hahnemühle Photo Rag or Canson Infinity Baryta. It has texture, absorbs ink well, and feels like real art paper. For bold digital paintings or posters, try glossy or satin photo paper. Avoid glossy if your original is matte-it looks fake.
Step 4: Decide on Editions and Signing
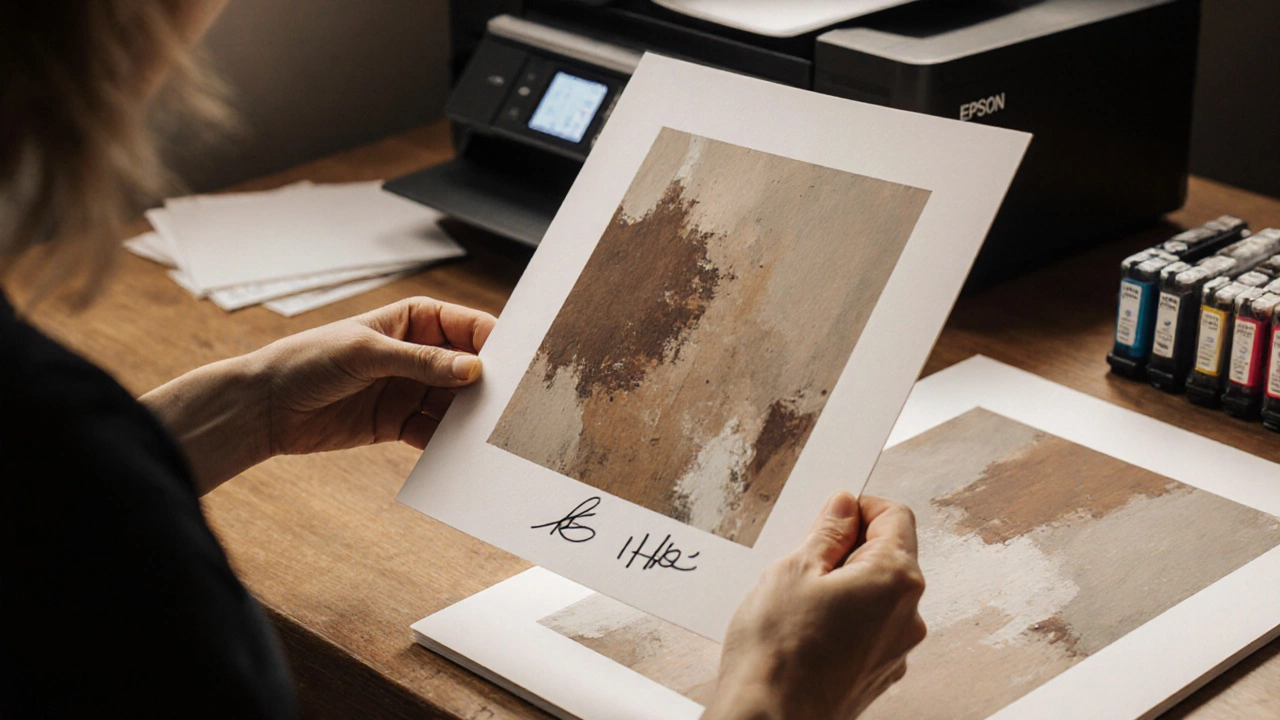
Once you have a print you love, decide how many you’ll make. Limited editions feel more valuable. Most artists limit prints to 25, 50, or 100 copies. Once they’re sold, you stop. No reprints.
Number each print: “1/50,” “2/50,” etc. Write this in pencil on the bottom margin. Sign your name below the image. Add the title and year. This turns a copy into a collectible. Buyers care about provenance. They want to know this is the real deal-not just any print.
Keep a log: which print went to whom, when, and for how much. You’ll thank yourself later.
Step 5: Choose How to Sell or Share Your Prints
Printing your art is only half the job. The other half is getting it into people’s hands.
Start small. Sell prints at local craft fairs, art markets, or pop-up shops. Bring a small portfolio with samples. People like to touch paper. They like to see how the ink sits on the surface. You’ll get feedback fast.
Online? Set up a shop on Etsy, Shopify, or Big Cartel. Use high-res photos. Show the print next to your original. Write a short story: “This piece was painted after a walk through the Oregon coast in April 2025.” People buy emotion, not just images.
Or work with a print-on-demand service like Society6, Redbubble, or Art.com. They handle printing, shipping, and customer service. You upload your art. They print it on demand. But you earn less-usually 10-15% per sale. And you lose control over paper, color, and quality.
Step 6: Protect Your Work
Before you start selling, protect your rights. Register your artwork with the U.S. Copyright Office (or your country’s equivalent). It costs $45-$65. It doesn’t take long. And if someone steals your image, you can sue.
Watermark your online images-but don’t overdo it. A small, subtle signature in the corner is fine. Never put a watermark over the main subject. Buyers hate it.
Also, avoid uploading full-resolution files to social media. Post a 1500-pixel-wide image, not a 6000-pixel monster. That’s enough for Instagram but too small for professional printing.
Common Mistakes to Avoid
- Printing from a phone photo without editing. Colors will be off.
- Using laser printers. They don’t handle fine art well. Inkjet is the only option.
- Printing on regular copy paper. It looks cheap. Your art deserves better.
- Printing unlimited copies. It devalues your work.
- Not signing or numbering prints. Buyers won’t trust them.
- Skipping color calibration. Your print will never match your original.
What to Expect in Cost and Time
Printing your own art costs money upfront but saves you long-term.
- Printer: $600-$1,200 (one-time)
- Professional-grade paper (20 sheets): $40-$80
- Ink cartridges (for 50 prints): $100-$150
- Per print cost (paper + ink): $5-$12
If you outsource to a lab like Mpix, Bay Photo, or Printful, expect $15-$40 per 8x10 print, depending on size and paper. Shipping adds $5-$10. Turnaround time is usually 3-7 days.
For 50 prints, DIY costs around $500 total. Outsourcing costs $1,000+. But if you’re not ready to invest in equipment, outsourcing is fine to start.
Next Steps
Start with one piece. Pick your favorite painting or drawing. Scan it. Edit the colors. Print one test copy. Hold it next to the original. Does it feel right? If yes, make 10 more. Sign them. Sell one to a friend. Ask what they think.
You don’t need to be perfect. You just need to start. The first print will be messy. The fifth will be better. The tenth? You’ll have a system. And soon, people will be asking you for more.
Can I turn a digital painting into a print?
Yes. Digital art prints are very common. Make sure your file is at least 300 DPI at the size you want to print. For a 16x20 print, your file should be 4800x6000 pixels. Use Adobe Photoshop or Affinity Photo to set the resolution before exporting. Print on fine art paper for the best look.
Do I need a license to sell art prints?
You don’t need a business license to sell prints online in most places, but you do need to report income for taxes. If you’re selling regularly, consider registering as a sole proprietor. Check your local laws. Some cities require a vendor’s permit for art fairs or markets. Always keep receipts for materials-you can deduct them.
What’s the difference between giclée and regular prints?
Giclée (pronounced zhee-clay) is a high-end term for fine art prints made with pigment inks on archival paper. It’s not a type of printer-it’s a quality standard. Any print made with pigment inks on cotton rag paper can be called giclée. Regular prints often use dye inks and glossy photo paper. They fade faster and look less like original art.
Can I print someone else’s art?
No. Unless you have written permission from the artist or the work is in the public domain (usually 70+ years after the artist’s death), printing someone else’s art is illegal. Even if you found it on Instagram or Pinterest, it’s still copyrighted. Always assume art is protected unless proven otherwise.
How long do art prints last?
With pigment inks and archival paper, prints can last 100-200 years if kept out of direct sunlight. Avoid hanging them in bathrooms or near windows. Frame them with UV-protective glass. That’s what museums do. If you use dye inks or cheap paper, they may fade in 5-10 years.
Final Thoughts
Turning your art into prints isn’t about selling out. It’s about sharing your vision. It’s about letting your work live beyond one wall, one room, one person. Every print you make is a chance for someone else to connect with what you created. Don’t wait for perfect. Don’t wait for a gallery. Start with one piece. Print it. Show it. See what happens.