Oil Painting Consistency Calculator
Optimal Consistency Calculator
Results
Important: Turpentine will dry paint too quickly and cause blending issues. Use linseed oil only for smooth results.
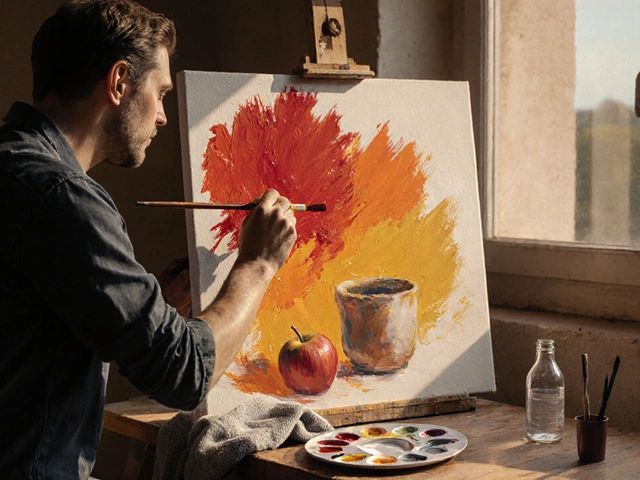
Want your oil painting to look like glass-no brush strokes, no lumps, no rough patches? It’s not magic. It’s technique. Many artists struggle with rough, uneven surfaces in oil paint, thinking it’s just how oil behaves. But smooth oil painting is totally possible, even for beginners. You don’t need expensive brushes or rare pigments. You need the right approach to paint consistency, layering, and timing.
Start with the Right Paint Consistency
Too thick? You’ll get ridges. Too thin? You’ll lose color strength. The sweet spot is buttery-like heavy cream. If your paint is stiff straight from the tube, mix it with a small amount of linseed oil. Not turpentine. Turpentine thins paint too fast and dries it out, making blending harder. Linseed oil keeps the paint workable longer and helps it flow smoothly across the canvas.
Try this: squeeze out a pea-sized dot of paint. Add one drop of linseed oil. Mix it with a palette knife until it’s glossy and pulls slightly when you lift the knife. That’s your ideal consistency. Use this for your base layers and blending zones. Save thicker paint for texture or impasto areas, but keep those separate from the smooth sections.
Use the Right Brushes
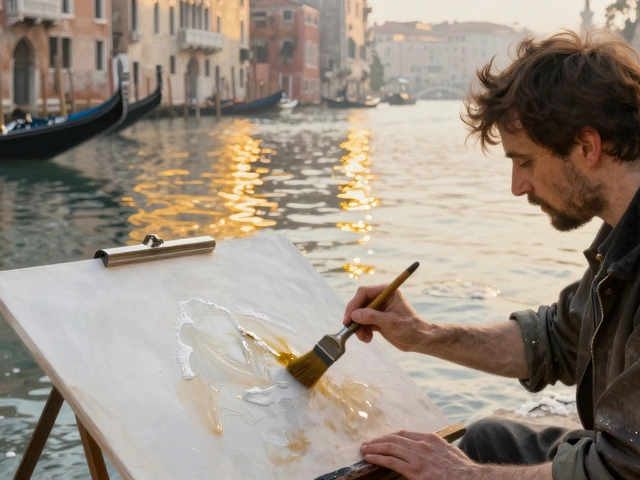
Not all brushes are made equal. Stiff hog bristle brushes are great for thick paint and bold strokes, but they’re terrible for smooth blending. For a seamless finish, switch to soft synthetic or sable brushes. Size matters too. A flat brush around 1/2 inch to 1 inch wide gives you control without leaving visible marks. Round brushes work well for small areas, but flat brushes are your best friend for broad, even strokes.
Pro tip: Clean your brushes often. Paint builds up on the ferrule and changes how the bristles behave. A dirty brush drags paint instead of gliding over it. Rinse in odorless mineral spirits between color changes, then wipe gently on a lint-free cloth. Never leave brushes soaking.
Blend While the Paint Is Wet
Oil paint stays workable for days, but the best blending happens in the first 24 to 48 hours. Once the surface starts to skin over, blending becomes patchy. Work in small sections. Apply one color, then immediately soften the edge with a clean, dry brush. Use light, feathery strokes-not pressure. Think of it like smoothing whipped cream with a spatula, not scraping it.
Try the “feathering” technique: dip your brush lightly in linseed oil, then drag it gently across the edge between two colors. The oil acts as a bridge, letting the pigments melt together. No harsh lines. No visible brush marks. Just a smooth gradient.
Layer with Glazes
One of the most powerful tricks for smoothness is glazing. A glaze is a thin, transparent layer of paint mixed with medium-usually linseed oil and a touch of damar varnish. Apply it over a fully dry layer. Glazes don’t cover; they deepen and unify.
For example, if you painted a sky with blue and white, let it dry for 3-5 days. Then mix a glaze of ultramarine blue with 3 parts linseed oil to 1 part paint. Brush it on lightly in one direction. Let it dry. Repeat if needed. The result? A luminous, glassy surface with no brush texture. Glazing hides imperfections and gives depth without adding bulk.
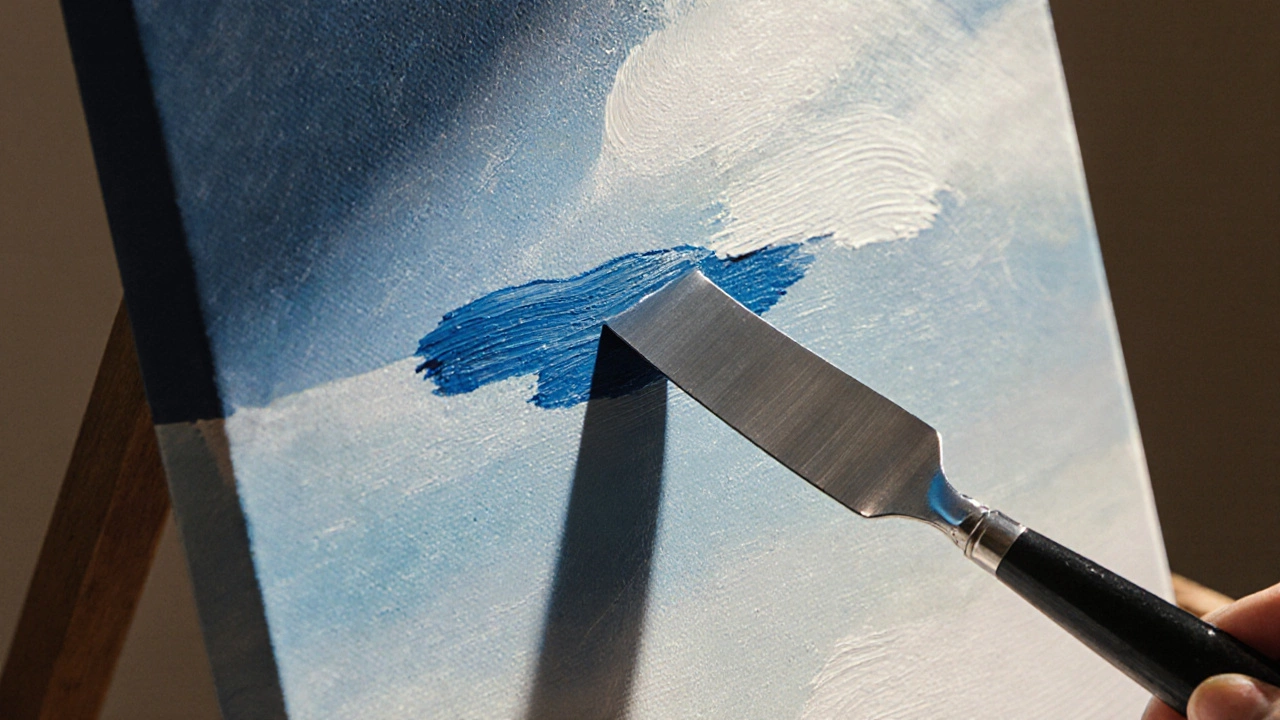
Use a Palette Knife for Smoothing
Brushes aren’t the only tools. A flexible metal palette knife, clean and dry, can smooth out paint like a trowel on plaster. After laying down a color, gently drag the edge of the knife across the surface. Don’t press hard-just let the blade glide. It flattens peaks, evens out valleys, and removes stray bristle marks.
This works best on mid-dry paint-when it’s no longer sticky but still soft enough to move. It’s not for every painting, but for portraits, skies, or still lifes with smooth surfaces, it’s a game-changer.
Wait Between Layers
Patience is non-negotiable. If you paint over a layer that’s not fully dry, you risk lifting the paint underneath or creating muddy colors. Oil paint dries in stages: surface dry in 2-5 days, touch dry in 1-2 weeks, fully cured in 6-12 months.
For smooth blending between layers, wait at least 5 days. Use the “thumbnail test”: press your fingernail gently into the paint. If it leaves a mark, it’s not ready. If it feels firm and doesn’t indent, you’re good to go. Rushing this step ruins smoothness every time.
Final Surface Finish: Varnish
Even the smoothest painting looks dull without a final varnish. Varnish doesn’t just protect-it unifies the surface sheen. Use a removable, non-yellowing varnish like Gamvar. Apply it with a wide, soft brush in even, overlapping strokes. Work in one direction, then go crosswise. Let it dry for 24 hours.
Don’t varnish too early. Wait until the painting is dry to the touch and has been sitting for at least 6 months. Varnishing too soon traps solvents and causes cloudiness. A properly varnished oil painting looks wet, deep, and seamless-like a polished stone.
Common Mistakes That Ruin Smoothness
- Using too much turpentine-it dries paint too fast and makes blending impossible.
- Overworking the paint-staring at one spot for 20 minutes creates swirls and streaks.
- Painting on an unprimed canvas-absorbs oil unevenly, causing patchy texture.
- Skipping the underpainting-starting with full color makes blending harder. A grayscale or earth-toned base helps control values.
- Using cheap brushes with frayed bristles-they leave hairs and uneven strokes.
What to Do If Your Painting Is Already Rough
Already painted? Too late to fix it? Not at all. If your surface is bumpy or streaky, wait until it’s fully dry (at least 3 months). Then lightly sand it with 400-grit wet/dry sandpaper. Wet the paper and the painting. Sand in small circles, then wipe clean with a damp cloth. Let it dry completely.
Now apply a thin glaze over the whole area. The glaze will fill in micro-ridges and create a uniform surface. Follow with a final varnish. You’ll be amazed at how much smoother it looks.
Practice Routine for Smooth Results
Set up a small 6x8 inch canvas every week. Paint a simple gradient-blue to white, red to orange. Use only linseed oil, one flat brush, and no turpentine. Focus on blending without lifting the brush. Don’t aim for a masterpiece. Aim for zero brush marks. Do this for 10 weeks. By then, your hands will remember how smooth oil paint should feel.
Smooth oil painting isn’t about talent. It’s about rhythm-knowing when to press, when to lift, when to wait. It’s about respecting the medium. Once you get the timing right, your paintings will look like they were poured, not painted.
Can I use water to thin oil paint for a smooth finish?
No. Water and oil don’t mix. Adding water to oil paint causes separation, uneven drying, and cracking over time. Always use linseed oil, odorless mineral spirits, or a dedicated oil painting medium for thinning.
How long should I wait between glazes?
Wait at least 5 days between glazes, but 7-10 days is safer. Glazes dry slower than opaque layers. Test with your thumbnail-if it doesn’t dent, it’s ready. Rushing leads to muddy layers and loss of clarity.
Is it better to paint smooth areas first or last?
Paint smooth areas first. They’re harder to fix later. Once you’ve built up texture or impasto in other areas, going back to smooth sections becomes messy. Work from smooth to rough, not the other way around.
Can I use a hairdryer to speed up drying for smoother blending?
No. Heat dries the surface too fast while trapping solvents underneath. This causes cracking, wrinkling, or uneven curing. Oil paint needs slow, natural drying. Patience is part of the technique.
What’s the best brand of oil paint for smooth blending?
Winsor & Newton Artists’ Oil Colour, Old Holland, and Michael Harding are known for high pigment load and smooth consistency. Cheaper paints often contain fillers that make blending gritty. You don’t need the most expensive tubes, but avoid student-grade paints if smoothness is your goal.