Beginner Sculpture Project Quiz
Answer 4 quick questions to get your personalized first project recommendation
Starting sculpture can feel overwhelming. You see polished marble statues or wild abstract forms in galleries and wonder how anyone begins. The truth? Most sculptors started with something small, messy, and totally imperfect. You don’t need fancy tools or years of training. You just need the right first project.
Start with something you can hold
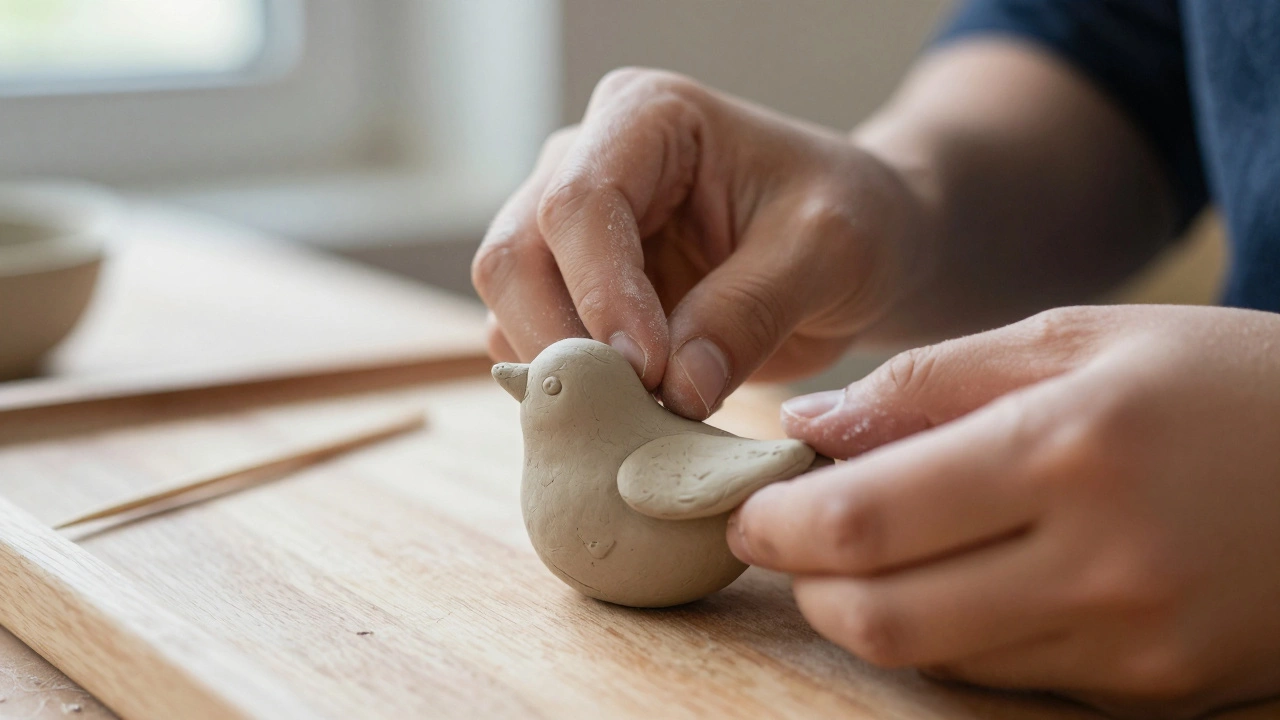
The best beginner sculptures are small enough to fit in your hands. Why? Because you can turn them, look at them from every angle, and fix mistakes without needing a studio. Big sculptures intimidate. Small ones invite play. Try making a simple animal-like a bird, cat, or fish-out of air-dry clay. These shapes have clear curves and don’t require complex anatomy. A bird’s body is just an oval. Its head? A smaller ball. Wings? Two flattened teardrops. You don’t need to make it realistic. You just need to make it yours.
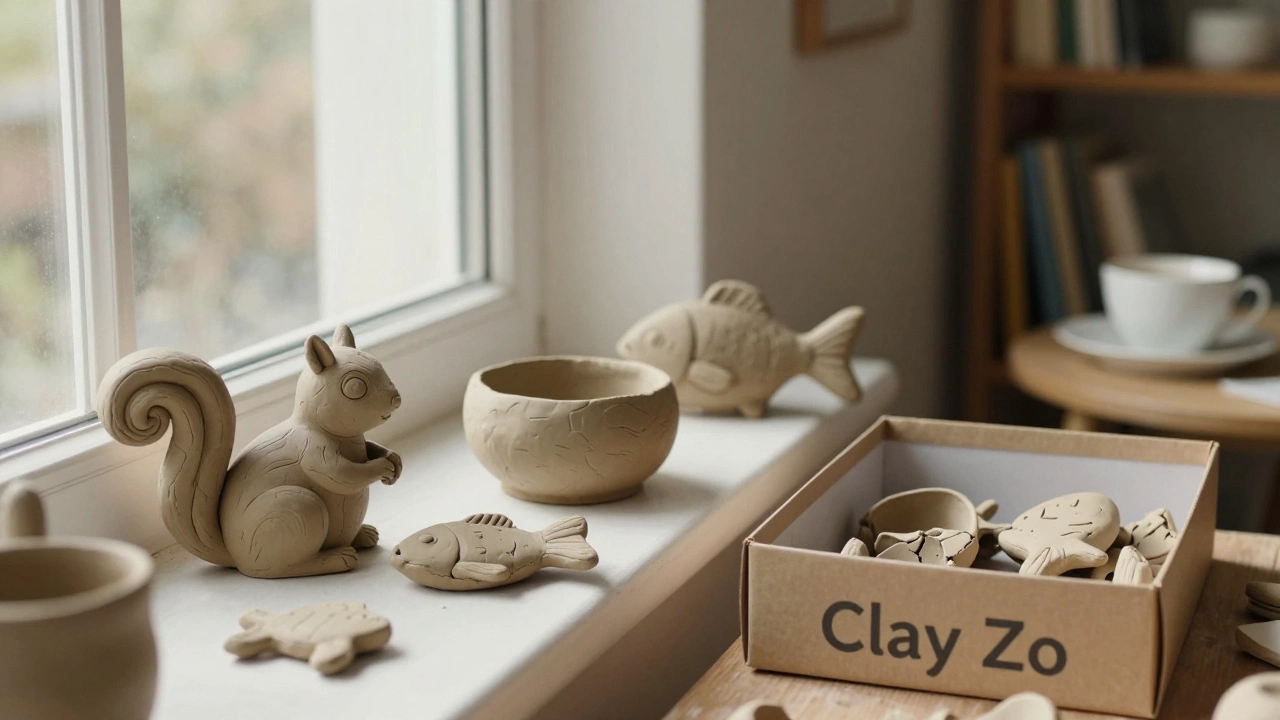
One student I worked with in Vancouver made a clay squirrel last winter. It had one ear too big and a tail that curled like a question mark. She laughed when she showed it to me. But she kept it on her windowsill. That squirrel was her first real sculpture. It wasn’t perfect. But it was start.
Use clay that doesn’t need a kiln
Not everyone has access to a kiln. And you don’t need one to begin. Air-dry clay is your best friend right now. It’s cheap, easy to find at craft stores, and dries at room temperature. Brands like DAS, Activa, or Creative Paperclay work well. They’re soft enough to shape with your fingers but firm up in 24-48 hours. Once dry, you can paint them with acrylics or leave them natural.
Don’t waste time on polymer clay yet. It’s great for details, but it requires baking and can be tricky to handle when you’re just learning. Air-dry clay lets you focus on form, not technique. You’ll learn how pressure changes shape, how to smooth surfaces, and how to join pieces without them falling apart. Those are the real skills.
Try a hand-shaped bowl or cup
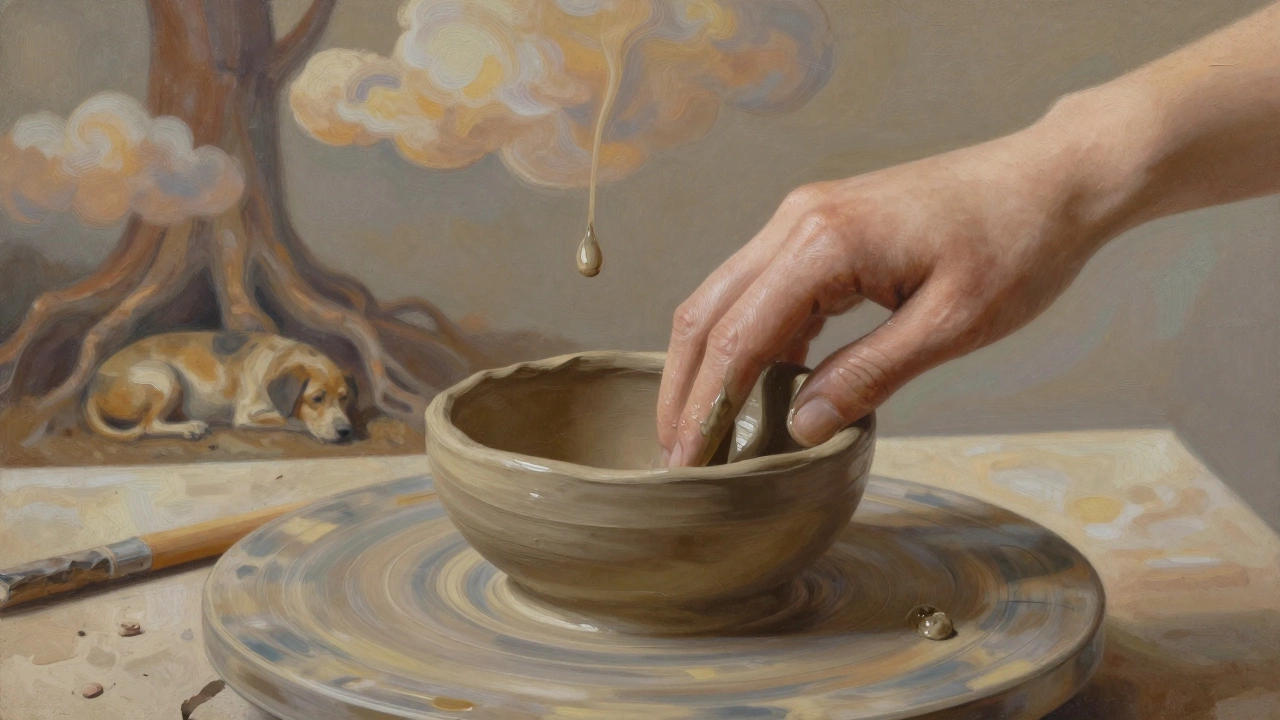
Another great starter project: a simple bowl or cup. Not a perfect vase. Not a symmetrical mug. Just a rounded container you can hold. Roll a ball of clay, press your thumb into the center, and slowly widen it with your fingers. Don’t worry if the walls are uneven. That’s normal. The goal isn’t to make something you’d use for coffee. It’s to learn how clay responds to your hands.
This project teaches you about thickness, balance, and tension. If the bottom is too thin, it cracks. If the walls are too thick, it takes forever to dry. You’ll feel these problems as you work. That’s how you learn. No book or video can replace the feedback your fingers get from real clay.
Make something from memory
Stop copying photos. Stop trying to sculpt your favorite movie character. Instead, think of something you remember clearly-a seashell you found on the beach, the way your grandmother’s teapot looked on the counter, the curve of your dog’s spine when he sleeps. These are your real references.
Memory gives your work soul. A sculpture based on a photo looks stiff. One based on feeling feels alive. I’ve seen beginners make clay versions of their childhood toys. One person made a bent plastic dinosaur with a missing leg. It looked terrible by art standards. But it was honest. And that’s what matters at first.
Use simple tools-or no tools at all
You don’t need a $200 sculpting tool kit. Start with what’s in your kitchen. A butter knife for cutting. A toothpick for details. A damp sponge to smooth surfaces. A wooden skewer for poking holes. Even your fingernails work fine for carving soft clay.
Real sculptors use tools because they’re efficient, not because they’re necessary. As a beginner, your hands are your most important tool. The more you use them, the better you’ll understand how clay moves. Save the professional tools for when you know exactly what you need them for.
Work in short bursts
Sculpting isn’t about marathon sessions. It’s about consistency. Try 20 minutes, three times a week. That’s enough to build muscle memory without burning out. You’ll notice your fingers get stronger. Your eye gets sharper. You’ll start seeing shapes everywhere-in clouds, in tree roots, in the way your coffee mug tilts.
Set a timer. Don’t aim for perfection. Just show up. One day, you’ll look back and realize you’ve made ten small sculptures. And none of them were meant to be masterpieces. But together? They’re your foundation.
Accept the mess
Sculpting is messy. Clay sticks to your clothes. Dust gets in your hair. Water spills. That’s part of it. Don’t wait for the perfect space. Work on a tray. Use an old towel. Keep a bucket of water nearby. The mess isn’t a sign you’re doing it wrong. It’s proof you’re doing it.
One of my students kept her clay project in a shoebox between sessions. She called it her “clay zoo.” Every time she opened it, something had cracked, dried unevenly, or changed shape. She didn’t throw anything away. She kept adding to it. That shoebox became her most valuable learning tool.
What not to try as a beginner
Don’t start with stone. Don’t try carving wood. Don’t attempt a human figure with limbs and facial features. These require advanced skills, specialized tools, and years of practice. You’ll get frustrated. You’ll quit.
Same goes for complex animals like horses or dragons. Too many parts. Too much detail. Stick to simple forms: spheres, cylinders, cones. Combine them. That’s how real sculptures are built-by stacking basic shapes.
And avoid resin or metal. They’re expensive, dangerous, and unforgiving. Save those for later. Right now, your only job is to feel the material and trust your hands.
Keep your first pieces
Don’t toss your early work. Even the lopsided ones. Stack them on a shelf. Take photos. Write the date on the bottom. One year from now, you’ll look at them and see progress you didn’t notice while you were making them.
Sculpture isn’t about getting it right. It’s about showing up again and again. The first piece doesn’t have to be good. It just has to be yours.