Watercolor Layering Estimator
Find out how many layers your watercolor paper can handle before you risk muddy colors or paper damage.
Watercolor looks effortless when it’s done right-soft washes, glowing hues, and colors that seem to breathe on the paper. But if you’ve ever tried to build up color and ended up with muddy streaks or paper that buckled like a sponge, you’re not alone. The big question is: Are you supposed to layer watercolor? The answer isn’t yes or no. It’s how and when.
Why Layering Matters in Watercolor
Layering isn’t just a technique-it’s the foundation of depth in watercolor. Unlike oils or acrylics, watercolor doesn’t cover. It reveals. Each layer lets the white of the paper show through, creating luminosity that can’t be mixed on a palette. That’s why artists build color slowly, not by dumping pigment, but by letting each wash dry and then adding the next.Think of it like stained glass. You don’t paint over the whole window with one thick coat. You apply color in thin glazes, letting light pass through each layer. That’s the magic of watercolor layering: transparency, not opacity.
Without layering, your paintings stay flat. A single wash of blue sky won’t capture the subtle shift from dawn to noon. A single stroke of green won’t suggest the complexity of a forest. Layering gives you control over tone, temperature, and texture-all without touching a brush to dry paint again.
How Many Layers Is Too Many?
There’s no rule that says you can only do three layers or five. Some artists build up 10, 12, even 15 layers in a single area. But here’s the catch: each layer must be dry before the next goes on.Wet-on-wet blending is beautiful for soft edges, but if you try to layer while the paper is still damp, the colors bleed and mix unpredictably. That’s how you get muddy greens, grayish purples, or dull browns that look like sludge. That’s not layering-that’s accidental mixing.
Start light. Always. The first layer should be barely there-a whisper of color. Let it dry completely. Then add a second wash, slightly stronger. Wait again. Then a third. Each time, you’re not covering the previous layer-you’re enhancing it. Think of it like adding shadows to a sketch. You don’t draw over the whole thing. You deepen the darks, one gentle stroke at a time.
Most professional watercolorists work in 3-7 layers for a finished piece. More than that? It’s possible, but you risk lifting pigment or damaging the paper. High-quality 100% cotton paper, like Arches or Saunders Waterford, can handle 10+ layers. Cheap student-grade paper? It’ll pill, tear, or turn into pulp after three.
The Order of Layering: What Goes First?
Layering isn’t random. There’s a logic to it. Start with the lightest colors and work toward the darkest. Why? Because you can’t make a color lighter once you’ve layered darker pigment on top.Here’s the standard sequence:
- Light yellows, pale pinks, and soft grays
- Medium tones: greens, blues, warm browns
- Deep shadows: ultramarine, burnt sienna, Payne’s gray
Never start with darks. If you lay down a heavy wash of indigo at the beginning, you’ve blocked out the paper’s natural brightness. You’ve painted yourself into a corner. Later, when you try to add a glowing yellow sun behind a tree, it won’t shine-it’ll just look dirty.
Also, keep your color temperature in mind. Warm layers (reds, oranges, yellows) tend to advance. Cool layers (blues, greens, purples) recede. So if you’re painting a landscape, put warm tones in the foreground and cool tones in the distance. Layering lets you control that illusion.
When Not to Layer
Just because you can layer doesn’t mean you should. Some effects are ruined by overworking.Delicate subjects like flower petals, mist, or reflections need to stay light and airy. Layering too much turns a soft bloom into a thick, opaque blob. In those cases, one or two thin glazes are enough. Let the paper do the work.
Also, avoid layering when you’re trying to preserve white spaces. If you’ve planned a highlight in the center of a flower or a glint on water, don’t paint over it. Masking fluid can help, but even then, too many layers around it can make the edges look harsh.
And don’t layer if your brush is too wet. A dripping brush on a dry layer will create blooms-unwanted streaks where the water pushes pigment outward. That’s not texture. That’s a mistake.
Tools That Make Layering Easier
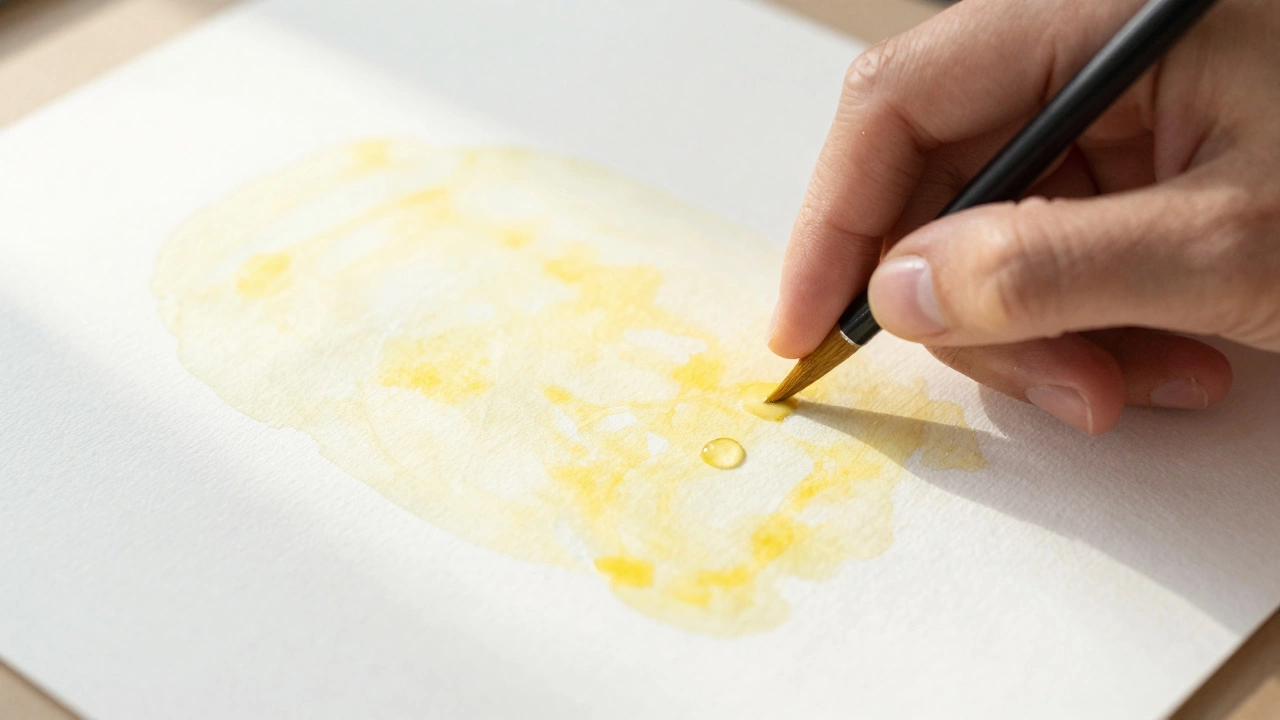
You don’t need fancy gear, but the right tools make layering predictable.- 100% cotton paper: It absorbs water evenly and won’t break down under multiple washes. Look for 140 lb or heavier.
- Good quality brushes: Synthetic sable or high-quality nylon holds water well and releases it smoothly. Avoid cheap, stiff brushes-they drag and leave streaks.
- A hairdryer: If you’re in a hurry, use it. But keep it on low and move it constantly. Don’t blast one spot or you’ll create hard edges.
- A paper towel: Use it to lift excess pigment. If you go too dark, gently blot before it dries. You can recover some light areas this way.
And here’s a pro tip: always test your layers on a scrap of the same paper. Mix your color, apply it, let it dry, then add the next layer. See how it behaves. If it turns muddy, your pigment mix is too dense. Thin it with more water.
Common Mistakes (And How to Fix Them)
Even experienced painters mess up. Here are the top three layering errors-and how to avoid them:
- Muddy colors: Caused by layering too quickly or using too many pigments at once. Fix: Use fewer colors per layer. Stick to two pigments max. Let each dry fully.
- Hard edges where you want soft: Happens when you paint over a dry layer with a wet brush. Fix: Wet the area lightly before applying the next wash. Or use a damp brush to soften the edge while the paint is still wet.
- Paper damage: Too many layers on low-quality paper = tears and fuzz. Fix: Use heavier paper. Don’t scrub. Let the paint sit, don’t rub.
One more thing: don’t rush. Watercolor rewards patience. Waiting 20 minutes for a wash to dry isn’t wasted time-it’s part of the process. The best watercolorists aren’t the fastest. They’re the ones who wait.
What Layering Can Do for Your Art
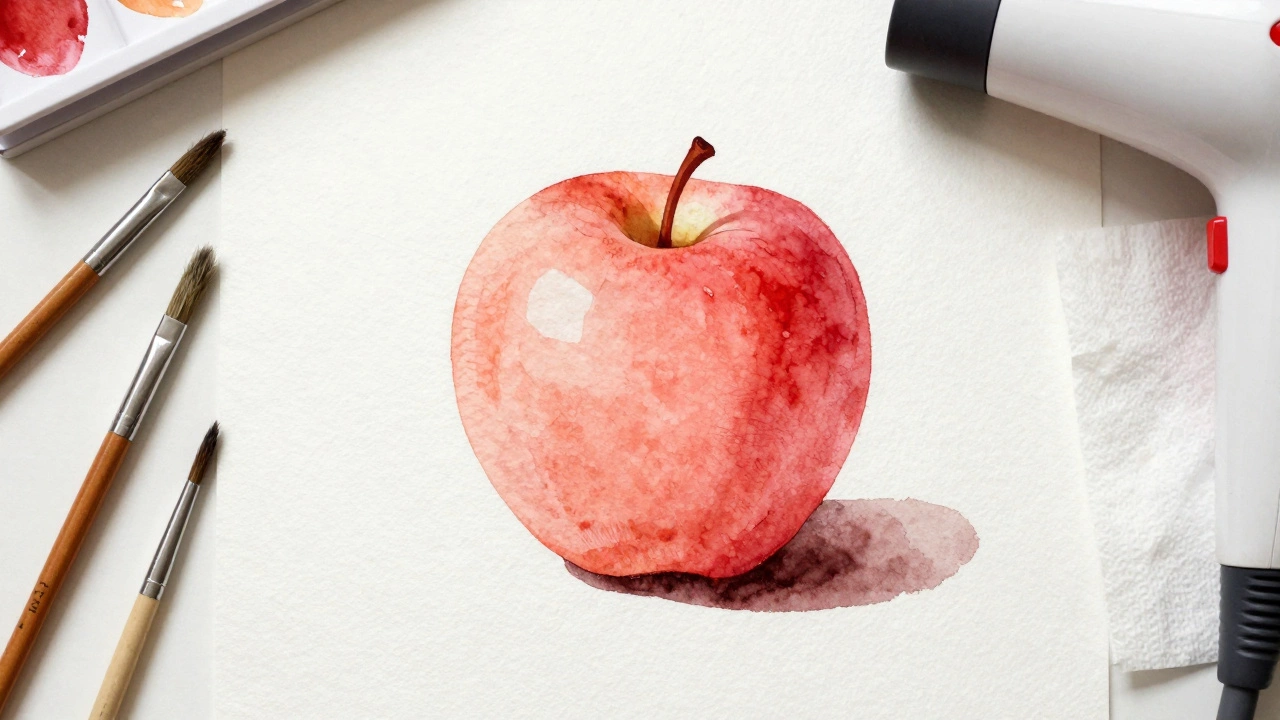
Once you master layering, your paintings change. Colors glow. Shadows have weight. Light feels real. A simple red apple becomes a study in warmth and depth-not just a flat circle of pigment.
Look at the work of watercolor masters like John Singer Sargent or Andrew Wyeth. Their paintings don’t look painted. They look lived in. That’s because they built color slowly, layer by layer, letting each one speak before the next answered.
You don’t need to copy them. But if you want your watercolors to feel alive-not stiff or dull-layering is the way. It’s not about how much paint you use. It’s about how little you use, and how carefully you let it dry.
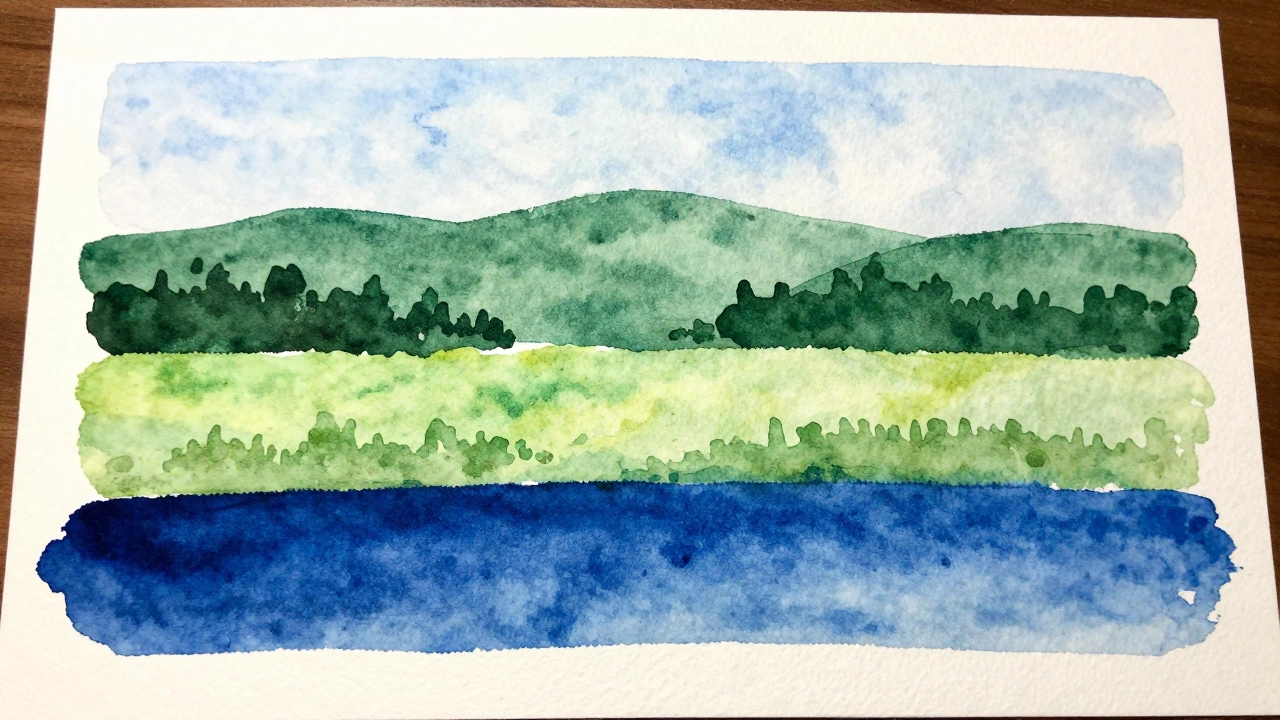
Start Simple: A Layering Exercise
Try this: Grab a 5x7 inch sheet of 140 lb cold-pressed watercolor paper. Draw a simple shape-a sphere, a leaf, a teacup. No details. Just a silhouette.
Now, paint it with three layers:
- First layer: A very pale wash of color. Let it dry.
- Second layer: Slightly darker, applied only to the shadow side. Let it dry.
- Third layer: A deeper tone, only where the darkest shadow falls. Let it dry.
Step back. Look at the difference. That’s the power of layering. No blending. No scrubbing. Just three quiet, patient steps.
That’s all you need to start. You don’t need to paint a whole landscape. Just one shape. One layer at a time. And remember: watercolor doesn’t shout. It whispers. Layering lets you hear it.
Can you layer watercolor while it’s still wet?
No, you shouldn’t layer watercolor while it’s still wet. Doing so causes colors to bleed and mix unpredictably, leading to muddy tones. Layering works best when each wash is completely dry. Wet-on-wet is great for soft blends, but it’s not layering-it’s blending. True layering requires dry paper between each application.
How many layers can watercolor paper handle?
High-quality 100% cotton watercolor paper, like Arches or Saunders Waterford, can handle 10 or more layers if applied gently. Student-grade paper, usually made from wood pulp, starts to break down after 3-5 layers. Always test your paper first. If the surface begins to pill or feel fuzzy, you’ve reached its limit.
Why does my watercolor look muddy after layering?
Muddy colors usually come from three things: painting over wet layers, using too many pigments at once, or applying too-thick washes. To fix this, use fewer colors per layer, let each wash dry completely, and thin your paint with more water. A good rule: if you can’t see the paper through the paint, it’s too thick.
Do you need to let every layer dry before adding the next?
Yes. For true layering, each wash must be completely dry. Otherwise, the new layer will reactivate the one beneath it, causing unwanted bleeding or color mixing. If you want to blend colors while wet, that’s a different technique called wet-on-wet. Layering is about building up, not blending.
Can you layer transparent watercolor over opaque watercolor?
Technically yes, but it’s not recommended. Transparent watercolor relies on the paper’s brightness to glow. Opaque watercolor (like gouache) covers that brightness. If you layer transparent over opaque, you lose the luminosity that makes watercolor special. Stick to transparent pigments for layering. Use opaque paints only for final highlights or corrections.
Next Steps: What to Try After Mastering Layering
Once you’re comfortable with basic layering, experiment with these next-level ideas:
- Use glazing to change the temperature of a color-add a warm glaze over a cool base to make it feel sunlit.
- Try lifting pigment with a damp brush to create clouds, highlights, or texture.
- Paint a portrait using only three layers: light skin tone, subtle shadow, and a single deep line for the nose or eye socket.
- Work on a single subject for a week, adding one layer a day. Watch how it evolves.
Watercolor doesn’t reward speed. It rewards attention. Layering is your quiet, patient ally. It doesn’t demand grand gestures. It asks only that you wait-and listen.