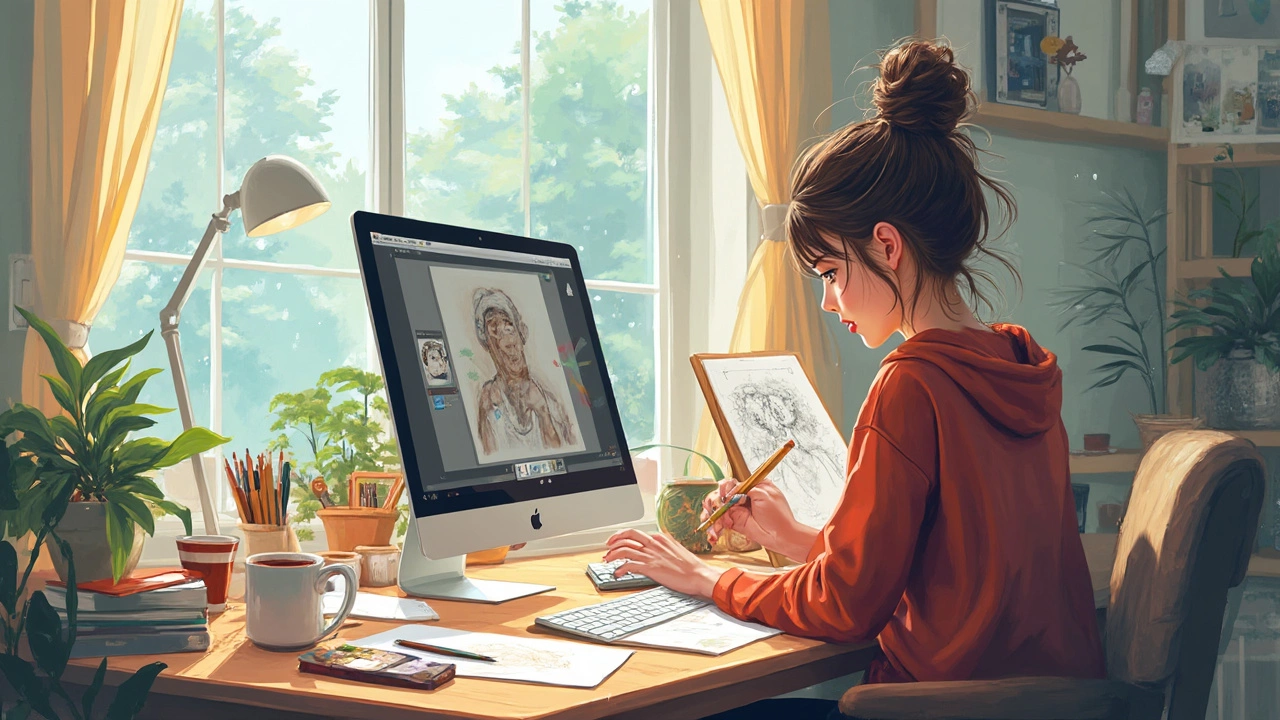
Scanning Sketches: Simple Steps to Digitize Your Drawings
Got a pile of sketches you want to keep safe or share online? Scanning them is the quickest route from paper to screen. You don’t need a fancy studio scanner – a good home device and a few habits are enough to get clean, usable files.
Pick the Right Scanner for Your Needs
Flat‑bed scanners are the most common choice because they handle any size up to their bed. If you only have a sheet‑fed scanner, make sure the paper is thin enough to feed without jamming. For large formats, look for a scanner that can handle at least 11×17 inches or consider a portable photo scanner that slides over the page.
Resolution matters, but you don’t have to max it out. For everyday sharing, 300 dpi is plenty. If you plan to print the scans later or need close‑up detail, bump it to 600 dpi. Anything higher than 1200 dpi usually wastes time and storage without adding visible quality.
Set Up for Perfect Scans
First, clean the glass. Dust or fingerprints show up as specks in the final image. Place your sketch face‑up, align it with the scanner’s corners, and use the preview function to check placement.
Choose the right color mode: grayscale for simple pencil work, color if you used colored pencils or watercolors. Turn off any automatic “enhance” or “sharpen” settings – they can add unwanted artifacts. A plain white background is ideal; if your paper is off‑white, you can adjust the brightness in post‑processing.
When you hit scan, save the file as a TIFF if you want the highest quality for archiving. JPEG works fine for quick uploads, just set the quality to 85 % or higher to avoid compression blobs.
After the scan, give the file a clear name – include the date and a short description, like "2024‑09‑08_ink_sketch_tree.tif". This makes searching later a breeze.
If you notice stray marks, open the file in a free editor like GIMP or Paint.NET. A quick contrast boost and a little cleaning with the eraser tool can make a huge difference without altering the original line work.
Backing up is the final step. Store the master files on an external drive or a cloud service. A second copy on a different platform protects you against hardware failure.
Now you’ve got digital versions of your sketches that are safe, easy to share, and ready for any project you have in mind. Whether you’re posting on Instagram, sending a client a PDF portfolio, or printing a larger version for a gallery, the same simple process gets you there.
Got a question about a specific scanner model or a tricky paper texture? Drop a comment below and we’ll help you sort it out.
