Clay Sculpting: Simple Tips and Techniques for Every Artist
If you’ve ever held a lump of clay and wondered how to turn it into a figure, you’re not alone. Clay is forgiving, cheap, and fun, which makes it a great starting point for anyone who wants to try sculpting. The key is not to overthink it – just get your hands dirty and follow a few basics.
Essential Tools for Clay Sculpting
You don’t need a full workshop to begin. A basic set includes a wooden modeling tool, a metal wire cutter, a sponge, and a small rolling pin. The wooden tool works like a spoon for shaping and smoothing, while the wire cutter helps you trim off excess clay quickly. A damp sponge is perfect for adding moisture and smoothing surface marks. If you can, get a small armature (a wire frame) for larger pieces – it gives the clay something solid to hold onto.
Keep a bowl of water nearby, but don’t let the clay sit in it too long or it will get soggy. A quick dip in water when the clay feels dry is enough to bring it back to life. Remember to wipe your tools clean after each use; sticky residues can ruin the next detail you carve.
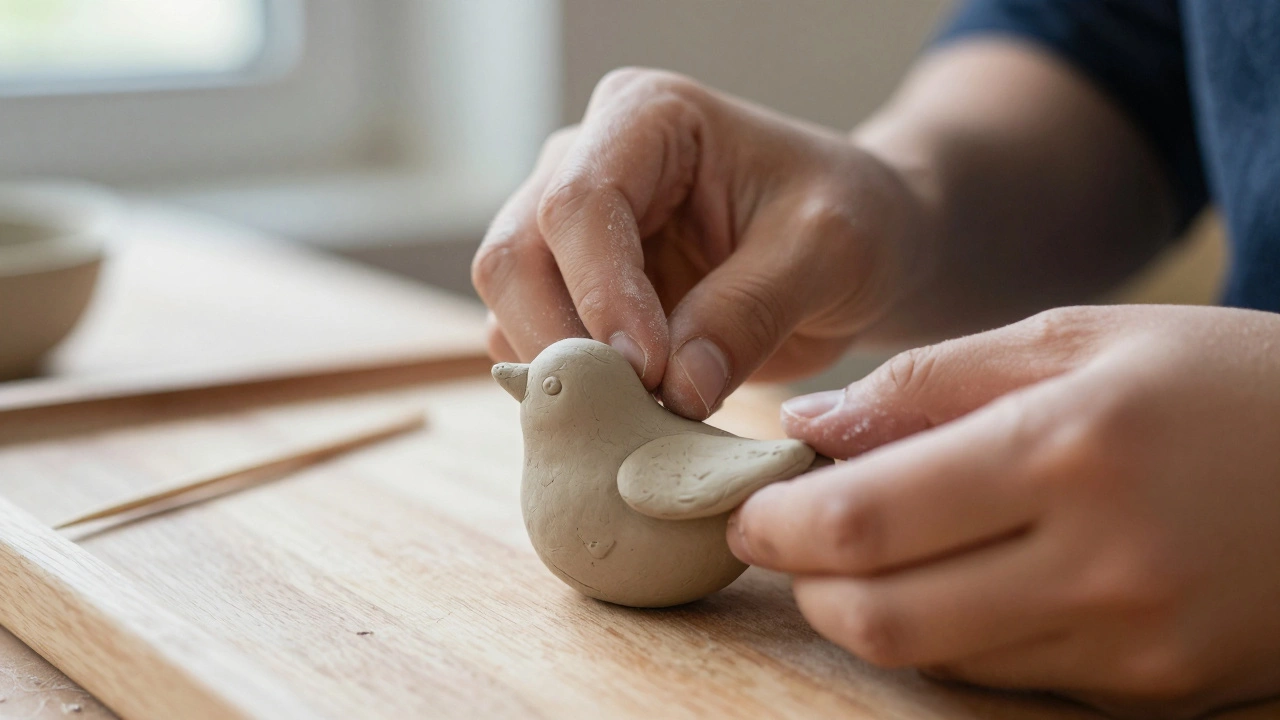
Step-by-Step Clay Sculpting Process
1. Plan your shape. Sketch a quick outline or think about the basic forms – a sphere for the head, cylinders for limbs. This mental map saves you from constantly reworking the clay.
2. Build a rough armature. If you’re making a standing figure, bend a piece of thick wire into a simple stick‑figure shape. Cover it with a thin layer of clay to keep the armature hidden.
3. Bulk up the forms. Add large chunks of clay to create the main masses. Don’t smooth yet; focus on getting the right proportions.
4. Refine details. Switch to finer tools and start shaping facial features, fingers, or textures. Work slowly – small adjustments are easier than big fixes.
5. Smooth the surface. Lightly dampen your sponge and glide it over the sculpture. This removes tool marks and gives the piece a polished look.
6. Let it dry. If you plan to fire the clay, allow it to reach leather‑hard stage (firm but still a bit pliable). For a simple display, let it air‑dry completely – this can take 24‑48 hours depending on size.
7. Finishing touches. Paint, glaze, or seal the sculpture once it’s dry. Acrylic paints work well for a quick color boost, while ceramic glazes give a professional shine if you fire the piece.
Common mistakes most beginners make include over‑wetting the clay and trying to carve too deep before the clay firms up. If the clay feels too soft, let it rest for a few minutes; if it’s drying out, spray a mist of water. Patience pays off.
Finally, keep experimenting. Try different types of clay – polymer, air‑dry, or kiln‑fired – and notice how each reacts. The more you practice, the faster you’ll spot mistakes and fix them on the fly. Clay sculpting is a hands‑on learning process, so the best teacher is your own fingers.
Ready to start? Grab a block of clay, set up your simple tool kit, and follow the steps above. In a few hours you’ll have a piece you can be proud of, and the satisfaction of turning raw material into art. Happy sculpting!