Turn Drawing into Digital Art – Simple Guide
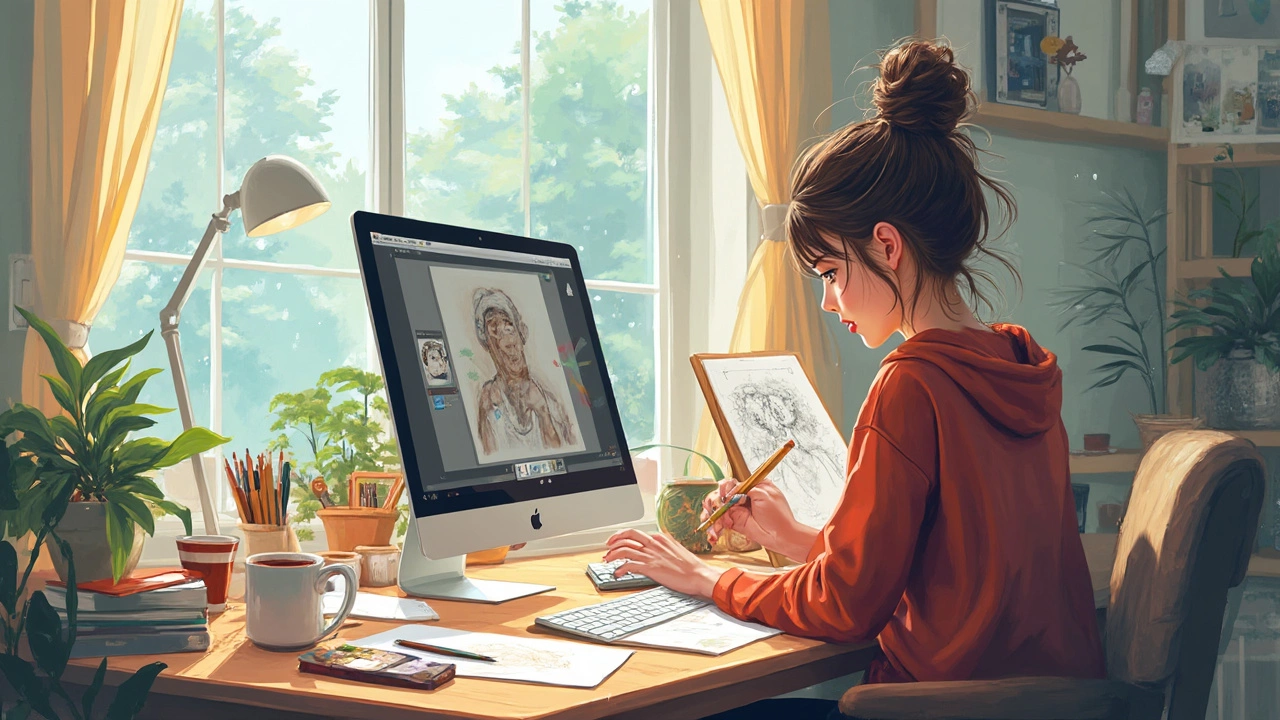
Got a sketch you love and want to see it on a screen? You don’t need a fancy studio or years of experience. With a few tools and a clear workflow, you can turn any drawing into a polished digital piece in minutes.
Tools You Need
First, gather the basics. A scanner or a smartphone camera works for capturing your art. If you use a phone, make sure the lighting is even and the image is in focus. Next, choose a drawing program – free options like Krita, GIMP, or Autodesk SketchBook are perfect for beginners. If you have a tablet and a stylus, you’ll get more control, but a mouse will do for simple edits.
Finally, think about your file format. Save the scan as a high‑resolution PNG or JPEG to keep the details. Most programs let you import those files directly, so you won’t waste time converting later.
Step‑by‑Step Workflow
1. Scan or photograph your drawing. Place the artwork on a flat surface, align the camera straight, and snap a picture. If you use a scanner, select 300 dpi or higher for crisp lines.
2. Clean up the image. Open the file in your chosen program and use the eraser or a brush to remove smudges, dust, or stray marks. Adjust brightness and contrast so the lines stand out clearly against the background.
3. Create a new layer for tracing. Lock the original layer and start drawing over the lines on a fresh layer. This keeps your digital ink separate and easy to edit. Use a simple round brush set to 2‑3 px for a clean line weight.
4. Add basic colors. Fill each area with flat colors on separate layers beneath the line work. This lets you change hues later without messing up the outline.
5. Shade and highlight. Grab a soft brush, lower the opacity, and add shadows where the light would naturally fall. Then add lighter spots for highlights. Keep the shading simple – a couple of layers are enough for a polished look.
6. Export your final piece. Save the project in its native format (like .kra or .psd) so you can go back later. Then export a PNG or JPEG for sharing on social media or printing.
That’s the whole process. You can speed it up by creating shortcuts for your most-used brushes and by saving a template file that already has the layers set up. Over time you’ll develop a rhythm, and the conversion will feel almost automatic.
Want extra polish? Try adding a subtle texture layer on top of the colors to mimic paper or canvas. Blend mode “Overlay” works well and adds depth without overwhelming the drawing.
Remember, the goal isn’t to remake the artwork perfectly – it’s to give it a digital boost that keeps the original’s charm. Experiment with different brushes, colors, and effects until you find a style that feels right for you.
Now you’ve got the tools, the steps, and a few pro tips. Grab your sketch, fire up the software, and watch your hand‑drawn art come alive on screen. Happy creating!