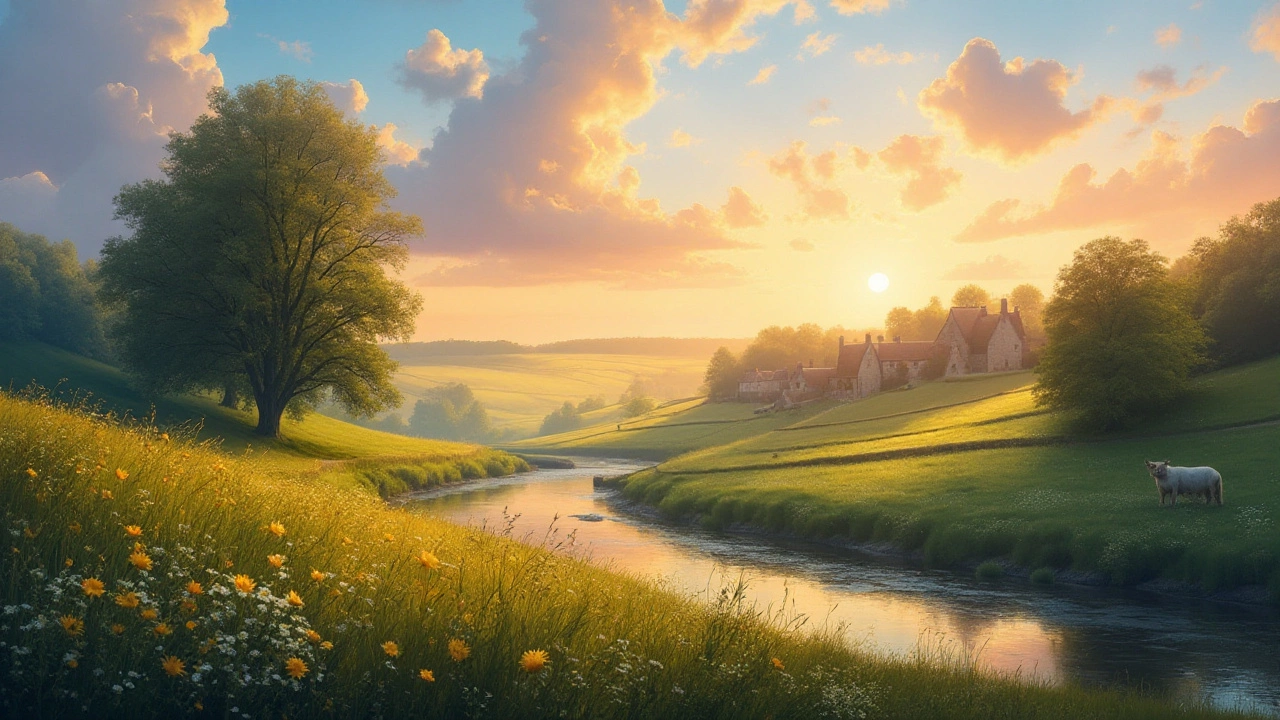
Landscape Painting Tips: Simple Steps to Paint Beautiful Outdoor Scenes
Ever tried to paint a sunrise and ended up with a flat, gray mess? You’re not alone. The good news is that a few solid habits can turn any beginner into a confident landscape painter. Below are the practical moves that actually work, no fluff.
Gather the Right Gear
First off, you don’t need a fancy studio set‑up. A medium‑size canvas (16×20 is a good start), a basic palette of earth tones, and a mix of flat and round brushes will cover most scenes. Flat brushes are great for smooth skies, while round brushes let you add texture to trees and rocks. Keep a rag or paper towel handy – a quick blot can save a ruined section.
Sketch Light, Not Heavy
Before the first color hits the canvas, spend a minute sketching the major shapes with a thin charcoal stick or a light pencil. Keep lines soft; you’ll erase them later or paint right over them. Focus on the horizon line, major tree trunks, and any focal point like a cabin or lake. A simple line‑and‑shape layout prevents you from getting lost in details too early.
Once the sketch is set, block in the biggest color zones. Use a large flat brush to lay down a thin wash for the sky – think cool blues near the horizon and warmer pinks toward the top if it’s sunrise. Don’t worry about perfect blending; you’ll refine those edges later.
When you move to land and water, remember that value (light vs dark) matters more than hue. Paint the darkest shadows first, then add mid‑tones, and finish with the highlights. This “dark‑to‑light” method creates depth without over‑mixing colors.
Mixing colors on the palette instead of directly on the canvas helps you stay in control. For a realistic foliage green, start with a warm yellow‑green base, add a touch of cadmium red for warmth, then dial down the intensity with a bit of ultramarine. Test the mix on a scrap piece of canvas – if it looks flat, add a tiny amount of the complement color to revive it.
Brushwork can make or break a landscape. Use short, broken strokes for trees to suggest leaves, and long, smooth strokes for water reflections. When you paint a mountain, try a dry‑brush technique: load the brush with a small amount of paint, then lightly drag it across the surface. The result is a textured peak that looks natural.
Don’t forget atmospheric perspective. Objects farther away should appear lighter, cooler, and less detailed. Adding a thin veil of blue‑gray over distant hills mimics how the eye sees depth in real life.
Finally, step back frequently. A quick glance from a few feet away shows you where the composition feels balanced or where a color is too strong. If something looks off, adjust with a clean brush – most mistakes are fixable.
Wrap up by adding the finishing touches: a bright highlight on a water ripple, a tiny bright leaf on a tree, or a subtle edge line on a distant rock. These tiny details give the scene that last spark of realism.
With these straightforward steps, you’ll see steady improvement in every landscape you paint. Grab your brushes, head outside for a quick sketch, and put these tips to work. The next time you finish a canvas, you’ll recognize the difference between a rushed effort and a thoughtful landscape.
