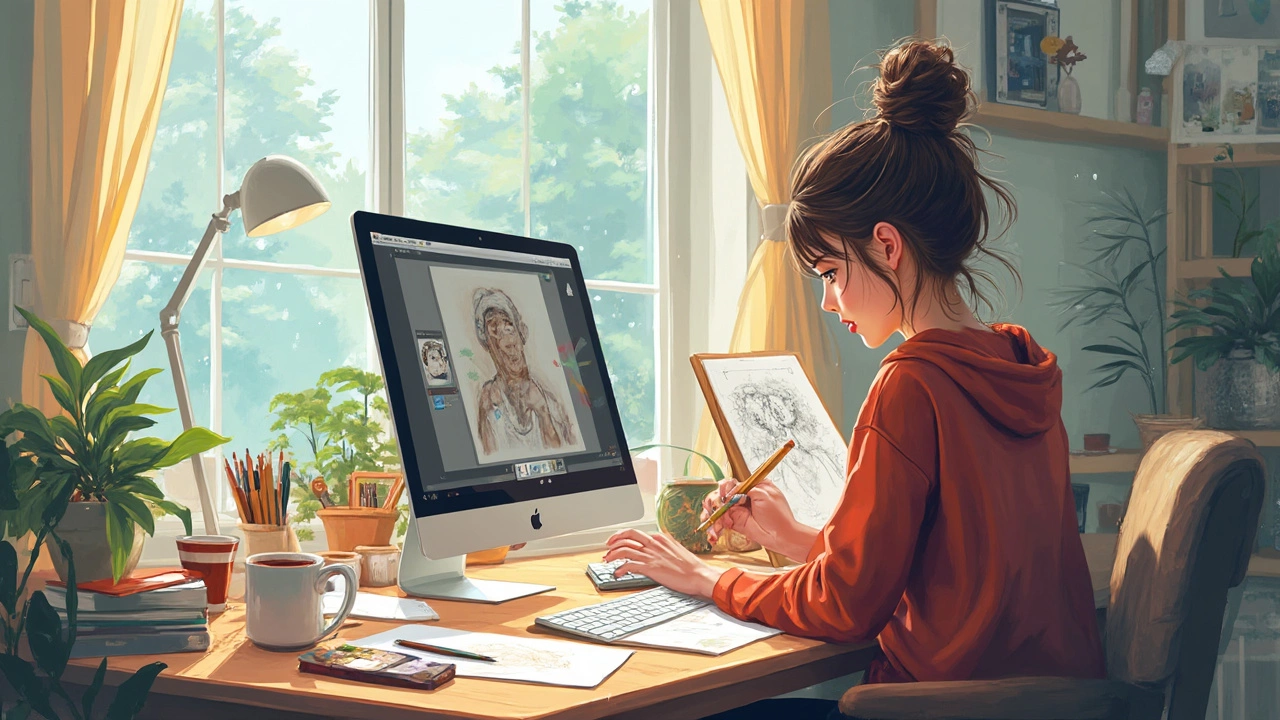
Drawing Tablet: What Every Beginner Needs to Know
If you’ve ever wanted to draw on a screen, a drawing tablet is the fastest way to get started. It lets you sketch, paint, and edit just like you would with pen and paper, but with digital tools that make mistakes easy to fix. Below you’ll find the basics of picking a tablet, setting it up, and using it for the projects you see on Concept Showcase.
Choosing the Right Drawing Tablet
First, think about how you plan to use the tablet. Are you a hobbyist who doodles after work, or do you need something powerful for professional illustration? For casual use, a small, budget-friendly model with a basic pen works fine. If you need high pressure sensitivity and a large active area, look for a mid‑range or premium device.
Here are three quick checks:
- Screen vs. Non‑screen: A screen tablet lets you draw directly on the display, which feels natural. Non‑screen tablets use a separate monitor, often at a lower price.
- Pressure Levels: More levels give smoother lines. 2048 is decent; 8192 feels buttery.
- Connectivity: USB‑C is common now and works with most laptops. Some tablets also support Bluetooth for a wireless setup.
Once you have a shortlist, check reviews on our site. Articles like “Best Camera for Fine Art Photography” and “How to Learn Sculpture Art” show the kind of detail we love – real‑world testing, pros and cons, and price breakdowns. The same approach works for tablet reviews.
Getting Started with Your Tablet
When your tablet arrives, plug it in and install the driver software. Most brands have a simple installer that adds the pen’s pressure curves to your computer. After that, open any drawing app – Photoshop, Krita, or even free tools like GIMP – and try a few strokes.
Adjust the pen’s button functions to match your workflow. Many artists set the side button to “undo” and the tip to “brush size.” Play with these settings until it feels comfortable.
Next, calibrate the tablet’s active area to your screen size. This prevents the cursor from jumping around. A quick tutorial video can show you the steps; on our site you’ll also find guides for other tools, like how to blur oil painting edges, that follow the same clear, step‑by‑step style.
Practice is the real secret. Start with simple shapes – circles, squares, lines – and notice how pressure changes the thickness. Then move to a quick sketch of something you love, like a favorite landscape from our “Top 5 Key Elements for Perfect Landscape Design” post. The more you draw, the faster the tablet will feel like an extension of your hand.
Finally, keep your tablet clean. A soft cloth and a little screen cleaner keep the surface smooth. Store the pen upright to avoid bending the tip.
Whether you’re mixing watercolor techniques or exploring abstract painting, a drawing tablet opens up endless possibilities. Use the tips above, check out our detailed reviews, and you’ll be creating digital art in no time.
