Creative Process: From Spark to Finished Piece
Ever wonder why some artworks feel alive while others fall flat? It all comes down to the process you follow after the first idea pops up. Below are simple, actionable steps you can start using today, no matter if you paint, sculpt, photograph, or design.
Step 1 – Gather Real Inspiration
Skip the lofty talk about "finding your muse" and just go look. Walk through a park, scroll a design feed, or flip through a cheap art book. Jot down anything that catches your eye – a color, a shape, a mood. Those raw notes become the building blocks for your project.
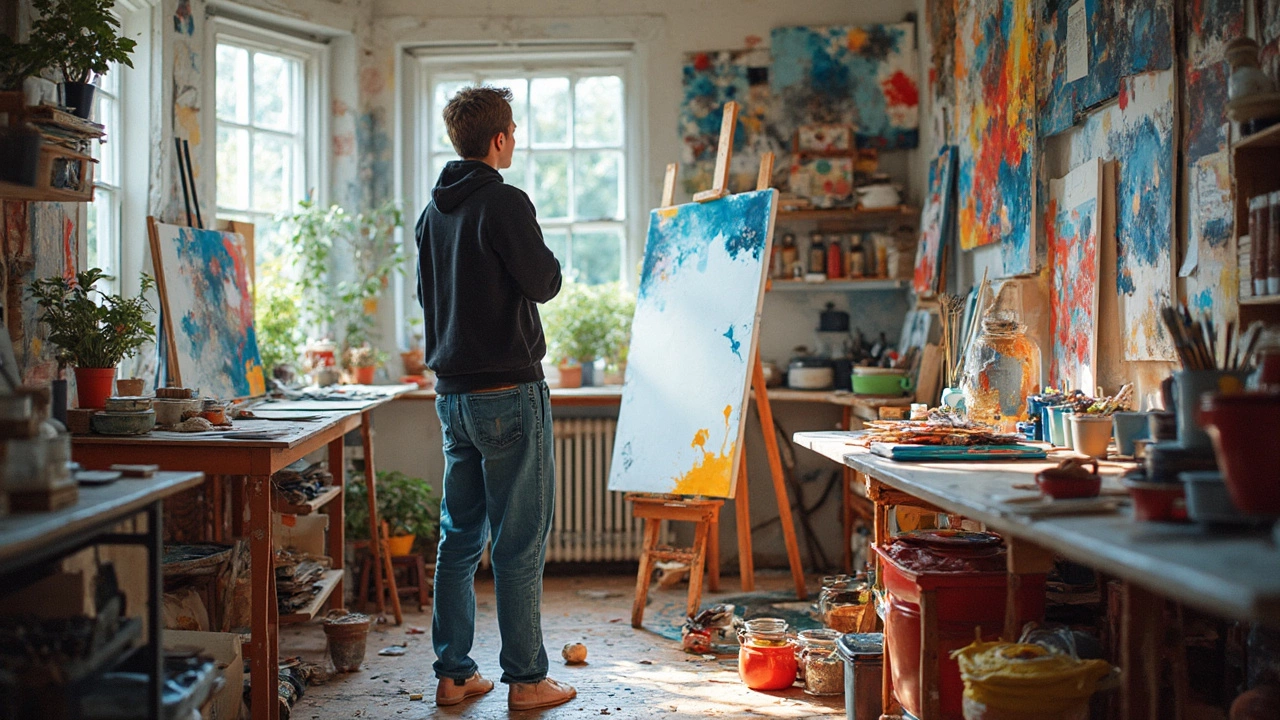
Step 2 – Sketch, Play, and Test
Take those notes and make quick sketches or mini‑studies. The goal isn’t perfection; it’s to see what works and what doesn’t. Try different media – a charcoal doodle, a digital thumbnail, a clay mash‑up. Each experiment tells you which direction feels right and which ones waste time.
When you notice a version that clicks, flesh it out a bit more. Add detail, adjust proportions, or swap colors. This iterative loop keeps you moving forward without getting stuck on one idea for weeks.
For visual creators, a good habit is to set a timer. Give yourself 15‑20 minutes per quick study. That pressure stops over‑thinking and forces you to make decisions fast – a skill that pays off when you hit deadlines.
Once you have a solid study, start planning the final piece. List the materials you’ll need, estimate how long each step will take, and set realistic milestones. Knowing the roadmap keeps frustration low and momentum high.
If you work in 3‑D, like sculpture, think about the weight and balance early on. Rough out a small model in clay or foam before tackling the big version. This saves you from costly mistakes and helps you see how the form reads from all angles.
Photographers can apply the same idea by shooting a test set with cheap gear or natural light. Review the shots, note what’s missing, then adjust lighting or composition for the final session.
When the plan feels clear, dive into the main creation. Keep the workspace organized – tools where you can reach them, reference images nearby. A tidy environment reduces the mental load and keeps you focused on the art, not on searching for a brush.
Mid‑project, pause every hour or two to step back. Look at your work from a distance or flip the canvas. Those short breaks reset your eyes and often reveal problems before they become huge fixes.
Finally, finish with a quick critique. Ask yourself: Does the piece convey the original feeling? Does anything feel out of place? If you can answer those questions clearly, you’ve completed a solid creative cycle.
Remember, the creative process isn’t a straight line. It’s a loop of inspiration, experimentation, planning, making, and reviewing. Using these practical steps turns vague ideas into finished works you can be proud of.