Realism – Real‑World Art Made Simple
If you love art that looks like life, you’re in the right spot. Realism is all about capturing what we see, feel, and experience without shortcuts. On this page you’ll get straight‑to‑the‑point advice, cost guides, and practical tricks to help you create work that feels genuine.
What Realism Means in Art
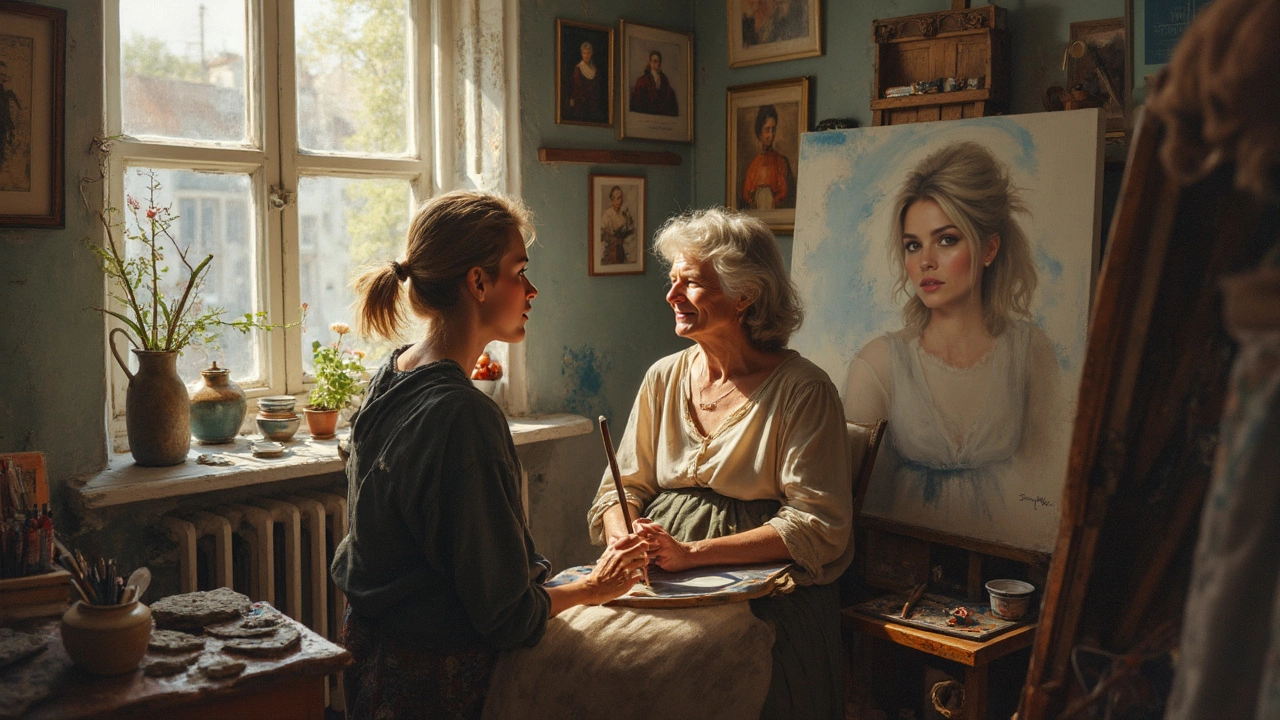
Realism isn’t just painting a photo‑realistic portrait; it’s about honesty in color, light, and detail. Whether you’re working with oil, watercolor, or digital tools, the goal stays the same – make the viewer think, “That looks exactly like the real thing.” Realistic portrait cost, for example, can vary a lot. Size, medium, and artist reputation all play a role, so knowing the factors helps you budget wisely.
Many artists start by studying how light falls on objects. A simple trick is to use a single light source during a sketch session and notice the shadows it creates. This builds the muscle memory you need for realistic shading later on. It’s also why realistic portrait cost often includes a “lighting study” step – the artist is spending time on that observation phase.
How to Bring Realism Into Your Work
Start with a reference photo that you actually like. Crop it to the most important part, then block in the main shapes with a thin line. Don’t worry about details yet; focus on getting proportions right. When you’re happy with the outline, add layers of color or tone, remembering that real life has soft edges as well as hard ones.
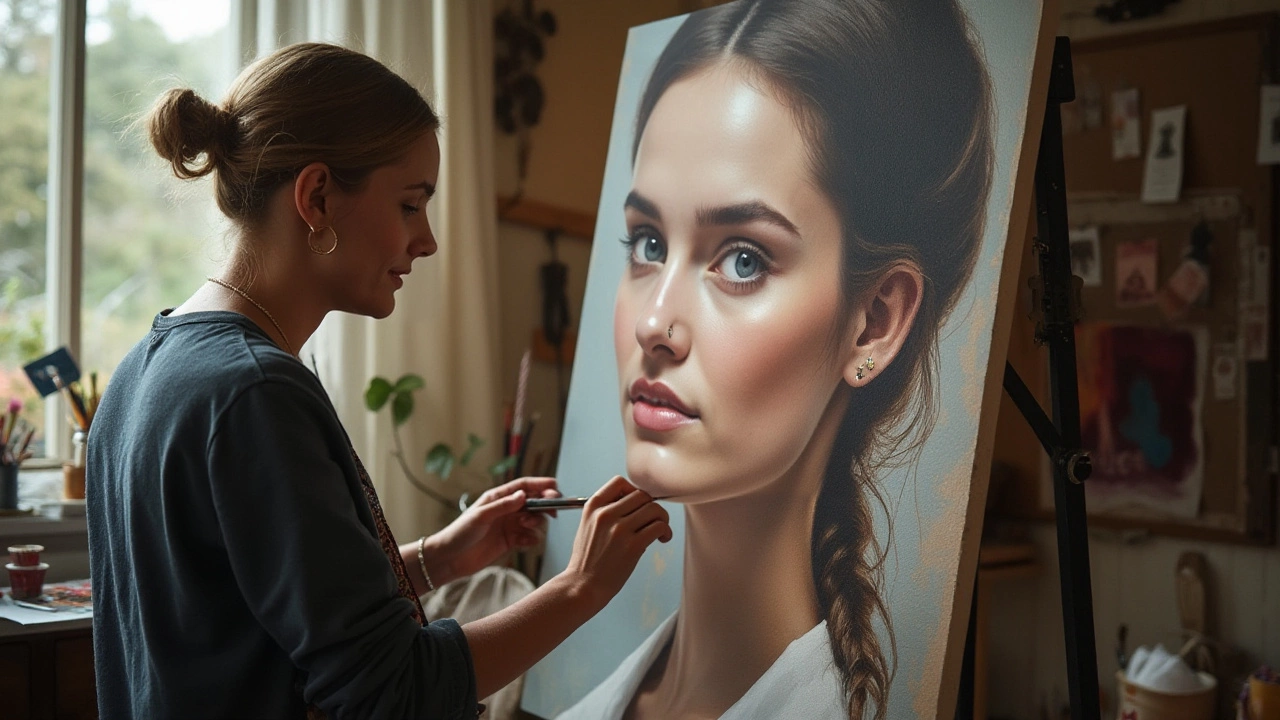
Blending is a big part of realism. For oil painters, a few minutes of mixing medium can help you glide paint across the canvas without harsh lines. If you’re working digitally, a low‑opacity brush does the same trick. The key is to keep transitions smooth, especially on skin or atmospheric backgrounds. That’s why a post about “How to Blur Oil Painting Edges” is a must‑read for anyone after that soft, realistic look.
Don’t forget texture. Real objects have tiny imperfections – a rough bark, a glossy fruit skin, or a subtle grain in a wooden table. Use a fine brush or a texture brush in your software to hint at those details. A little grit goes a long way in convincing the eye that what you’re looking at could exist in the real world.
Finally, review your work from a distance. Step back, squint, and ask yourself if the piece still feels true to life. If something looks off, tweak the contrast or the value scale until it clicks. Realistic artists often repeat this step many times before they’re satisfied.
Explore the other articles on this page for deeper dives – from budgeting a realistic portrait to mastering oil edge blending. Each guide gives you a clear, actionable step you can try right now. Keep practicing, stay observant, and soon your art will feel as real as the world around you.