Oil Painting Guide: Tips, Techniques & Inspiration
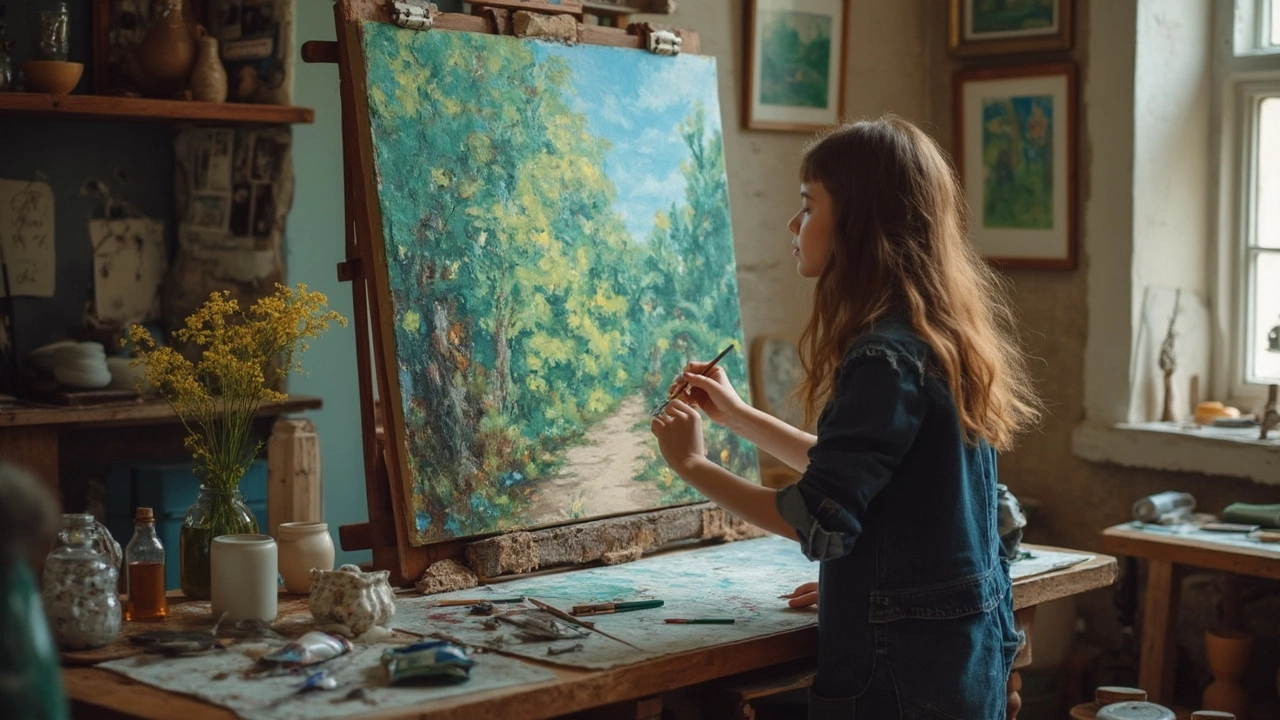
If you’ve ever stared at a vibrant canvas and wondered how the colors stay so rich, you’re in the right place. Oil painting is a medium that lets you blend, layer, and experiment without the rush of drying fast. Below you’ll find straightforward advice to get you started, plus a few ideas to keep your work fresh.
Getting Started with Oil Paints
First thing’s first: you need the right gear. A basic set of colors—such as titanium white, cadmium red, ultramarine blue, burnt sienna, and yellow ochre—covers most palettes. You don’t need an endless rainbow; you can mix many shades from these five.
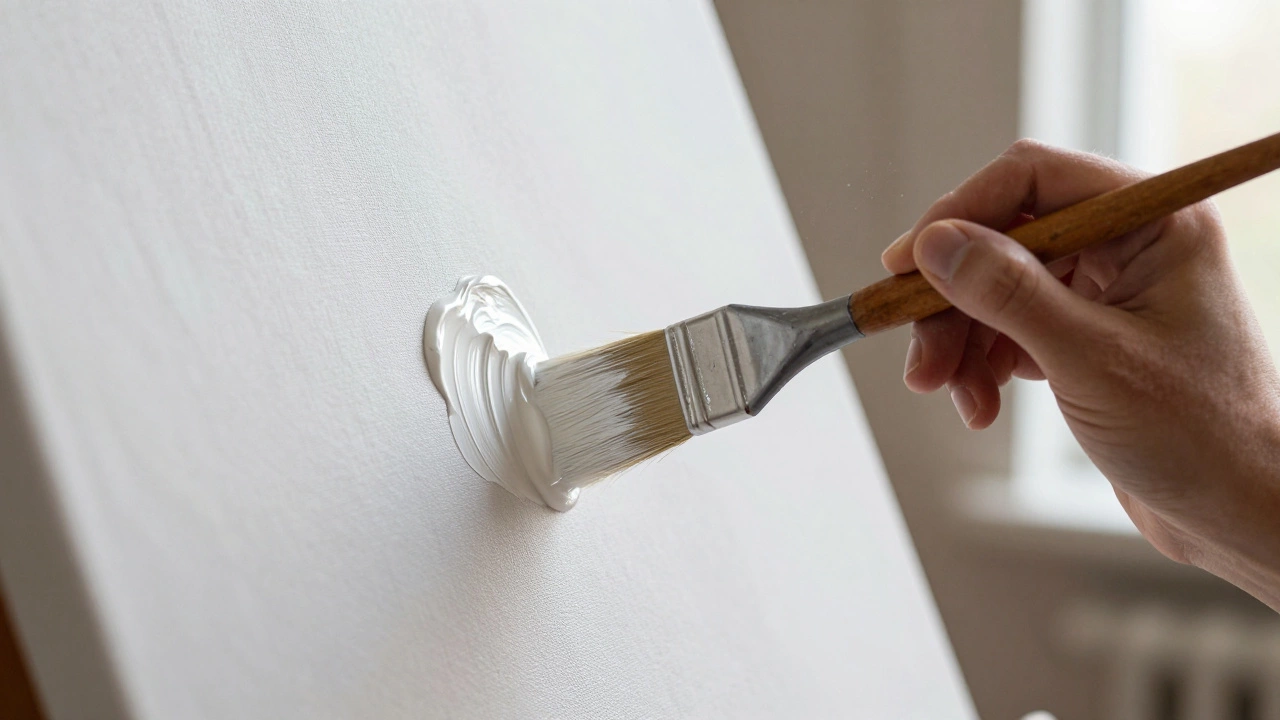
Choose a supportive surface. Canvas panels are cheap and sturdy, while stretched canvas gives a classic feel. If you’re on a budget, a primed board works just as well.
For brushes, stick to hog‑hair or synthetic ones made for oils. A medium‑size flat brush is perfect for large areas, and a round brush helps with details. Keep a jar of mineral spirits or odorless turpentine handy for thinning paint and cleaning brushes.
Now, mix a bit of linseed oil with your paint. This makes the color flow better and adds a nice gloss. Don’t overdo it—just enough to get a smooth consistency.
Improving Your Oil Painting Skills
One of the biggest tricks with oils is mastering the “fat‑over‑lean” rule. Start your painting with thin, “lean” layers (more solvent, less oil) and finish with thicker, “fat” layers (more oil). This prevents cracking as the paint dries.
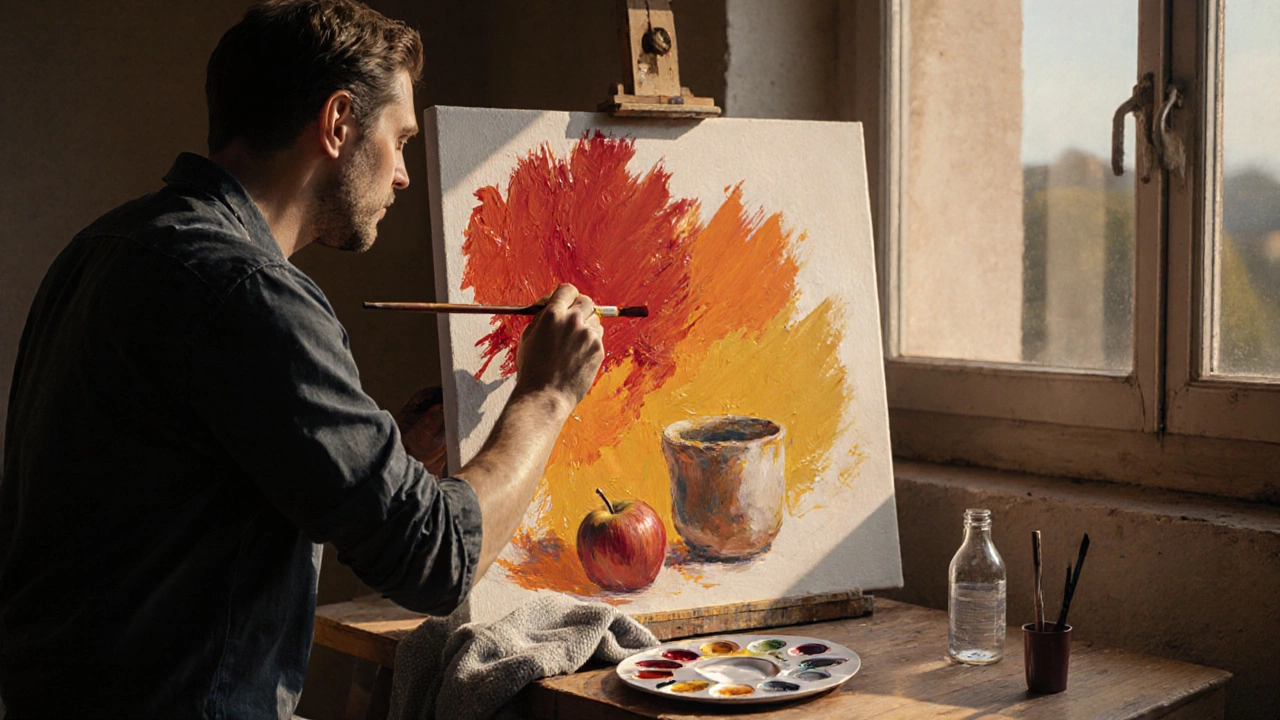
Try the alla prima method if you like a quicker approach. It means you paint everything in one sitting, keeping the paint wet and blending directly on the canvas. This style works well for portraits, landscapes, and still‑life scenes.
When you’re stuck, step back. Looking at your work from a distance helps you see color balance and composition flaws that aren’t obvious up close.
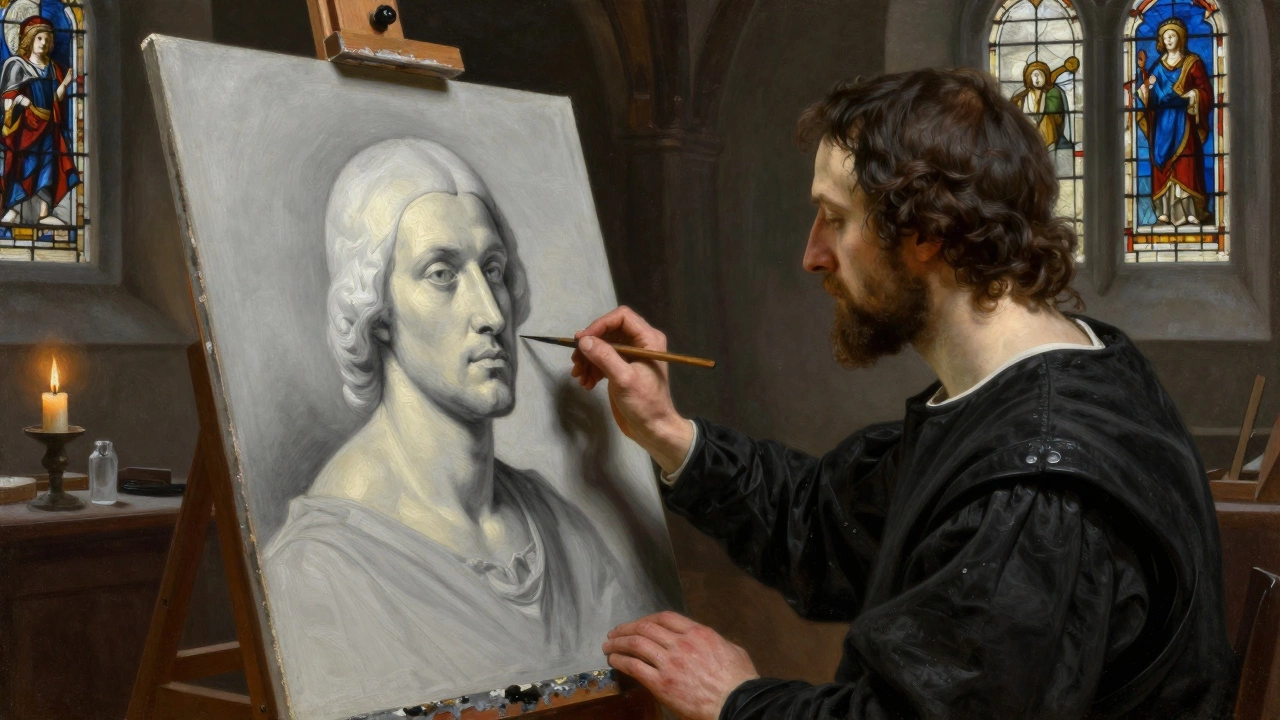
Don’t ignore the value of underpainting. A thin monochrome sketch in burnt umber or raw sienna sets up shadows and highlights, making the final colors pop.
Finally, let your painting rest. Oil dries slowly, and a day or two of patience can reveal hidden details you missed while the paint was wet.
Need more ideas? Check out our recent posts on portrait cost, landscape design basics, and realistic portrait budgeting. They tackle related topics like choosing the right canvas size and planning your color scheme—both crucial for oil painters.
Remember, oil painting is as much about experimenting as it is about technique. Grab a brush, mix a color, and enjoy the process. You’ll see improvement with each stroke, and soon you’ll have a gallery‑ready piece you can be proud of.