Artistic Photography – How to Capture Creative Images
If you’ve ever seen a photo that makes you stop and think, you’ve probably experienced artistic photography. It’s not just about snapping a moment, it’s about turning that moment into a piece of visual art. In this guide we’ll break down what gives a photo that artistic edge, share the tools that help you get there, and give you simple steps you can start using today.
What Makes a Photo Artistic?
First off, an artistic photo has a clear intention. You decide what feeling or idea you want to share before you even lift the camera. That could be a mood, a story, or a visual pattern that catches the eye.
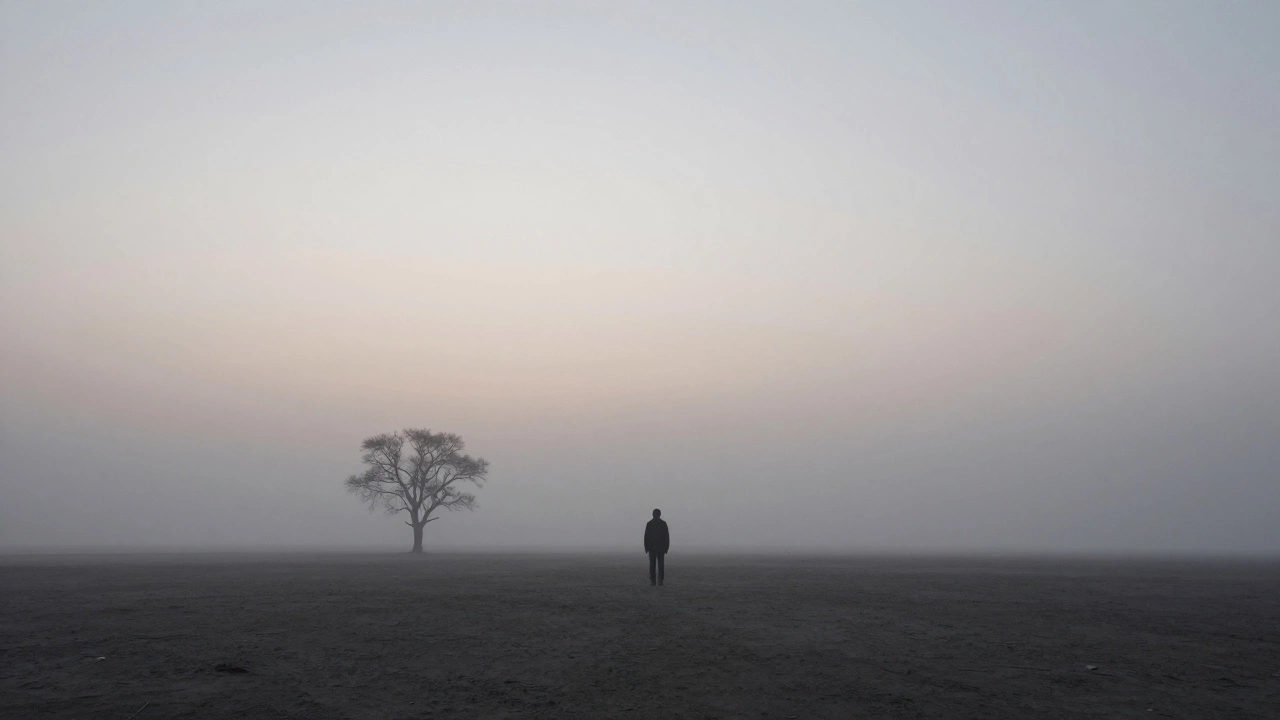
Composition is the backbone. Think of the rule of thirds, leading lines, or negative space as shortcuts to guide the viewer’s focus. When you place your subject off‑center or use empty space around it, you give the image room to breathe.
Light is another game‑changer. Soft, diffused light creates a dreamy look, while harsh shadows add drama. Play with natural light at sunrise or sunset, or move a lamp around your subject to see how the shadows shift.
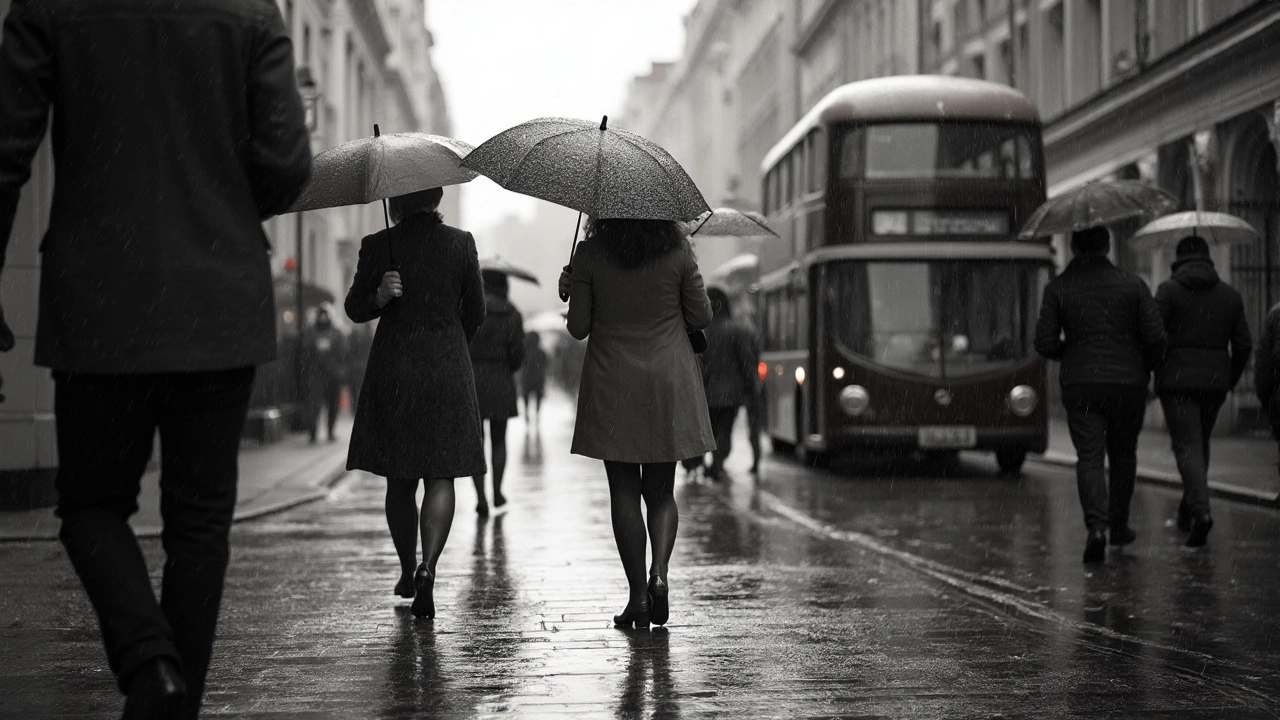
Color or its absence can set the tone fast. Bold, saturated hues bring energy; muted palettes calm things down. If you’re after a timeless feel, try black‑and‑white and pay attention to contrast.
Finally, storytelling ties everything together. A single frame should hint at a larger narrative – a moment caught, a feeling expressed, a question asked.
Gear and Tips for Artistic Shots
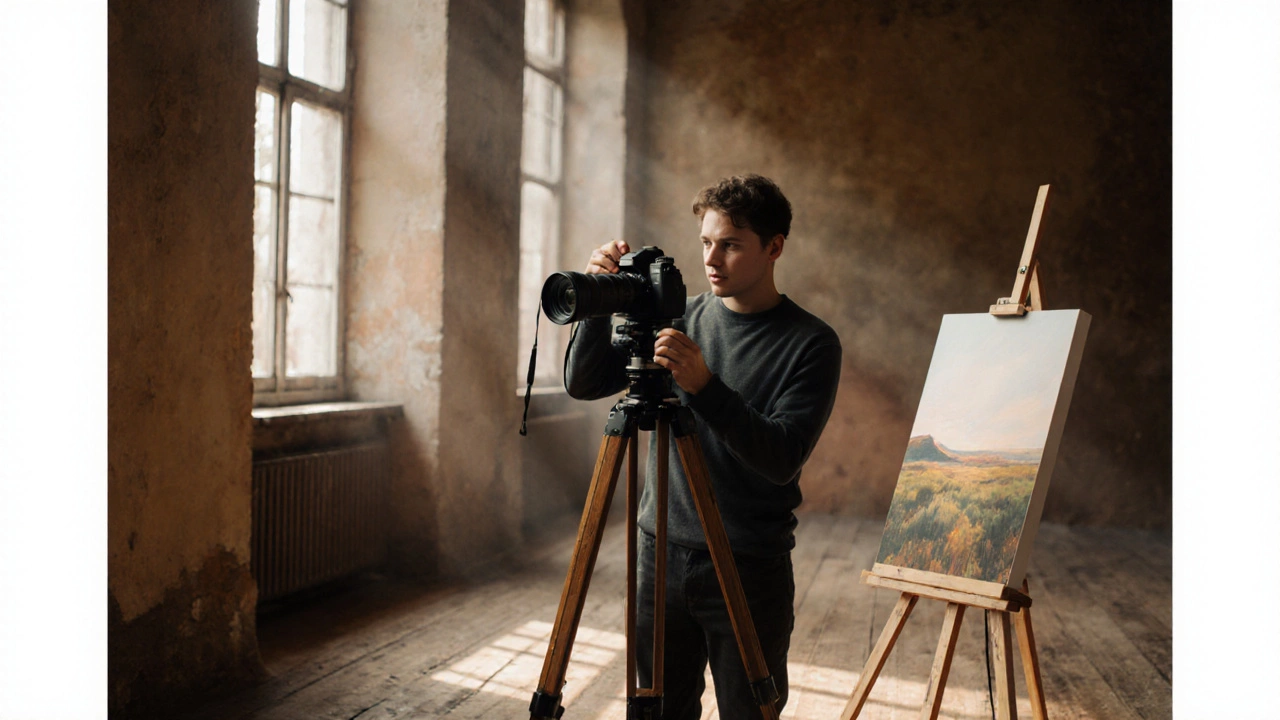
You don’t need the most expensive camera to be artistic, but a few tools make the job easier. A full‑frame mirrorless or DSLR gives you control over depth of field, which is vital for separating subject from background.
A prime lens with a wide aperture (like f/1.8) is cheap and shoots beautiful bokeh. That creamy blur helps isolate your subject and adds a painterly feel.
Use a tripod when you’re working with low light or want precise framing. It eliminates shake and lets you experiment with long exposures for motion trails or ghostly effects.
Filters are cheap super‑powers. A polarizer cuts glare on water or glass, while a neutral density filter lets you use slower shutter speeds in bright daylight for silky water or cloud motion.
Post‑processing is part of the artistic process. Simple adjustments in contrast, saturation, and tone can turn a good picture into a great one. Stick to one editing style so your work feels cohesive.
Practice mindfulness while shooting. Take a moment to look, breathe, and decide what you want the viewer to see. Snap a few test shots, adjust your angle, then capture the final image.
Join online communities or local photo walks. Seeing how other photographers think about composition and light expands your own ideas.
Remember, the best artistic photos come from curiosity and experimentation. Try shooting from low angles, use reflections, or layer subjects for depth.
To sum up, artistic photography is a blend of clear intention, solid composition, thoughtful lighting, and a bit of gear that supports your vision. Start with what you have, apply these tips, and watch your images become more expressive and memorable.