True-to-Life Art: Easy Tips for Realistic Paintings and Sculptures
If you love art that looks like real life, you’re in the right place. True-to-life art means the piece looks almost like a photograph – every detail feels real. It can be a portrait, a landscape, or even a sculpture that looks like a living thing. Below are down‑to‑earth steps you can start using right now.
Start with the Basics: Light, Shape, and Color
The first thing you need to watch is light. Light tells the eye where the form begins and ends. Look at where the brightest spots are and where the shadows fall. Sketch those light‑and‑dark areas before you add any color. This simple step keeps proportions honest and stops you from guessing later.
Next, focus on shape. Break the subject down into simple geometry – cubes, cylinders, spheres. Even a face can be reduced to a sphere for the skull, a box for the jaw, and a cone for the nose. When you see the subject as basic shapes, you avoid getting lost in details too early.
Color should match the light you recorded. Pick a neutral base (often a grey or warm brown) and then layer the true colors on top. Use a limited palette – three to five colors – to keep the painting from looking muddy. Blend slowly and keep your brush strokes soft where the surface is smooth, like skin.
Tools and Techniques that Make a Difference
For painting, a good set of brushes matters. Flat brushes work well for large smooth areas, while fine round brushes help with tiny details like eyelashes or veins. If you work with oil, try a blending medium to keep edges soft. For acrylic, a quick‑drying medium helps you blend longer without the paint hardening.
When it comes to sculpture, the material you choose controls how realistic you can get. Clay lets you shape fine details and correct mistakes easily. Start with a rough armature (wire frame) so your piece stays steady, then add clay in layers. Smooth the surface with a damp sponge or soft cloth to get that life‑like finish.
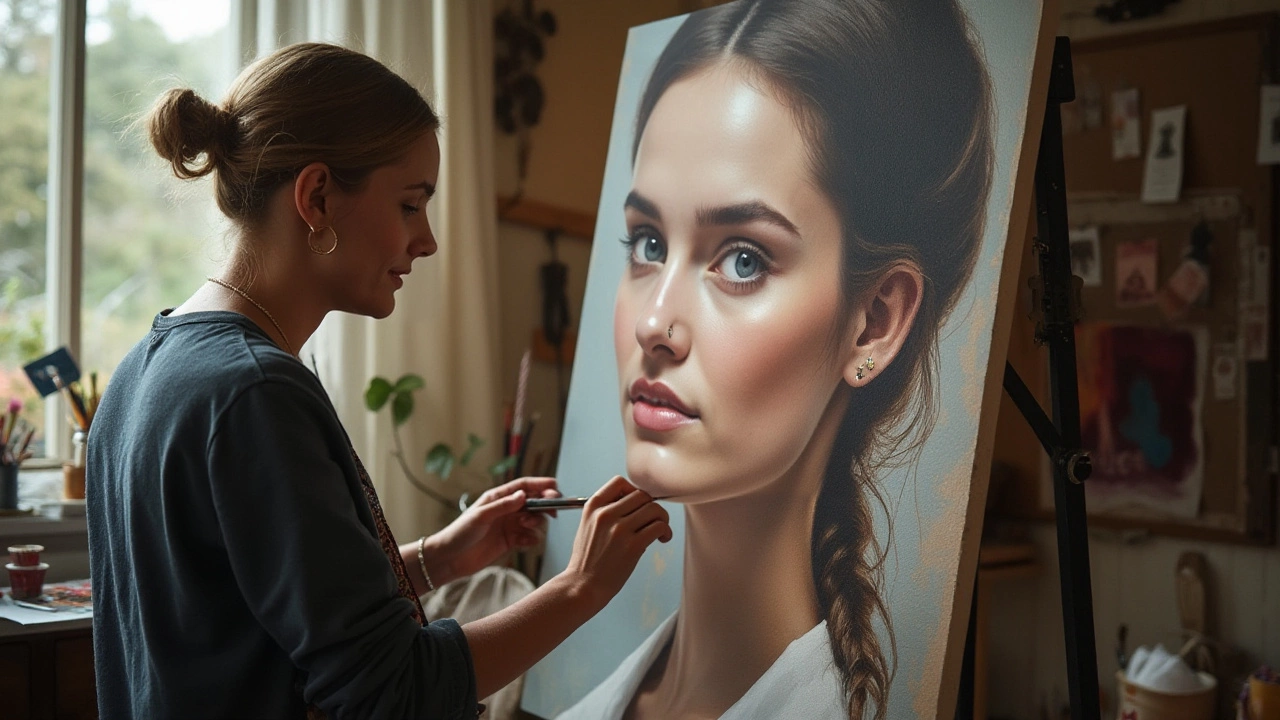
One trick that works for both painting and sculpting is “working from reference.” Use a photo or a live model and keep it in view while you work. Pause often and compare your work to the reference – it’s the fastest way to spot mistakes before they become hard to fix.
Don’t forget the final touches. In painting, tiny highlights (a glint on an eye, a flash on water) bring the piece to life. In sculpture, a light polish or a subtle texture can add realism. These small details are what make a viewer stop and stare.True-to-life art is not magic; it’s a set of habits you practice every day. Start with simple objects – a fruit bowl, a coffee mug – and apply the light‑shape‑color routine. As you get comfortable, move on to faces and full‑body figures.
Remember, every artist makes mistakes. The key is to spot them early, adjust, and keep moving forward. With the steps above, you’ll see noticeable improvement in just a few weeks.
Ready to try? Grab a sketchbook, set up a light source, and pick a subject you love. Follow the light, shape, and color steps, use the right tools, and watch your art become true to life.