Stone Carving Basics: Tools, Techniques & Quick Tips
Ever wondered how a raw block of stone becomes a statue or a decorative piece? You don’t need a studio full of expensive gear to start. With a few basic tools and a clear process, anyone can give stone carving a try. Below you’ll find the must‑know stuff to get your first project off the ground.
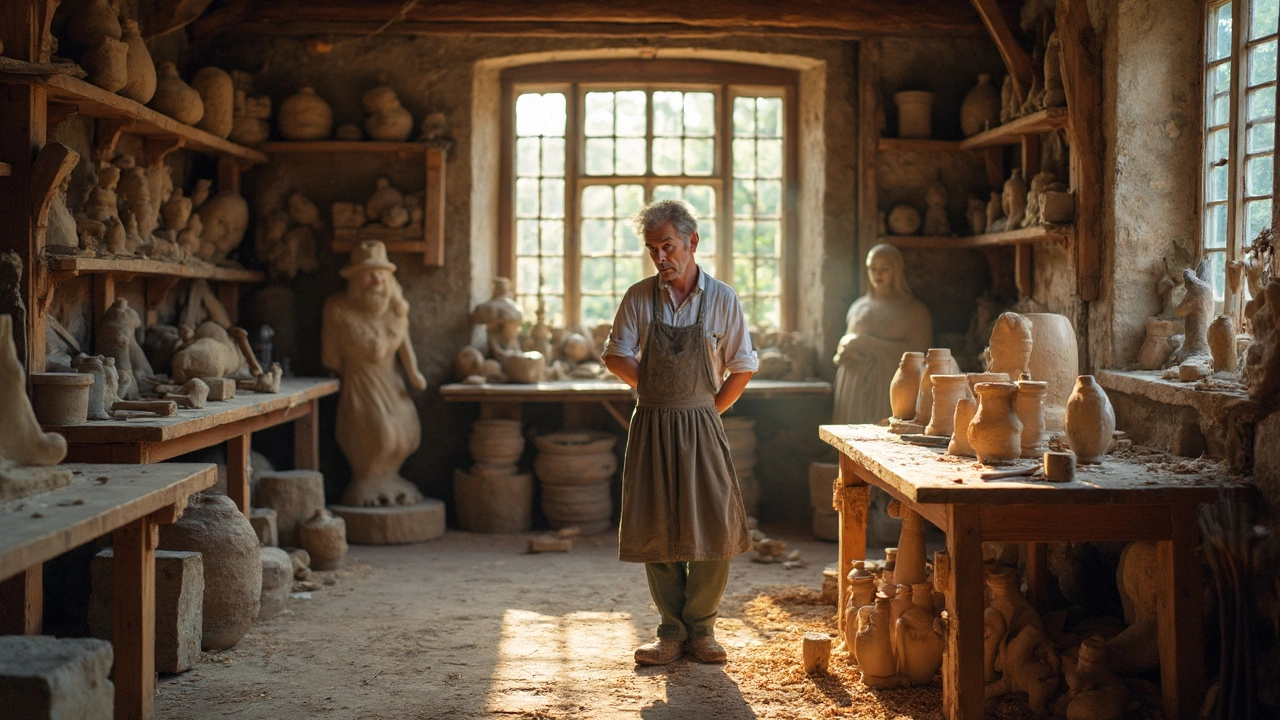
Essential Tools for Stone Carving
The tool kit for stone carving is small but each piece does a lot of work. A good set of chisels is the cornerstone – grab a point chisel for rough cuts, a tooth chisel for shaping, and a flat chisel for smoothing. A wooden or rubber‑handled mallet pairs with the chisels; it delivers control without cracking the stone. For finer detail, use rasps and files to smooth edges and carve intricate patterns. Safety gear is non‑negotiable: wear safety glasses, a dust mask, and sturdy gloves to protect your hands.
Step‑by‑Step Carving Process
1. Pick the right stone. Beginners usually start with limestone or sandstone because they’re softer and easier to shape. Marble is beautiful but can be tough on tools.
2. Sketch your design. Draw the outline on paper, then transfer it onto the stone with a pencil or chalk. This gives you a roadmap and helps avoid costly mistakes.
3. Rough out the shape. Use the point chisel and mallet to chip away large sections. Work from the top down and keep your blows firm but not too hard – you want to remove material, not shatter the stone.
4. Refine the form. Switch to a tooth chisel to define curves and planes. Take small bites; it’s easier to cut more later than to fix a gouge.
5. Detail and smooth. The flat chisel smooths surfaces, while rasps and files round edges and add texture. Spend time here – the final look depends on how well you finish this stage.
6. Finish the piece. Many carvers apply a light coat of stone sealant or wax to protect the surface and bring out color. Test a small area first to see the effect.
Throughout the process, keep the stone’s grain in mind. Carving against the natural layers can cause chips, so try to work with the grain whenever possible.
Quick safety check: always strike the chisel at a comfortable angle and never stand directly over the block when using a hammer. A slip can send a chip flying.
Now that you know the tools and steps, try a simple project – a small relief or a basic bowl. It’s a great way to practice control and see how the stone responds. As you get comfortable, experiment with harder stones or more complex shapes.
Remember, stone carving is as much about patience as it is about skill. Take your time, respect the material, and enjoy the tactile feedback each strike gives you. With these basics, you’re ready to turn a solid block into something that feels alive.